Essential Microscope Tools: Beginner's Guide
By Mei Lin • 3rd Oct
As a long-session hobbyist who's spent countless hours examining microscopic worlds, I've learned that understanding your microscope parts is the foundation for everything that follows. But beyond just knowing what each component does, identifying the essential microscope tools that support your physical comfort transforms your experience from fleeting curiosity to sustained exploration. After all, your comfort is a performance spec, and when setup aligns with your body's needs, you'll notice details you'd otherwise miss and stay engaged longer with the tiny wonders before you.
Why Ergonomics Matter More Than You Think
When I began photographing pond algae for hours at a time, I didn't realize how much my cramped posture and eye strain were compromising both my health and results. It wasn't until I raised the scope to eye level, softened harsh glare, and added a wrist rest that two hours felt like twenty minutes. That afternoon reframed everything for me: comfort isn't indulgence; it's throughput and joy. Proper ergonomics directly impacts your ability to see clearly, document effectively, and enjoy your hobby for years.
Your comfort is a performance spec (when setup aligns with your body's needs, you'll notice details you'd otherwise miss and stay engaged longer with the tiny wonders before you).
What Are the Essential Microscope Parts Every Beginner Should Know?
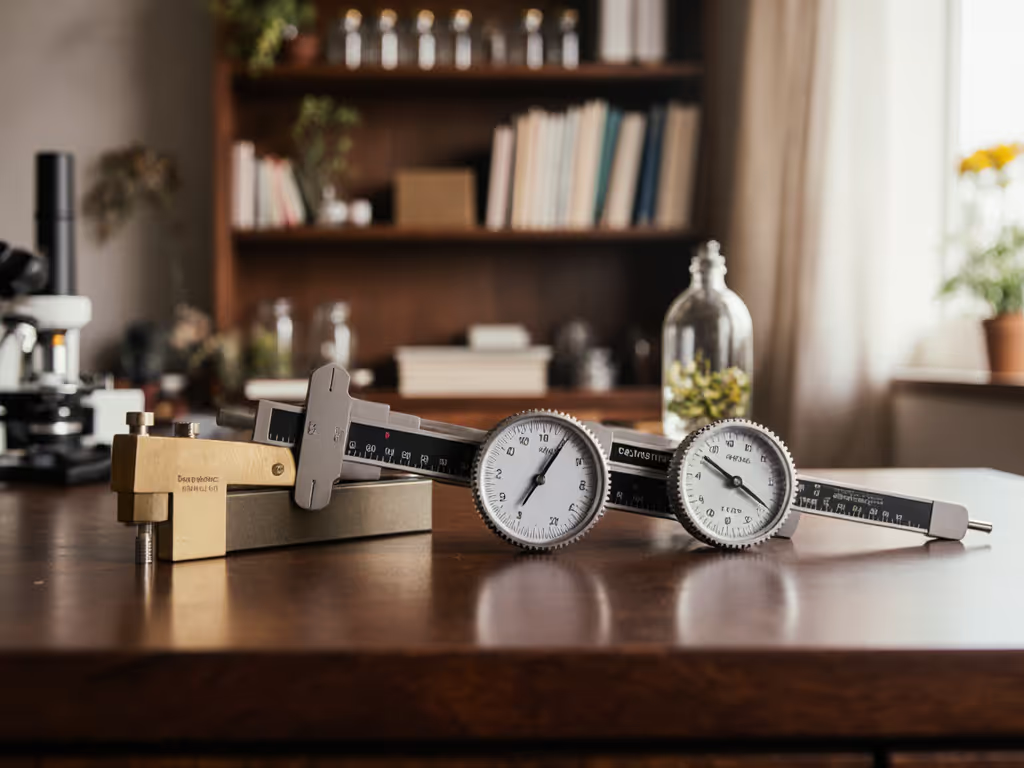
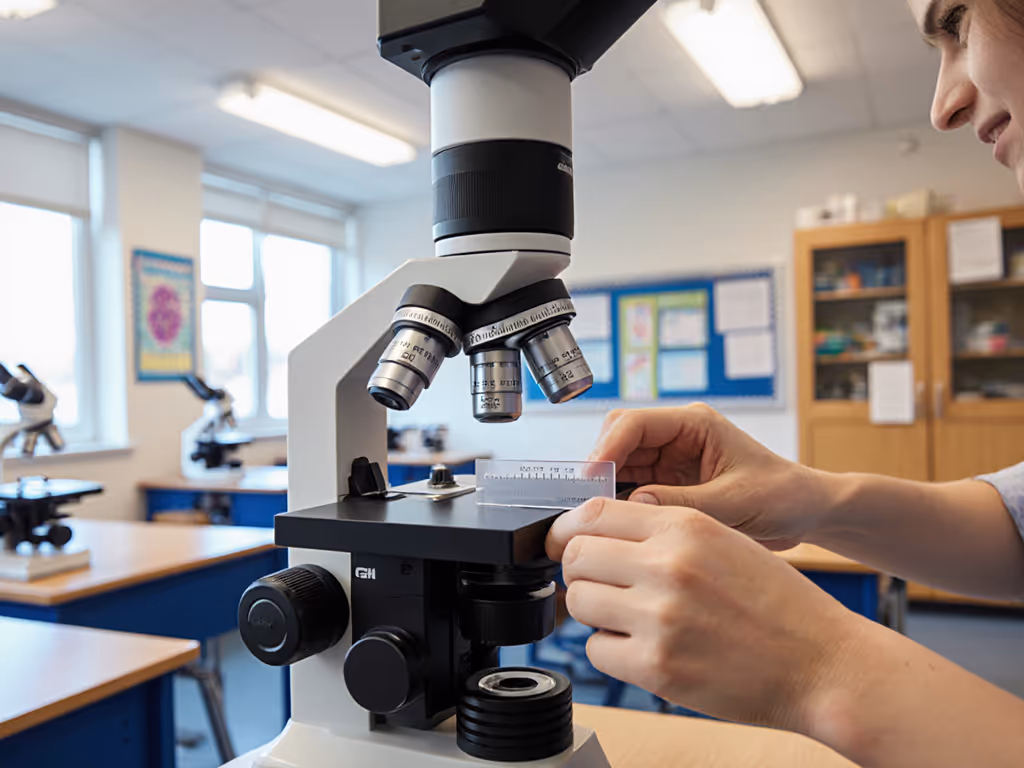
Before adding accessories, you need to understand your microscope's core components. Most educational and hobbyist microscopes are compound light microscopes with these critical parts:
- Eyepiece (Ocular Lens): The lens you look through, typically offering 10x magnification
- Objective Lenses: Primary lenses (usually 4x, 10x, 40x, 100x) that provide different magnification levels
- Stage: Platform where slides are placed, with clips to secure specimens
- Coarse and Fine Focus Knobs: For initial and precise focusing
- Illuminator: The light source that brightens your specimen
- Diaphragm: Controls light intensity reaching your specimen
- Arm and Base: Structural support for the entire microscope
Understanding these microscope parts helps you troubleshoot issues and communicate effectively when seeking compatible accessories. Many beginners waste money on unnecessary add-ons because they don't understand which components actually solve their specific problems. Knowledge of basic parts prevents this frustration and guides smarter purchases.
How Do I Avoid Eye Strain During Long Observation Sessions?
Eye strain is the most common reason hobbyists abandon microscopy after just a few sessions. The problem isn't just your eyes; it is the entire viewing chain. Consider these gentle pacing adjustments:
- Positioning: Ensure the eyepiece is at eye level without requiring you to hunch forward. If your microscope doesn't adjust vertically, use a stable platform under it rather than elevating your chair.
- Lighting: Harsh, direct light creates glare that fatigues your eyes. Add a diffuser or indirect lighting source to soften illumination. The optimal setup provides even lighting without reflections in your field of view.
- Rest Intervals: Follow the 20-20-20 rule: every 20 minutes, look at something 20 feet away for 20 seconds. This prevents accommodative spasm, a common cause of microscope-related headaches confirmed by optometry research.
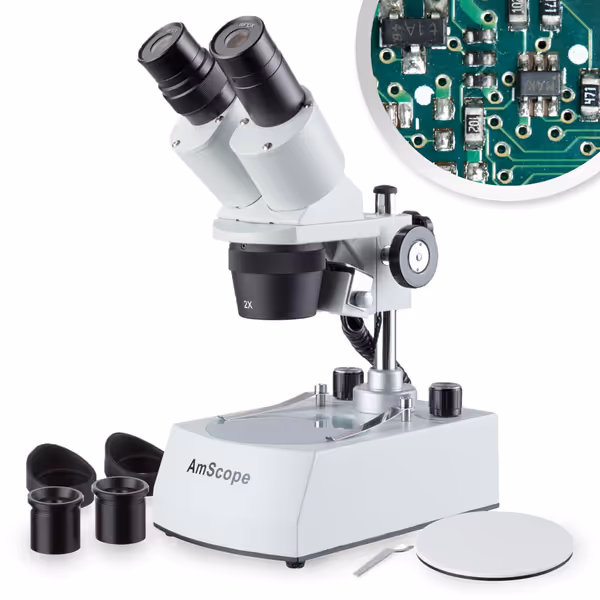
AmScope SE306R-P-LED Stereo Microscope
Explore the micro-world with clear, detailed stereo magnification.
$214.99
Magnification20x and 40x
Magnification20x and 40x
Pros
Sharp, clear images for detailed observation.
Easy to use, great for all ages and skill levels.
Cons
LED lighting effectiveness receives mixed feedback.
Customers find this stereo microscope to be of good quality, with sharp and clear images and solid construction. They appreciate its ease of use, functionality, and value for money, with one customer noting it's particularly good for examining rock samples.
Customers find this stereo microscope to be of good quality, with sharp and clear images and solid construction. They appreciate its ease of use, functionality, and value for money, with one customer noting it's particularly good for examining rock samples.
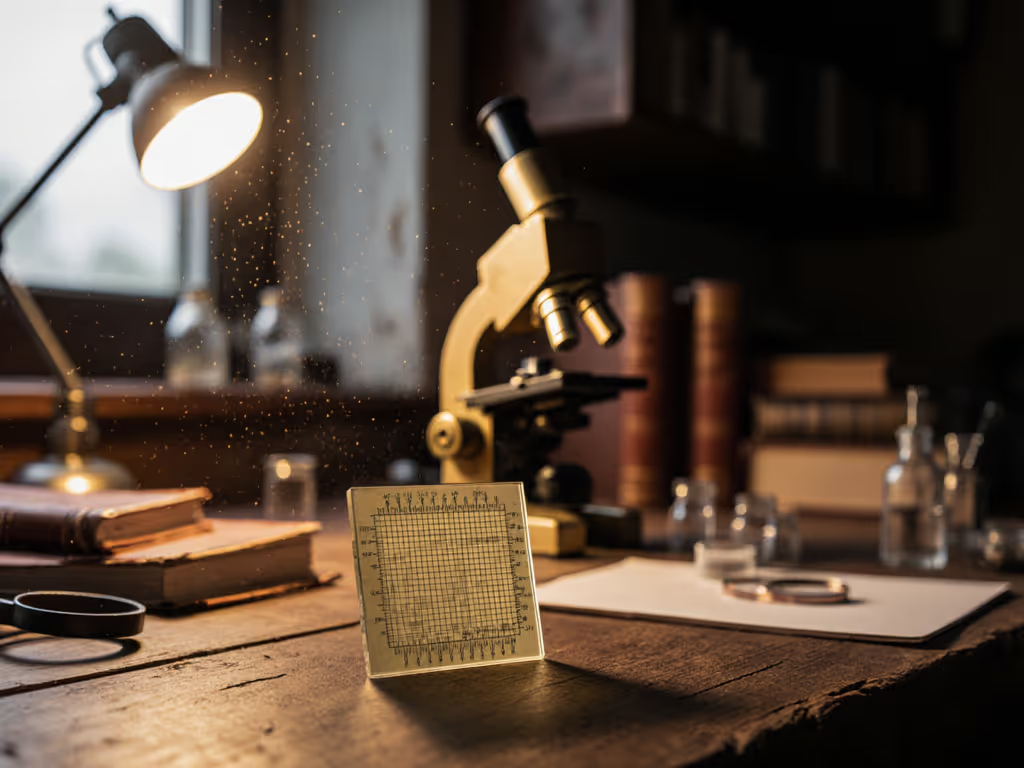
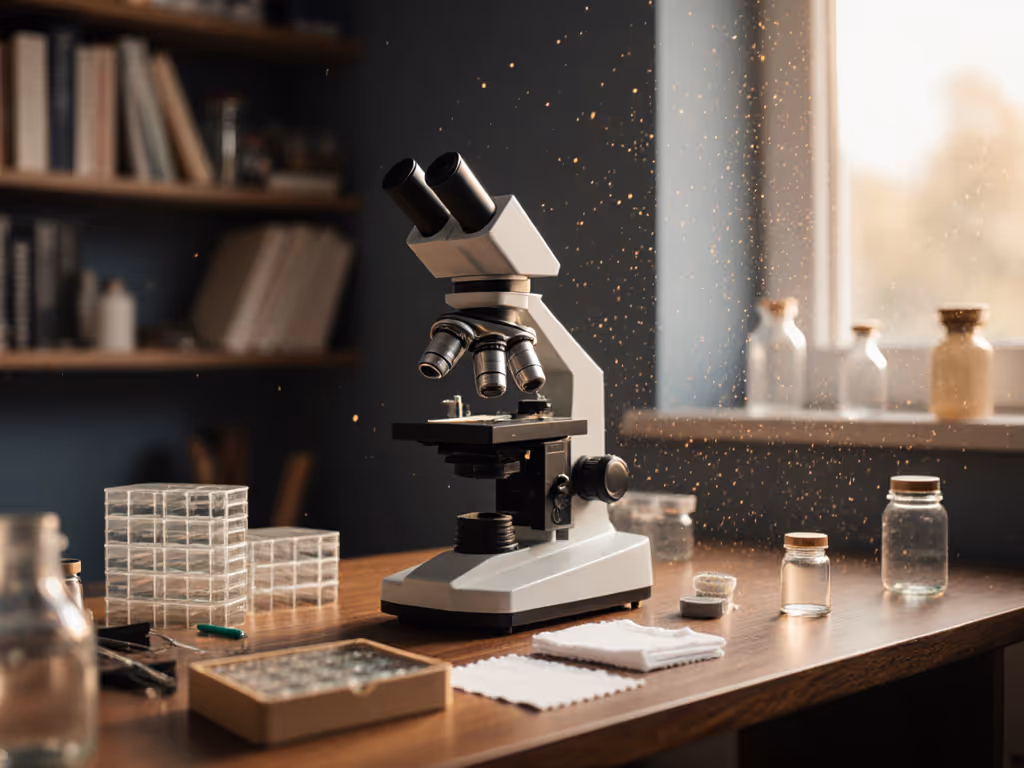
What Lighting Setup Is Most Ergonomic for Microscope Work?
Ambient lighting often makes or breaks your microscopy experience. Too little light forces squinting; too much creates glare. The ideal setup combines three elements:
- Controlled microscope illumination: Adjustable brightness on your microscope itself
- Soft ambient lighting: A warm, adjustable desk lamp positioned behind you
- Anti-glare surface: A matte-finish workspace that minimizes reflections
Many beginners overlook ambient lighting, focusing solely on microscope brightness. This creates contrast stress for your eyes (bright specimen against dark surroundings). Proper ambient lighting reduces pupil dilation stress, allowing you to maintain focus longer. For translucent specimens, try lowering the room lights and increasing microscope illumination gradually until you find the sweet spot where details emerge without glare.
How Can I Organize My Workspace To Reduce Physical Strain?
Microscopy requires gentle pacing through your workflow, not just your observation time. Implement these organizational checklists to create a sustainable workspace:
Before Your Session
- Prepare slides and tools within easy reach (no twisting or stretching)
- Position reference materials at eye level to avoid neck strain
- Ensure 6-12 inches of clearance between your chest and the table edge
During Your Session
- Keep elbows supported at 90-110 degrees with adjustable armrests
- Maintain a neutral wrist position when using focus knobs
- Take micro-breaks every 15 minutes to reset posture
A well-organized bench minimizes repetitive movements that lead to strain over time. Think of your workspace like a cockpit: everything you need should be within easy reach without compromising your posture. This organization isn't about perfection; it's about creating sustainable workflow patterns that let curiosity last.
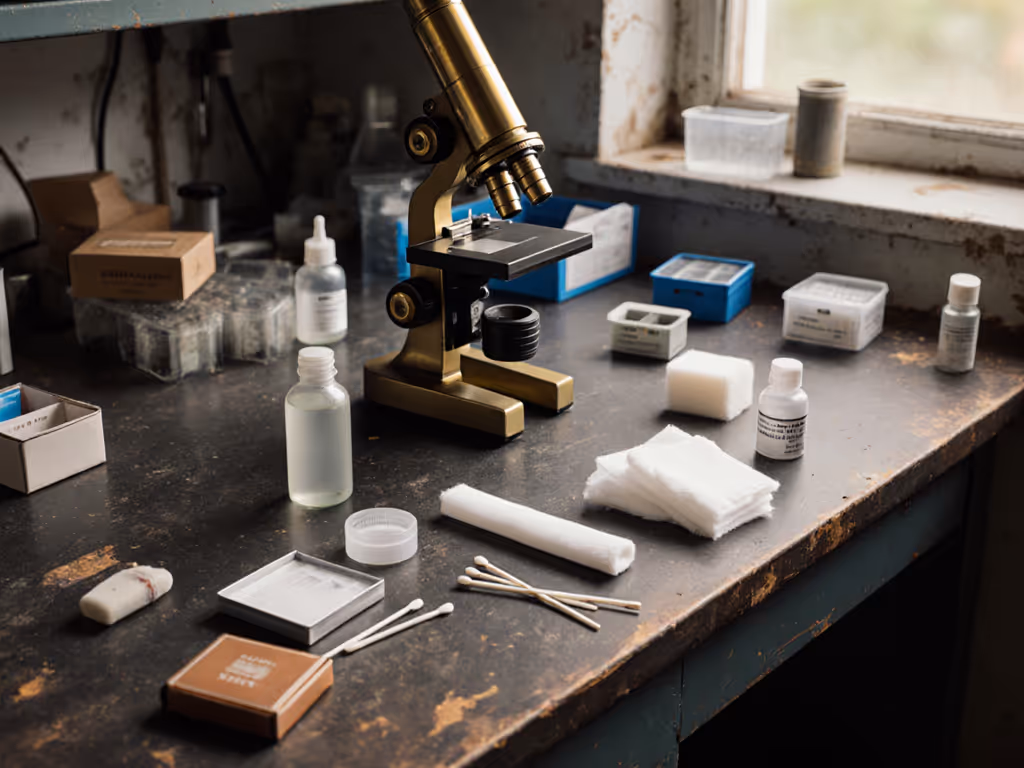
What Accessories Are Truly Worth Investing In As a Beginner?
With so many options, beginners often feel overwhelmed by what's essential. Based on my experience, these three categories deliver the most value for your comfort and results:
Must-have microscope equipment
- Eyepiece diopter adjustment: Critical for matching focus to your individual vision (often overlooked in beginner kits)
- Adjustable height stand: Prevents neck strain from looking down
- Anti-fatigue mat: Reduces lower back strain if standing during observation
Avoid flashy add-ons until you've mastered basic observation. Start with a beginner microscope kit that includes quality slides, coverslips, and basic staining materials. Only invest in specialized lighting or camera adapters once you've identified specific limitations in your current setup.
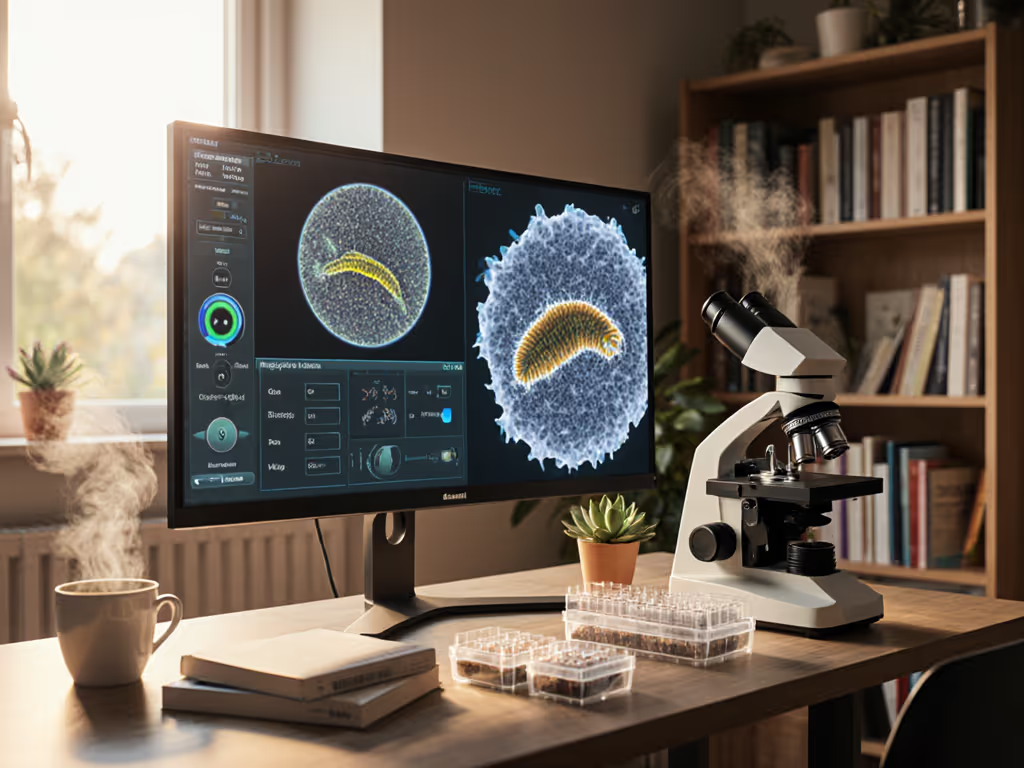
How Do I Document My Discoveries Without Compromising Comfort?
Many hobbyists ruin their posture trying to simultaneously observe and photograph specimens. The solution is workflow sequencing:
- Observe comfortably with optimal ergonomics
- Document findings after stepping away from the eyepiece
- Return refreshed for further observation
Attempting to document while maintaining viewing position forces unnatural neck angles that cause strain. Keep a simple notebook nearby for quick sketches and notes, then transfer these to digital format away from your microscope. This workflow preserves your physical comfort while enhancing documentation quality.
Next Steps: Build Your Sustainable Microscopy Practice
Your journey into microscopic worlds shouldn't end with discomfort. Start tomorrow with one small adjustment that addresses your most immediate physical strain point, whether raising your microscope, adding task lighting, or organizing your most-used tools within easy reach. Track how this single change affects both your comfort and observation time. When you notice your sessions extending naturally without strain, you'll understand why ergonomics isn't an afterthought: it is the foundation that turns casual curiosity into a lifelong passion. Remember, the most essential microscope tool isn't any component you buy: it's your sustained attention, which only flourishes when your body feels supported.
Related Articles