Microscope Calibration Slides: Find Your Ideal Match
By Omar Haddad • 15th Feb
When you're peering at something genuinely small for the first time, the last thing on your mind is probably calibration. But here's a quiet truth: microscope calibration slides are the unsung bridge between "that's blurry" and "I can actually measure what I'm seeing." They transform your microscope from a curiosity tool into a precision measurement tool that you can trust. And the good news? Understanding which slide fits your setup, and your goals, doesn't require a laboratory degree.
Why Calibration Matters (But Not in a Scary Way)
Your microscope has a built-in magnification scale, sure. But magnification alone doesn't tell you the actual size of what you're looking at. If magnification terms are confusing, our magnification explained guide clarifies effective vs empty magnification with examples. A stage micrometer comparison reveals something important: a specimen that looks the same size at 100× might actually be 10 micrometers on one microscope and 15 on another, depending on your optics, lighting, and objective lens. Calibration slides carry precise, marked-out distances, we're talking micrometers (that's millionths of a meter), so you can measure accurately.
Think of it like this: a ruler lets you measure, but a calibrated ruler confirms your measurements are real. Calibration slides do exactly that for your microscope. Once you've done it once, you understand your instrument better. That's the small win that compounds.
Understanding the Main Players: Types of Calibration Slides
Not all calibration slides are created equal, and that's actually good news, it means there's likely one built for your needs.
Stage Micrometers: The Workhorse
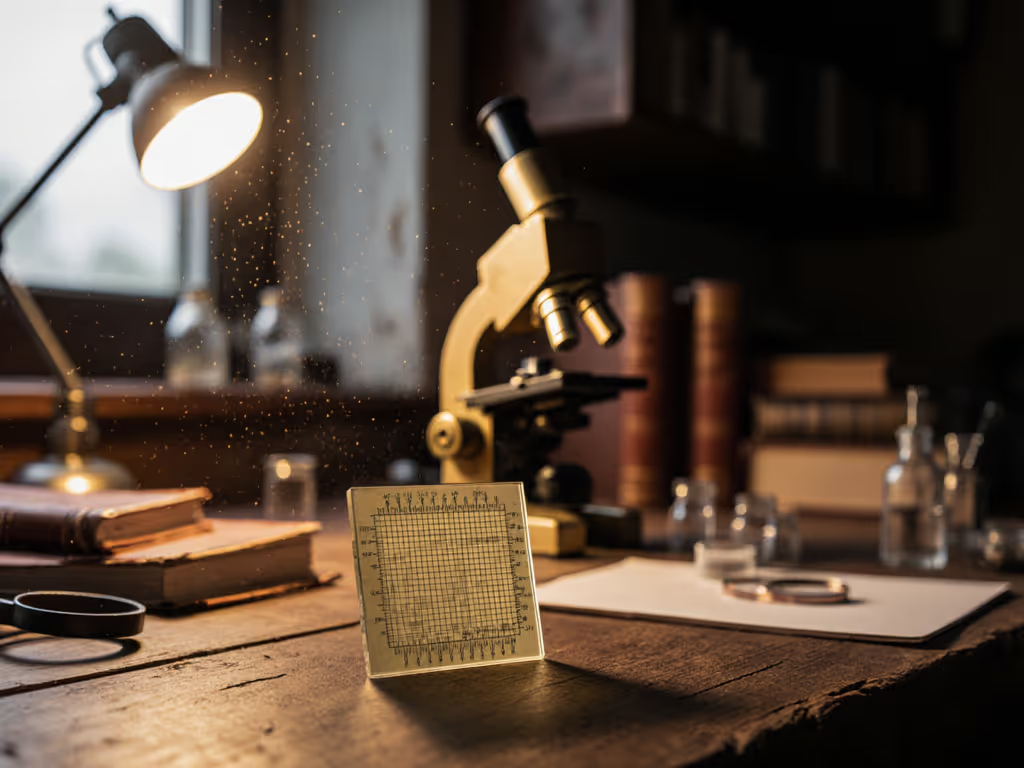
Stage micrometers are the most common choice for beginners and experienced hobbyists alike. They feature engraved or printed graduated scales, think of tiny, precise lines marking exact distances. Most come with standard thickness coverslips (0.17 millimeters) because that's what the majority of microscope objectives are corrected for. This matters: a mismatch here can introduce optical distortion.
What makes them appealing? They're durable, straightforward to use, and often include a metal mount that makes them sturdy enough for student-level handling. You place it on your stage just like any slide, calibrate your eyepiece reticle (the crosshair or measuring tool inside your eyepiece), and you're ready to measure.
Universal Calibration Slides: The Comprehensive Option
If you want to calibrate multiple parameters at once, universal calibration slides pack an enormous amount of information onto a single slide. They include 13 different image areas with concentric circles, line gratings, grid arrays, and geometric progressions of dots. In short: everything you might need to verify magnification, measure angles, assess optical distortion, or test counting procedures (all in one go).
These aren't necessary for every hobbyist, but they're genuinely useful if you're comparing objectives, switching between microscopes, or want a comprehensive baseline for your entire setup.
Multi-Image and Specialized Slides
For those exploring advanced work, multi-image calibration slides offer up to 16 different patterns and scales at high resolution, chrome-deposited onto glass. There are also specialized slides designed for specific microscopy types: phase contrast test slides, fluorescence calibration kits with multi-colored latex beads, and hardness-testing patterns.
The key insight here: measurement tool evaluation becomes easier when you match the slide to your actual microscopy interests. If you're observing pond water, a basic stage micrometer covers it. If you're experimenting with fluorescence or phase contrast, specialized slides prevent costly mistakes.
Comparing by Clarity, Material, and Robustness
Beyond the pattern type, a few material factors separate slides that work from slides that frustrate.
Optical Quality
Most calibration slides use precision-ground borosilicate or low-iron glass. Borosilicate offers better clarity and thermal resistance than standard soda-lime glass, and low-iron (optically clear) glass is superior for fluorescence work or digital imaging. The difference? A slide with optical distortion defeats the entire purpose of precise measurement. Invest in quality glass here, because it's where corners shouldn't be cut.
Thickness and Durability
Standard slides run around 1.0 millimeter thick, which is fine for most work. Thicker slides (1.2-1.5 mm) offer more resistance to accidental pressure and are worth considering if you have children in the house or plan frequent handling. Some slides use metal mounts with glass inserts, which adds durability and makes them nearly impossible to break.
Markings and Precision
Check the marking tolerance. High-quality slides specify tolerances down to micrometers (some within 0.0015 mm). That level of precision means your measurements remain trustworthy across years of use.
A Practical Comparison: Matching Slides to Your Goals
Choosing the right slide doesn't mean picking the most expensive or feature-rich option, it means matching function to your actual microscopy life.
Starting out and observing living specimens (pond water, soil organisms)? A basic stage micrometer with 0.1 mm divisions gives you everything you need to measure and identify. It's straightforward, affordable, and builds confidence.
Exploring multiple objectives or switching between microscopes? Universal calibration slides or multi-pattern options justify their cost because they reduce calibration time and prevent repeated setup errors.
Working with fluorescence or advanced imaging? Specialized kits with multi-colored latex beads provide calibration in the exact wavelengths you're using. This prevents the heartbreak of thinking you've found something remarkable, only to realize your magnification was slightly off.
Documenting discoveries or sharing images with communities? A well-calibrated microscope is essential. You'll be confident in what you're showing others, and your measurements become part of your credibility.
Getting Started: Three Simple Steps
Step One: Identify Your Objective Lenses Check your microscope manual for the magnification and coverslip thickness your objectives require. Most use 0.17 mm coverslips, but verify, because a mismatch introduces optical error that no calibration slide can fix. If coverslip specs are new to you, see our coverslip setup guide.
Step Two: Select Your Baseline Slide For most hobbyists exploring living organisms or prepared specimens, a stage micrometer with clear, visible divisions and metal mounting is the reliable choice. Look for slides with traceability (a serial number) and specifications you can reference later.
Step Three: Calibrate Your Eyepiece Reticle Once your slide is on stage, adjust focus until the grid lines are sharp. Superimpose your eyepiece reticle (the crosshair) over the slide's scale, count divisions, and calculate how many micrometers each division represents at that magnification. For a deeper dive into stage and ocular micrometers, read our microscope measurement tools guide. Write it down. Keep notes. This is how you build microscopy accuracy standards that you can replicate and trust.
Start simple, learn fast. This process takes fifteen minutes and unlocks months of confident measurement.
The Confidence that Comes from Certainty
Here's what nobody emphasizes enough: when you calibrate your microscope, you're not just solving a technical problem. You're answering a question that sits underneath all good observation: "Do I actually know what I'm seeing?" That's confidence. That's competence.
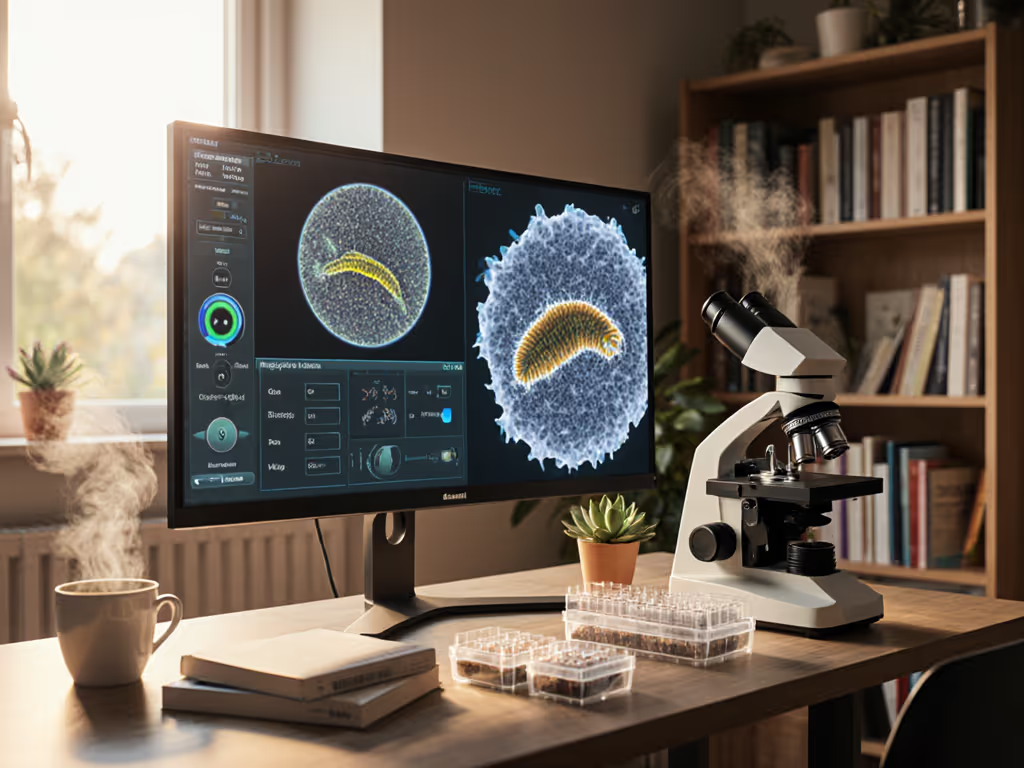
Years ago, I watched someone uncover a detail in a tardigrade they'd overlooked a dozen times before, not because they had fancier equipment, but because they'd finally calibrated properly. That moment of understanding made the microscope feel like an extension of their curiosity, not a barrier to it. Small wins today grow into tomorrow's confident discoveries.
Moving Forward: Deepening Your Practice
Once you've selected your first calibration slide and learned the rhythm of calibration, the next explorations open up naturally. You might experiment with multiple objectives, document your measurements in a growing journal, or share your findings with online microscopy communities who value precision. You might discover that certain organisms measure consistently within ranges you've documented, or that your camera produces reliable results when paired with verified calibration.
The calibration slide is small and unglamorous, but it's also liberating. It moves you from guessing to knowing. If you're curious about which specific slide pattern best matches your existing microscope setup, or about specialized calibration for advanced techniques, spending time in manufacturer guides and hobbyist forums (places where users share their exact workflows) can point you toward your next confident step. Your microscope deserves precision, and you deserve the clarity that precision brings.
Related Articles