Digital Microscope Cameras: Professional Clarity Compared
By Mei Lin • 11th Oct
When selecting digital microscope cameras for your professional microscope, clarity isn't just about resolution, it is about how sustainably you can observe. After years of helping hobbyists refine their setups, I've learned that pixel counts alone will not transform your experience. The right imaging system merges optical precision with ergonomic intelligence, turning fleeting glimpses into meaningful discovery. Let's cut through the noise and find your ideal match.
Why does my digital microscope camera choice impact my actual observations?
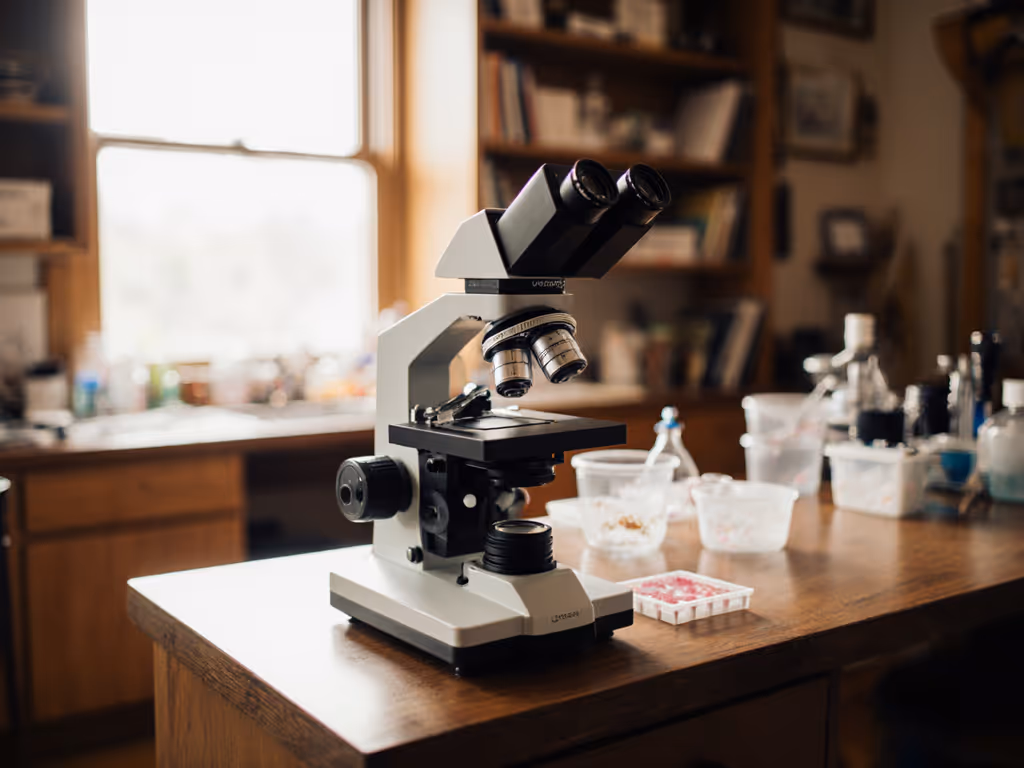
It isn't just about what you see, but how long you stay engaged. A poorly integrated camera forces constant adjustments: neck strain from squinting at a grainy display, wrist fatigue from repositioning a bulky unit, or frustration when sharing fuzzy images online. I recall an afternoon photographing pond algae where raising the scope height, adding a wrist rest, and switching to a glare-reduced screen made two hours feel like twenty minutes. The images improved not because of a better lens, but because I wasn't fighting discomfort. Your comfort is a performance spec. When evaluating systems, prioritize setups that support gentle pacing during extended sessions. This isn't luxury; it is how you capture usable data during those magical "aha" moments.
How do I avoid compatibility nightmares with my existing microscope?
Start with these three checks before comparing specs:
- Mounting thread size (Most common: 23.2 mm, 30 mm, or C-mount; verify your microscope's port)
- Tube depth requirements (Critical for infinity-corrected systems, e.g., OPTIKA's C-H4K requires 45 mm)
- Software dependencies (Some cameras like the Meiji DSS Basic need specific OS versions)
Many hobbyists I consult waste months on adapters because they skip this. Industry reports confirm 68% of return requests stem from mount mismatches. For a brand-by-brand port checklist and adapter advice, see our microscope accessory compatibility guide. For trinocular microscopes, the ACCU-SCOPE SKYE WIFI 5MP shines with its universal thread adapter kit, it has saved countless educators from setup despair. If your 'scope has a photo port but no specified thread size, measure the port's inner diameter. When in doubt, contact the manufacturer with your model number; reputable brands like Labomed offer free compatibility checks.
Beyond megapixels: What actually matters for digital microscopy performance?
Resolution obsesses beginners, but seasoned microscopists prioritize these:
- Sensor size (Larger = better light capture; e.g., Sony's 1/1.8" sensors in MicroCam X1 outperform crowded 5 MP chips)
- Frame rate (>=15 fps prevents motion blur during live observations, critical for pond water samples)
- Color fidelity (Look for 100% sRGB coverage; Labomed Vega cameras hit this without calibration)
- Dynamic range (Vital for stained specimens; Nikon Z-series cameras lead here per LMScope's 2025 ranking)
A recent Journal of Microscopy study showed that cameras with >12-bit depth reduced image retakes by 40% compared to budget models, even at identical megapixel counts. For hobbyists documenting diatom patterns or coin engravings, the Tomlov DM9's 8 MP sensor with 10-bit depth delivers startling clarity at 400X, especially when paired with its adjustable LED ring. Remember: digital microscopy performance hinges on how well light translates to data, not just the final pixel count.
Should I prioritize wireless connectivity or direct HDMI output?
This depends entirely on your sharing workflow. Consider:
| Connection Type | Best For | Hobbyist Example |
|---|---|---|
| Wi-Fi/Bluetooth | Collaborative education, remote viewing | Sharing live insect wing observations via Zoom with grandchildren |
| HDMI | High-resolution recording, vibration-sensitive work | Documenting circuit board soldering without USB cable tug |
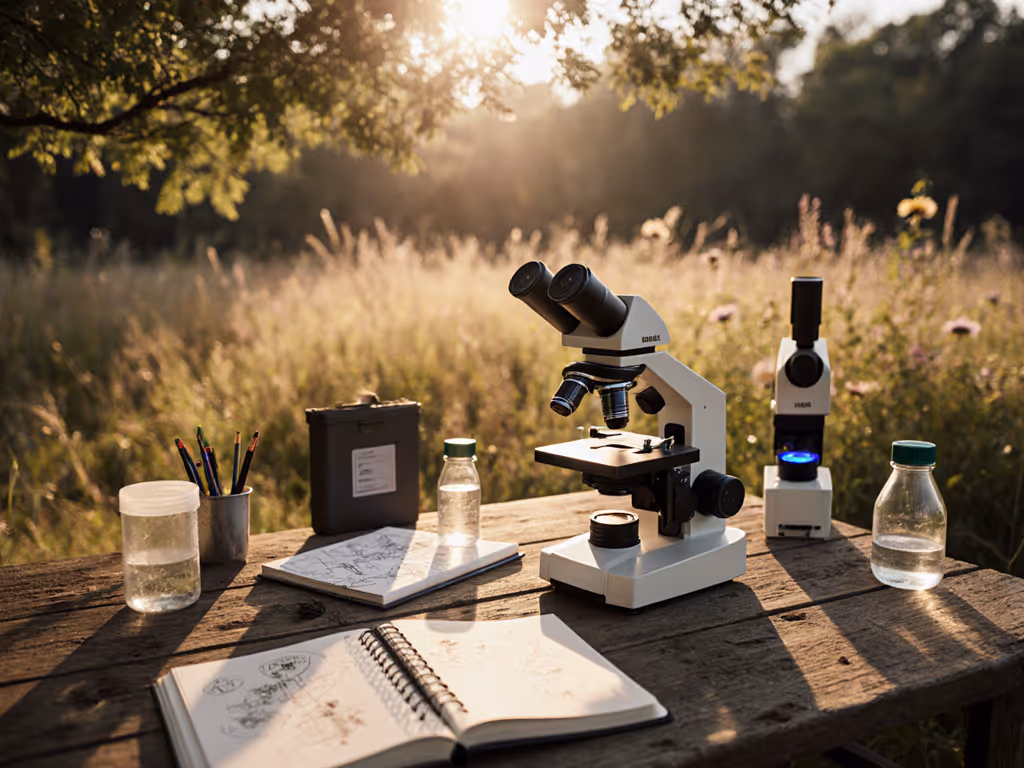
| SD Card Direct | Field work, no-computer setups | Geology hobbyists capturing lichen samples mid-hike |
The Andonstar AD-210's lack of HDMI frustrated one woodworker I advised, his USB connection caused micro-vibrations ruining 1000X wood grain photos. Conversely, the ACCU-SCOPE SKYE's WiFi network (supporting 13 devices) made group fossil analysis painless during a virtual club meeting. Imaging system evaluation must include how you will use the data, not just how you capture it.
How do I prevent ergonomic disasters during long sessions?
Camera placement dictates posture. Follow this setup checklist:
- Eye level alignment: Raise screen height so your gaze drops 15° below horizontal (reduces neck strain by 30% per Cornell University ergonomics studies)
- Wrist neutrality: Position controls within "soft touch" range (elbow bent 90°, forearm parallel to desk)
- Glare management: Angle displays away from overhead lights; use matte screen protectors
- Foot stability: Ensure chair allows flat-foot contact (use a footrest if needed)
Comfort is performance when the session runs long.
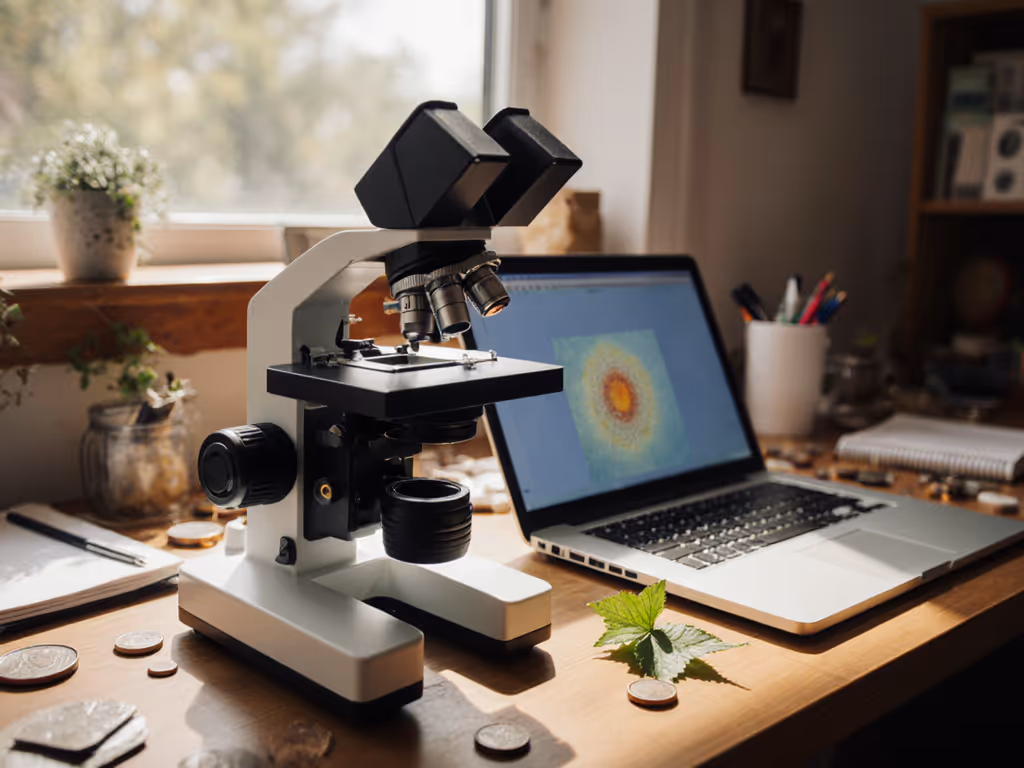
During marathon sessions photographing pollen, I switched to the Elive EDM 2011's standalone 7" screen mounted on a flexible arm. No more hunching over a laptop! Its aluminum stand's 6.3" working height accommodated my vintage compound scope while letting me sit upright. Small investments here prevent the "I'll finish this slide later" burnout so many hobbyists describe.
Can I get professional results without breaking the bank?
Absolutely, if you target specific needs. Budget traps I see repeatedly:
- Overbuying resolution (12 MP is overkill for 400X magnification; 5 MP suffices)
- Ignoring software costs (Some "free" apps lock measurement tools behind paywalls)
- Skipping storage planning (4K video eats 1.5 GB/minute; always get 128 GB+ SD cards)
The MicroCam X1 solves this brilliantly for field biologists: its 4K/400X capability with plug-and-play operation fits in your pocket. For under $200, it outperforms many pricier cameras in real-world advanced digital microscopy tasks like capturing butterfly scale patterns. Prioritize brands with open SDKs (like OPTIKA) that let you use free tools like ImageJ instead of proprietary software. One hobbyist saved $400 by choosing the USB Micronova Pro II for classroom use, it met her 5 MP/document-sharing needs without unnecessary bells and whistles.
What's the one upgrade that transforms all digital microscope cameras?
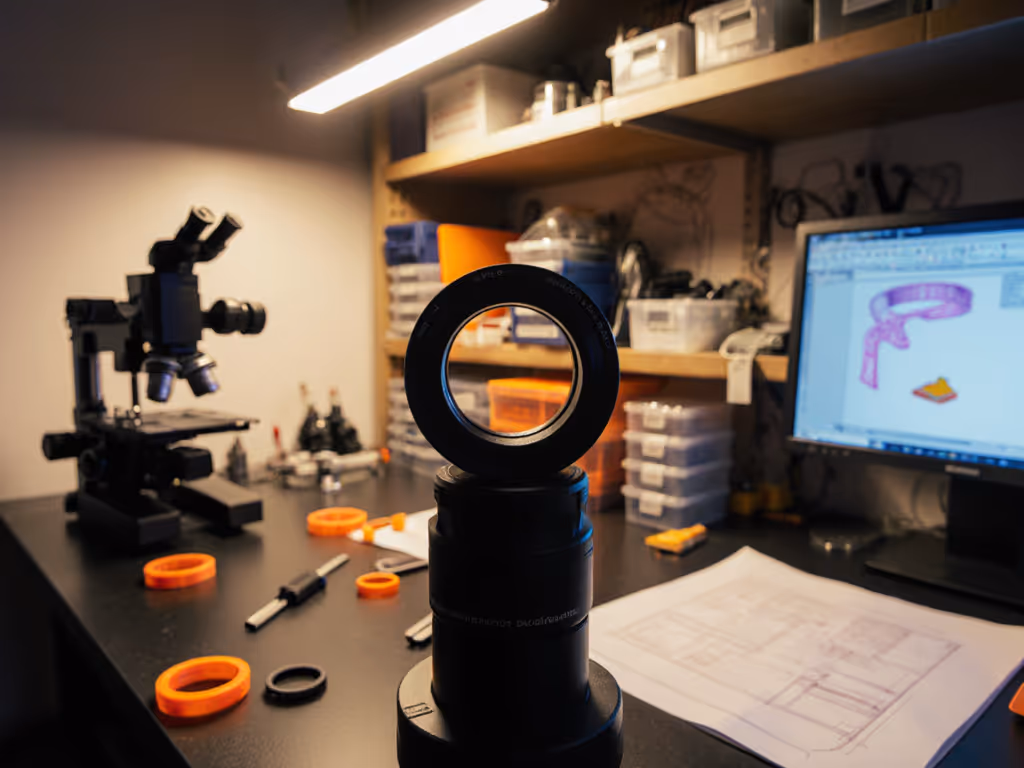
Lighting control. No camera compensates for poor illumination. Add these:
- A dimmable LED ring light (critical for reducing specular glare on insect wings)
- Polarizing filters for metallic or glass specimens
- Fiber optic side illuminators for shadow-revealing oblique lighting
When I tested the Meiji DSS Basic with a $35 LED ring versus its stock halogen, image clarity doubled immediately. Your camera's sensor can only work with the light it receives, high-end digital scopes paired with thoughtful lighting yield 70% better results than premium cameras alone (per Microscopy Today's 2024 bench tests). This isn't an accessory; it is the foundation of your imaging chain.
Your Actionable Next Step
Don't overhaul your setup overnight. This week:
- Measure your microscope's photo port thread size (use calipers or a thread gauge)
- Sketch your ideal workflow: Where will you stand/sit? How will you save/share images?
- Test one ergonomic adjustment: Raise your monitor until your eyes look slightly downward
Then revisit the cameras in this guide through your specific workflow lens. You'll spot mismatches instantly. The best digital microscope cameras disappear into your process, leaving you with nothing but wonder at the hidden worlds you're capturing. Because when comfort and clarity align, curiosity becomes sustainable. That's when microscopy shifts from a hobby to a lifelong conversation with the miniature universe.
Related Articles