Steady Microscope Photography: Easy Clear Shots Guide
By Mei Lin • 9th Sep
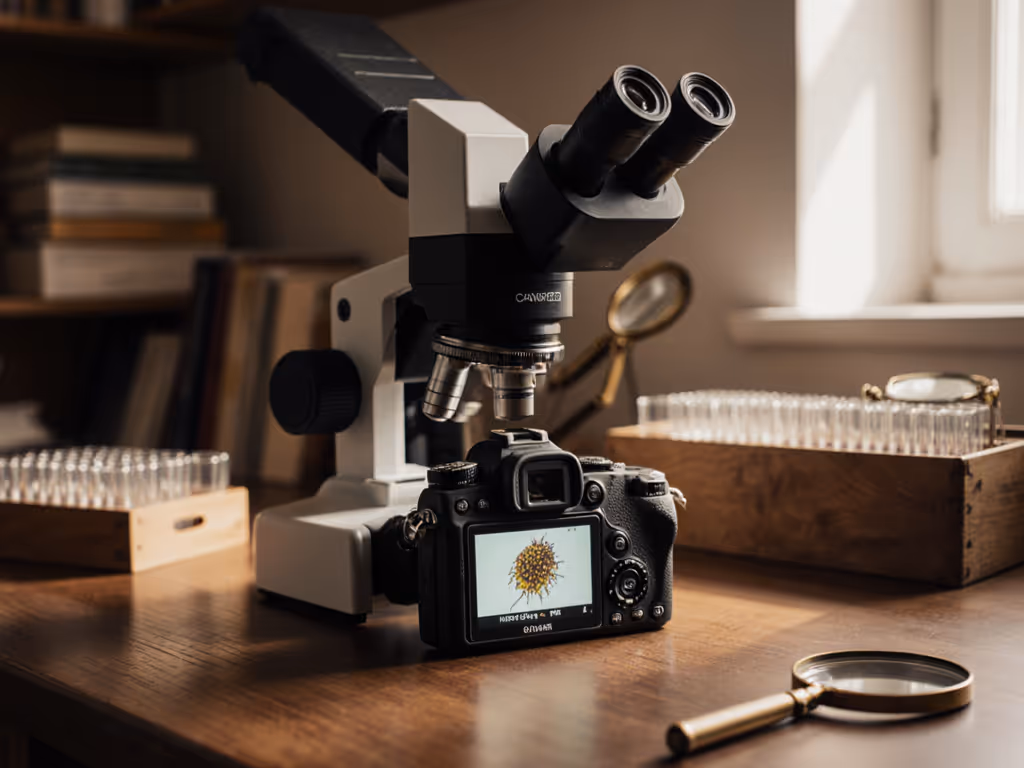
For hobbyists venturing into microscope photography, clarity isn't just about optics (it lives at the intersection of steady technique and comfortable ergonomics). Yes, microscope imaging demands technical precision, but I've learned firsthand that blurred shots often stem from avoidable physical strain, not equipment limitations. After years optimizing my own bench workflow, I've distilled common frustrations into this gentle, research-backed FAQ. Let's make long sessions feel short.
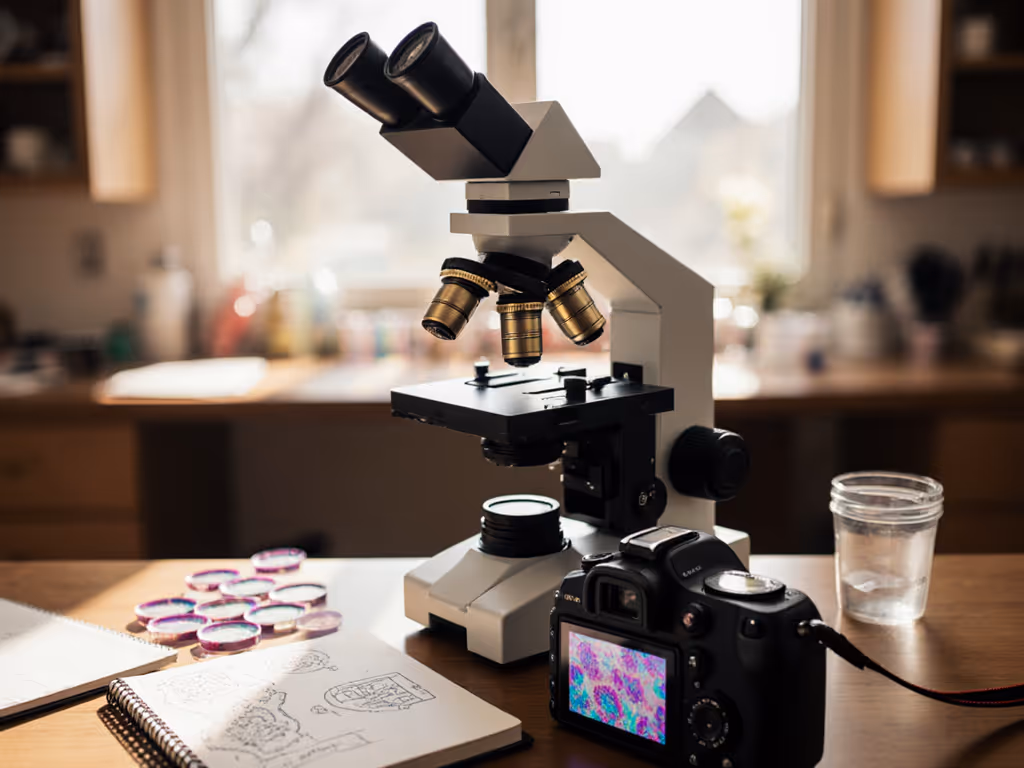
Comfort is performance when the session runs long. That quiet morning photographing pond algae taught me: when glare strains your eyes or your wrist aches after ten minutes, focus suffers. Your camera isn't failing you (it is mirroring your physical disconnect from the process). Below, we'll untangle six recurring hurdles using checklist-driven adjustments you can implement today.
Why are my microscope photos consistently blurry, even with high magnification?
Blur typically signals instability, not inadequate lenses. Vibrations from breathing, chair shifts, or even unconscious wrist tension travel through your setup. Professional journals like Nature TTL note that even 0.1mm tremors ruin 400X+ shots. Here's your stability checklist:
- Anchor your base: Clamp the microscope stage securely to a thick table (2+ inches). Rubber feet alone can't absorb micro-tremors.
- Decouple your camera: When using DSLRs via adapters, hang the body vertically on a copy stand (not resting on the eyepiece). This prevents torque.
- Release mindfully: Activate mirror lock-up before triggering the shutter. Pair this with a cable release or 2-second timer delay.
- Support your posture: Rest elbows on padded surfaces. A wrist rest (even a rolled towel) reduces micro-muscle spasms.
Gentle pacing matters more than speed. Rushing adjustments introduces shake; deliberate tweaks compound clarity.
How do I photograph fast-moving specimens like protozoa without motion blur?
Stills often fail here (your shutter speed can't outpace cilia vibrations). Try this video-to-still workflow, validated by Canadian Nature Photographer's field tests:
- Set camera to 60fps video mode at optimal exposure (brighter lighting = faster shutter).
- Pre-focus on the specimen before starting recording.
- Refine lighting during the 10-15 second clip.
- Extract high-res frames later via software (every major NLE can do this).
This exploits how video buffers frames at higher light sensitivity. As one researcher noted, 'A perfect still hides in every 3 seconds of smooth footage.' It's less about capturing the moment, more about documenting the journey.
My lighting looks uneven or hazy - what are reliable lighting techniques for consistent results?
Uneven illumination ranks among the top frustrations in photomicrography. Modern microscopes simplify this via Köhler illumination, a method ensuring glare-free, edge-to-edge brightness. Follow this verified checklist (per Quekett Microscopical Society protocols):
Setting up Köhler illumination
- Open both irises fully; focus sharply on your specimen.
- Close field iris (nearest lamp); adjust condenser height until iris edges snap into focus.
- Open field iris just beyond view's edge - no vignetting.
- Remove one eyepiece; close condenser iris to 25-33% coverage for optimal contrast.
Note: No field iris? Use a frosted diffuser over the bulb. Skip this, and your camera records imperfections your eyes auto-corrected. Properly executed, this technique alone can reduce post-processing time by 40%, per microscopy forums' crowd-sourced data. Soften harsh light with adjustable LED rheostats (never cranked to max). Aim for evenness over intensity. For a deeper walkthrough of condenser setup and iris control, see our condenser light control guide.
Why do my high-magnification shots lack depth? Can't I just increase focus?
At 40X+, depth of field shrinks to microns. What looks sharp through the eyepiece appears sliced in photos. Image stacking solves this. It's non-negotiable for crisp results. Here's how it works:
- Capture 15-30 layered shots while minutely adjusting focus.
- Software (like Helicon Focus or free Zerene Stacker) aligns these.
- It blends only in-focus areas into one seamless image, dramatically expanding apparent depth.
This isn't gimmickry; it's optical physics. Achromatic objectives will distort edges at high mag, making stacking essential for flat-field accuracy. Start with 5-7 layers for slim specimens (like insect wings), then scale up. Patience here pays in shareable results.
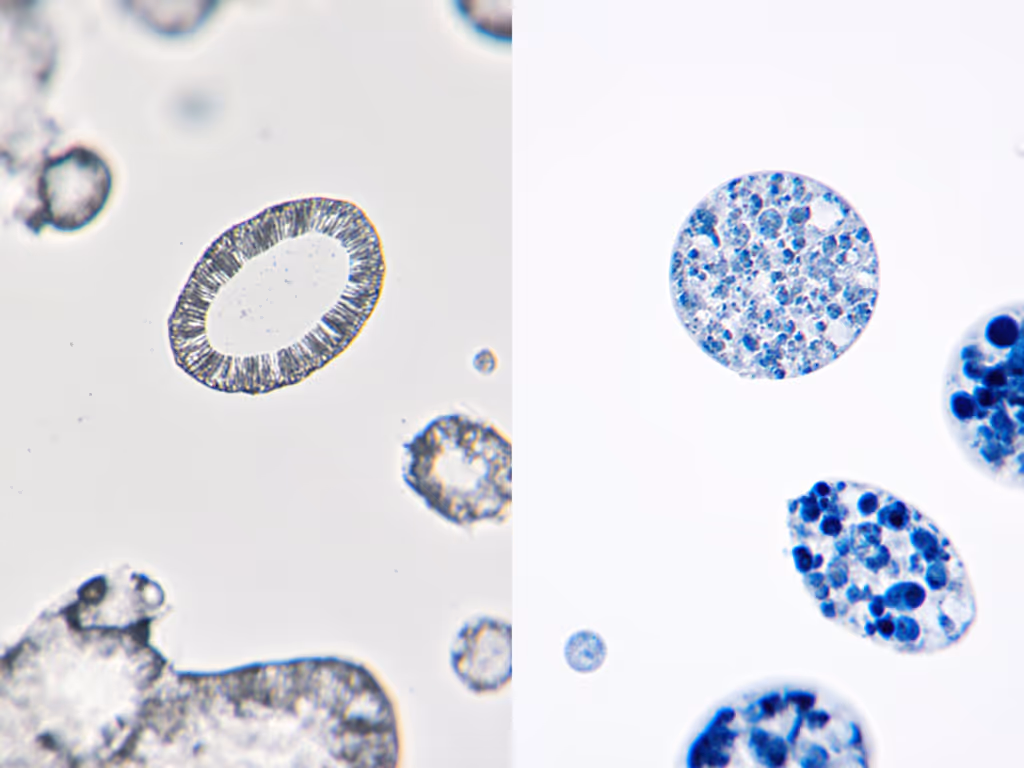
How critical is image processing? I want 'real' shots, not Photoshop.
Minimal processing is non-optional in microscope imaging. Think of it like developing film (not fabrication), but revealing. Stick to these ethical adjustments:
- Noise reduction: Essential for high-ISO video frames (use Topaz DeNoise AI or Lightroom sliders).
- Contrast refinement: Gently boost midtones (never crush blacks).
- Chromatic aberration fix: Correct color fringing from budget objectives.
Over-editing loses scientific credibility. Processing should clarify, not invent, what existed optically. If your stack needed extreme fixes, revisit lighting and stability first. Authenticity builds trust in communities like Microscopy UK.
What's one ergonomic tweak for immediate session comfort?
Raise your eyepiece height so your neck stays neutral (no chin tucks). For every 15 minutes spent, take 60 seconds to:
- Reposition task lighting (away from direct eyepiece glare)
- Roll shoulders while resting wrists
- Blink deliberately (dry eyes skew focus judgment)
This isn't indulgence; it's throughput. When I raised my scope and added wrist support during that algae session, two hours felt like twenty minutes. My images improved because squinting stopped. Curiosity lasts only as long as your body cooperates.
Your Action Step Today
Before your next session, spend five minutes on just one adjustment: Köhler illumination (if lighting's uneven) or condenser height (if depth's shallow). Take three comparison shots (same specimen, pre-and-post tweak). You'll see tangible gains without new gear. Bookmark this checklist, then step away from the scope. Come back refreshed. Let's make long sessions feel short, one steady shot at a time.
Related Articles