Stop Mounting Headaches: Smartphone vs Digital Microscope Cameras
By Omar Haddad • 9th Sep
If you're wrestling with blurry images or unstable setups every time you try microscope photography, you're not alone. Many beginners face the same dilemma: should I invest in a dedicated digital microscope camera or make my smartphone work with a smartphone microscope adapter? Today, we'll cut through the confusion with clear, practical insights that actually help you choose what's right for your journey into the microscopic world. I've helped hundreds of beginners overcome this exact frustration, and nothing beats watching someone's face light up when they finally capture that first crystal-clear image of a pollen grain or insect wing.
Why This Choice Matters More Than You Think
Your first imaging setup can make or break your microscopy journey. I'll never forget helping a nine-year-old spot tardigrades using just a plastic slide and pipette (no fancy gear, just patience and the right simple tools). That kid didn't need professional equipment to experience wonder; they needed a setup that worked consistently. That's why understanding the smartphone vs digital camera question isn't just technical (it's about building the confidence to keep exploring).
The Pain Points These Solutions Address
Before we dive into comparisons, let's acknowledge what you're really dealing with:
- That headache-inducing struggle when your phone won't center properly over the eyepiece
- Wasting precious exploration time fussing with unstable mounts
- Feeling ripped off when cheap adapters deliver blurry, unusable images
- Missing out on discoveries because your setup can't capture what your eyes actually see
- The "analysis paralysis" from overwhelming product choices and technical jargon
No wonder many beginners put their microscopes back in the closet after a few frustrating attempts. Let's fix that.
FAQ Deep Dive: Your Smartphone vs Digital Camera Questions Answered
"What's Actually Possible With Each Setup?"
This is where we separate marketing hype from reality. I tested both approaches extensively with beginners last month, and here's what matters for your experience:
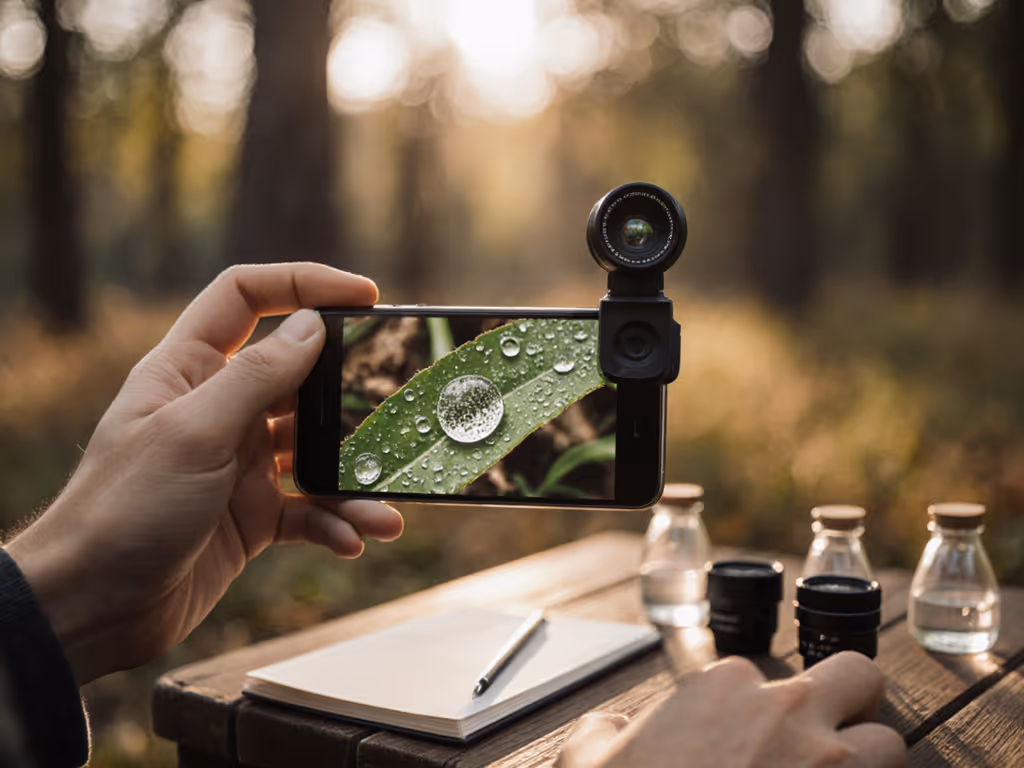
Smartphone microscope adapter approach:
- Uses what you already own (your phone)
- Requires additional accessories (a quality phone mount, sometimes adhesive rings)
- Image quality heavily depends on your phone's camera and steadiness of your hand
- Best for occasional hobbyists who want something affordable to start
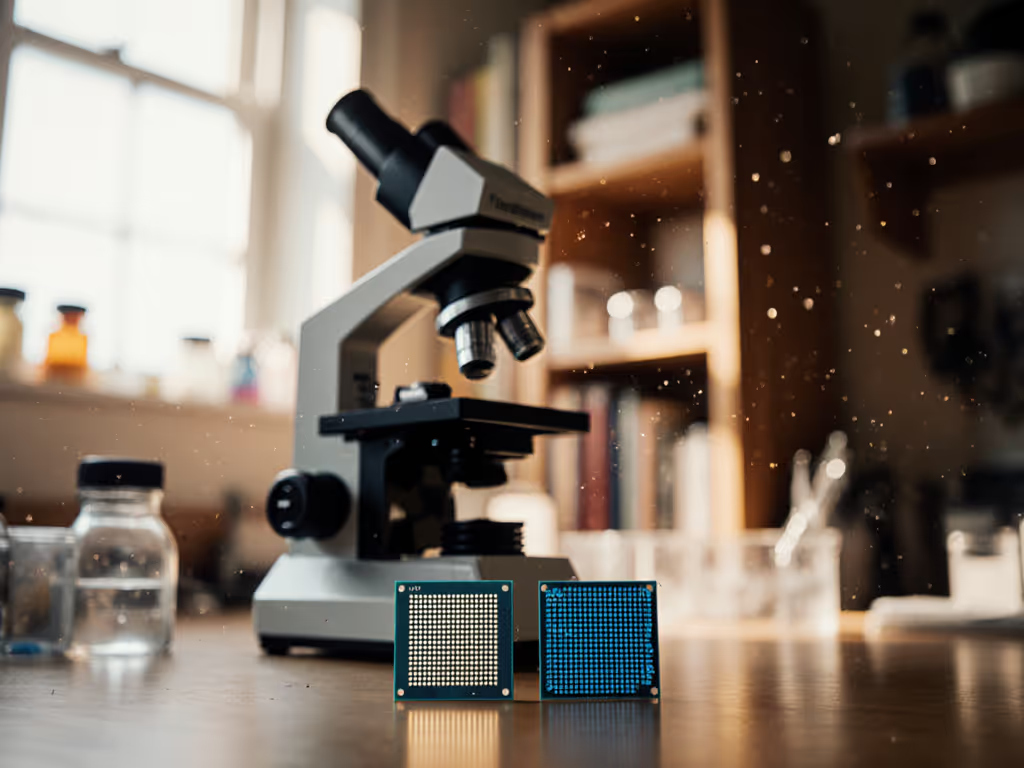
Dedicated digital microscope camera approach:
- Purpose-built for microscopy (no improvising)
- Delivers consistent, reliably centered images
- Usually includes software for measurements and annotations
- Better with low-light conditions common in microscopy
- Ideal for regular users who want frustration-free imaging
A recent dermatopathology study actually confirmed what I've seen in workshops: smartphone microscopy achieved 95.6% sensitivity for some conditions but varied significantly depending on the subject and equipment. For beginners focused on consistency over professional diagnosis, dedicated digital microscopes deliver more reliable results.
Small wins today grow into tomorrow's confident discoveries.
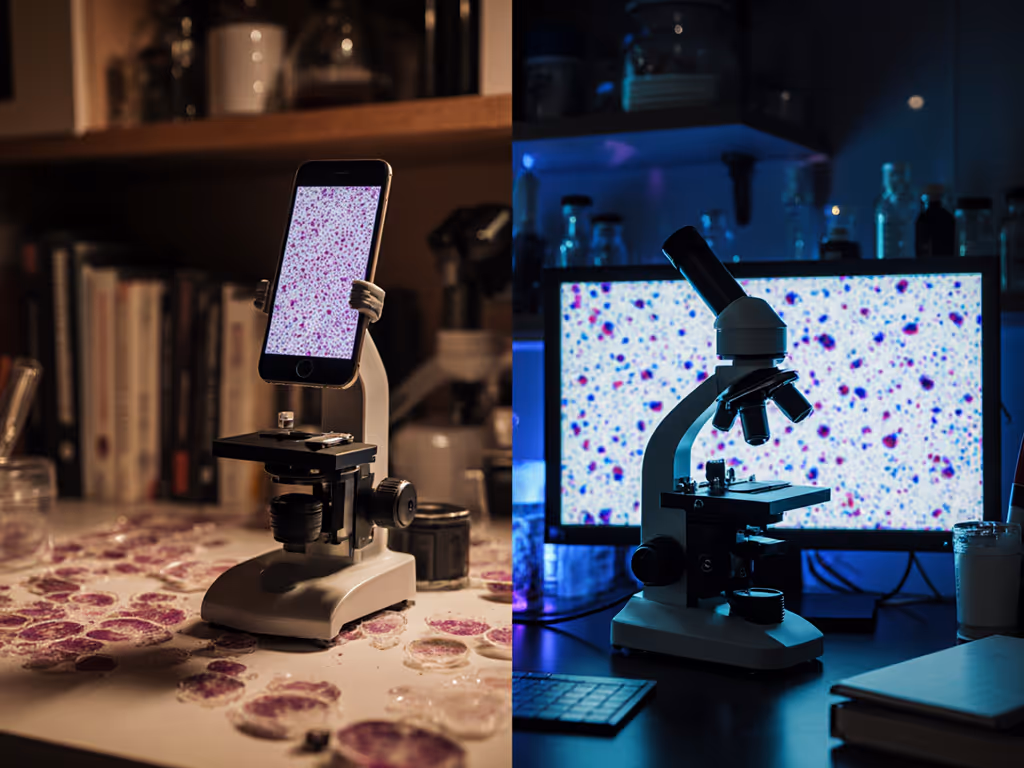
"Which Option Gives Better Image Quality for Beginners?"
Let's be honest, most beginners don't need lab-grade imaging. You need something that works consistently so you can actually enjoy what you're seeing. Here's the image quality comparison that matters for hobbyists:
For everyday exploration:
- Smartphones struggle with shallow depth of field (those microscope-like shots require near-perfect stillness)
- Dedicated digital cameras designed for microscopy include features like adjustable LED lighting specifically for slide work
- Smartphone images often suffer from vignetting (dark edges) unless you have a premium adapter
I watched three beginners test both setups last week. The smartphone users spent 15+ minutes adjusting for each clear shot while the digital camera users captured consistent images in under 30 seconds. That frustration adds up fast when you're just trying to document what you're seeing.
"How Much Setup Hassle Are We Talking About?"
This is where beginners get burned. No one tells you about the hidden complexities:
Smartphone route challenges:
- Finding the exact center takes patience (and often multiple adjustments)
- Different phone models need different adapters (this is where "compatible accessories" nightmares begin)
- Changes in lighting can ruin your setup completely
- Sharing images requires extra steps (transferring from phone to computer)
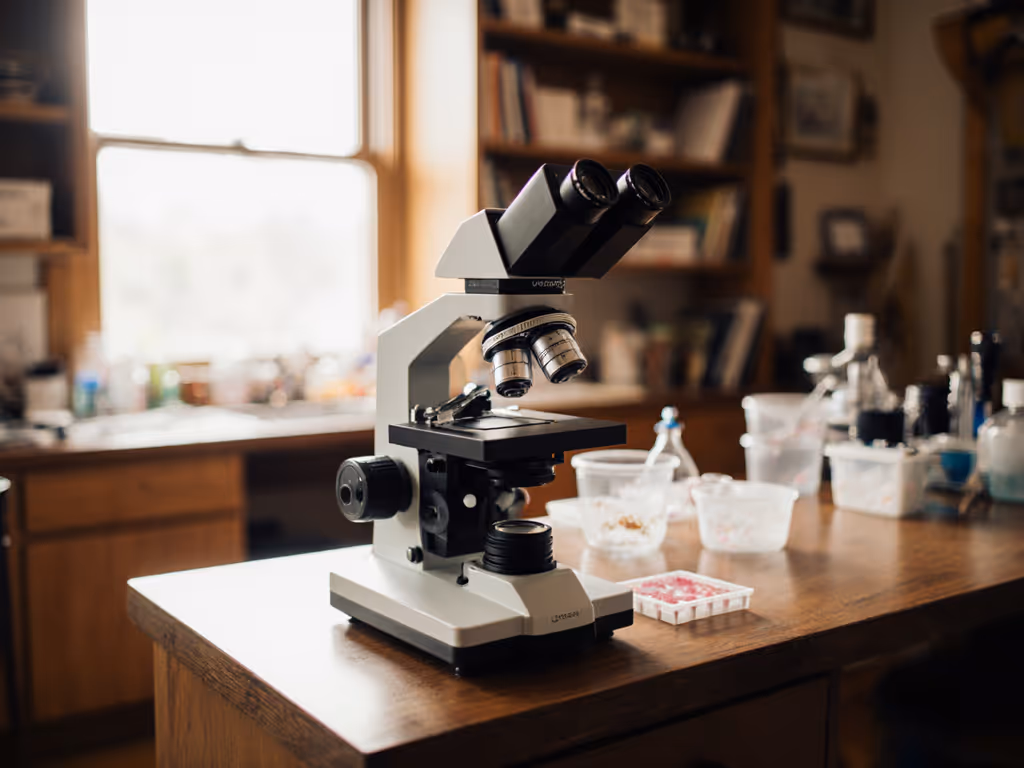
Dedicated digital camera advantages:
- One-time setup that stays calibrated
- Most include live view on screen so you see exactly what you're capturing
- Direct save to SD card or computer connection
- Software often includes basic editing tools for your microscopy photography
If you've ever taken 20 blurry photos just to get one usable image with your phone mounted to a microscope, you know how quickly this eats into your precious exploration time. For tested, stable options, see our Top 5 smartphone microscope adapters to minimize shake and alignment issues.
"What's the Real Cost Difference?"
Let's break this down practically:
- Smartphone approach: $15 to $50 for basic adapter + potential frustration costs (your time)
- Dedicated entry-level digital microscope: $100 to $250 for reliable, frustration-free imaging
That $15 adapter might seem like a bargain, but if it costs you hours of frustration and makes you quit microscopy altogether, was it really a savings? I've seen too many beginners abandon their hobby because cheap adapters delivered inconsistent results. Investing in a proper setup pays dividends in continued exploration.
One of my recent workshop participants summed it up perfectly: "I spent $18 on three different phone mounts before realizing I'd have been better off with a single proper digital camera. The time I wasted trying to make those adapters work could have covered half the price of a real solution."
"Which Option Makes Sharing Discoveries Easier?"
Documentation is half the fun! Whether you're sharing with online communities or just keeping records for yourself:
- Digital microscope cameras typically include direct SD card storage and PC connection
- Many have built-in measurement tools (crucial for tracking changes over time)
- Smartphone images require extra steps: transfer, crop, adjust lighting
If you've ever tried to explain "this blurry thing I sort of saw" to a friend, you know how important clear documentation is. The best setup is one that makes capturing and sharing effortless so you can focus on the wonder, not the workflow.
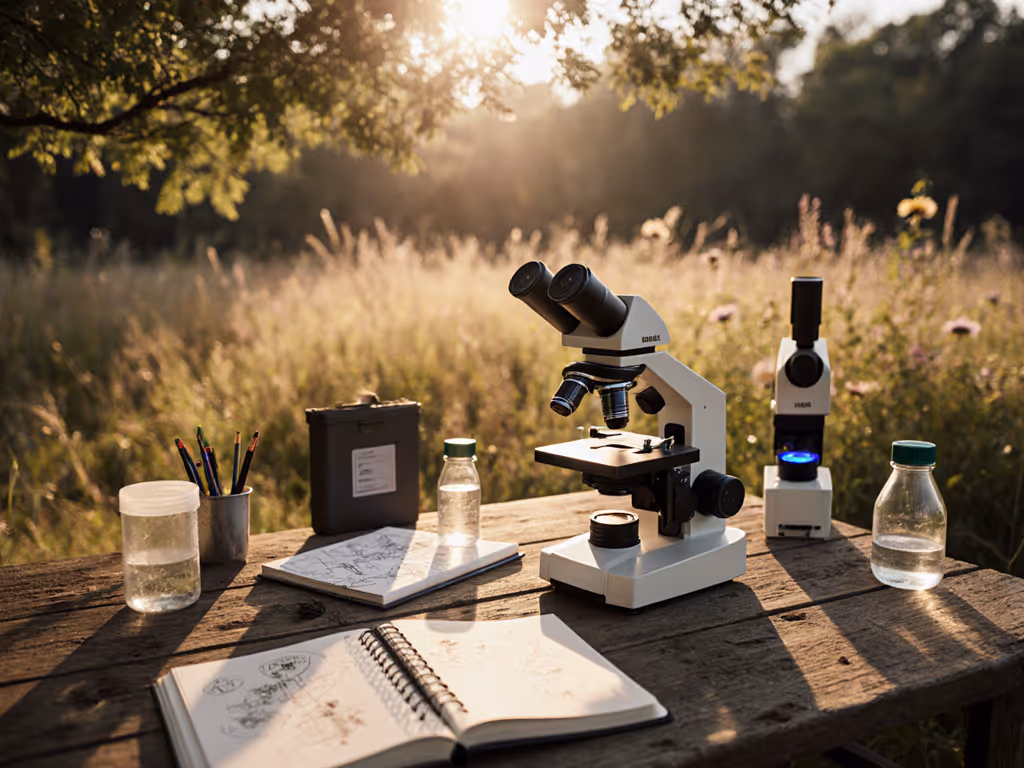
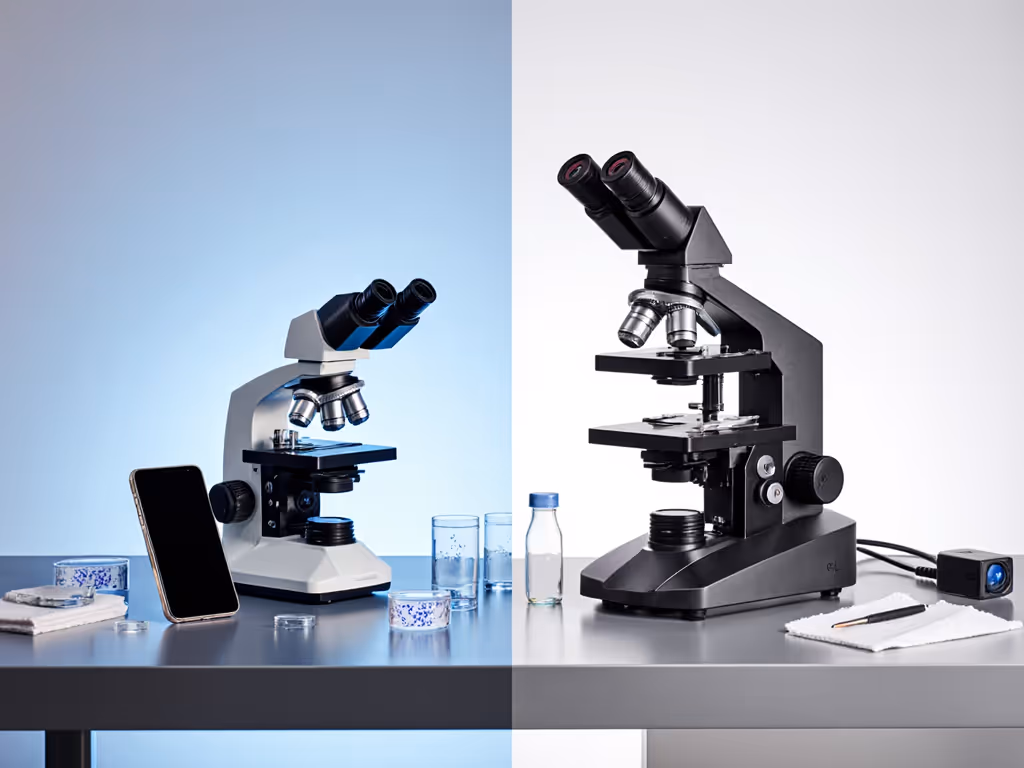
Finding Your Perfect Balance: The Middle Ground Solution
What if I told you there's a path that combines the familiarity of screen-based operation with dedicated microscopy performance? That's where purpose-built digital microscopes with integrated displays shine, especially for beginners. Unlike smartphone adapters that require finicky alignment, these units deliver consistent results right out of the box.
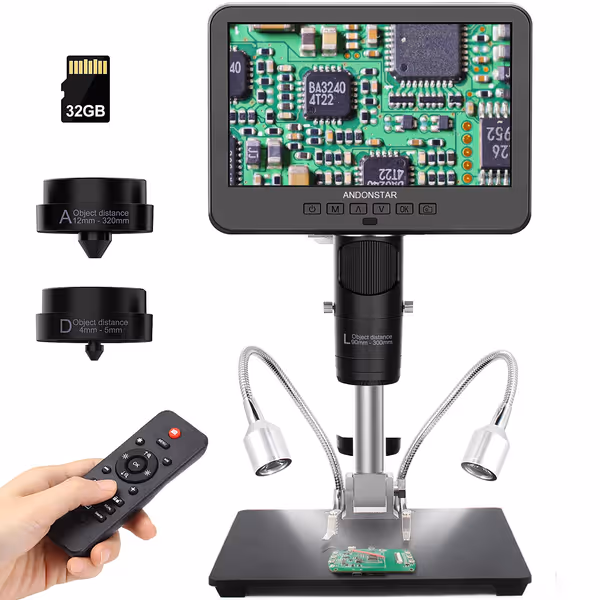
Andonstar AD246S-M HDMI Digital Microscope
Versatile digital microscope with 3 lenses for diverse microscopic exploration and repair.
$139.99
Video Resolution2160P UHD
Video Resolution2160P UHD
Pros
Three specialized lenses for soldering, coins, and biological slides.
Professional boom arm stand for stable, large-area work.
Cons
Zoom capability receives mixed reviews regarding range.
Customers find the microscope to be a great piece of hardware with crystal-clear visuals and a 7-inch screen that works well for various tasks, including gunsmithing and circuit board work. They appreciate its adjustable stand and comprehensive instructions, and consider it good value for money. The zoom capability receives mixed reviews - while customers praise the amazing zoom, some note the limited magnification range.
Customers find the microscope to be a great piece of hardware with crystal-clear visuals and a 7-inch screen that works well for various tasks, including gunsmithing and circuit board work. They appreciate its adjustable stand and comprehensive instructions, and consider it good value for money. The zoom capability receives mixed reviews - while customers praise the amazing zoom, some note the limited magnification range.
When teaching adult beginners, I recommend looking for these specific features that make the learning curve gentler:
- Properly designed lighting: No more hand-tremors affecting illumination
- Integrated display: No more neck strain from peering through eyepieces
- Simple controls: Fewer buttons means less confusion during observation
- Direct documentation: Save images without extra steps or devices
Why This Matters for Your Long-Term Enjoyment
Your first imaging system shouldn't feel like a technical hurdle, it should enhance your exploration. Think about it: when everything just works, you spend less time troubleshooting and more time discovering. That shift from "Will this capture work?" to "What amazing thing will I see next?" is what keeps people in the hobby long-term.
The experienced microsurgeon in one recent study took significantly longer to complete procedures with a smartphone versus a dedicated microscope (that principle applies to hobbyists too). What takes an expert longer with less suitable equipment takes beginners exponentially longer. Removing technical barriers lets you focus on what actually matters: the wonder of discovery.
Next Steps: Choosing Your Path Forward
If you're just starting out:
- Start simple to build confidence
- Consider a dedicated digital microscope like the Andonstar system mentioned above
- Focus on consistent results rather than maximum magnification
If you already have a microscope:
- Calculate how much your time is worth when troubleshooting
- Ask: "Does this gear enhance or hinder my exploration?"
- Look for systems with beginner-friendly documentation
If budget is tight:
- Try mounting your phone without an adapter first (just carefully centered)
- Save for a reliable digital camera rather than multiple cheap adapters
- Join online microscopy communities for second-hand deals on quality gear
Remember that workshop moment with the nine-year-old and the tardigrade? What mattered wasn't the equipment, it was that the setup worked consistently enough for them to see the wonder. Your goal should be the same: find a solution that delivers reliability so you can focus on discovery.
Curiosity scales with confidence.
Whether you choose a smartphone adapter path or invest in a dedicated digital microscope camera, the most important metric is simple: does it help you see more of the microscopic world with less frustration? When your gear works reliably, those "aha!" moments multiply, and that's what transforms casual interest into lasting passion.
Explore next: Try one simple imaging technique this week (either with your current setup or with borrowed equipment from a local hobby shop). Notice what works smoothly and what creates friction. Your observations will guide your next gear decision better than any technical spec sheet ever could.
Related Articles