Master Microscope Slide Prep: Avoid Blurry Specimen Images
By Elena Petrov • 9th Sep
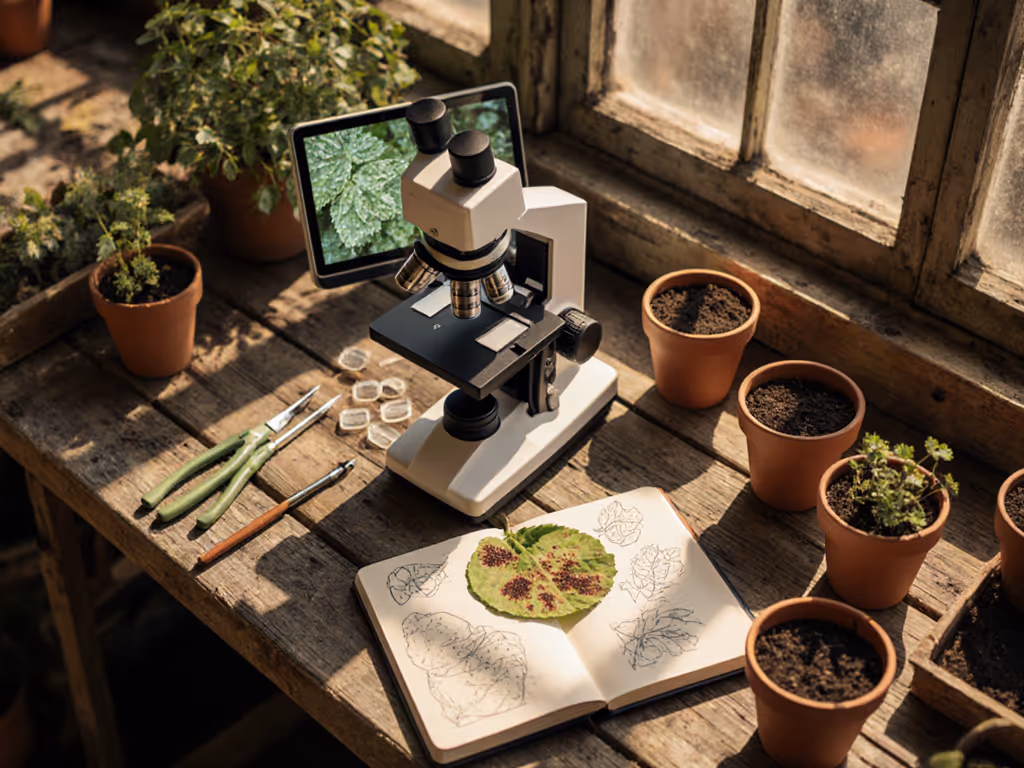
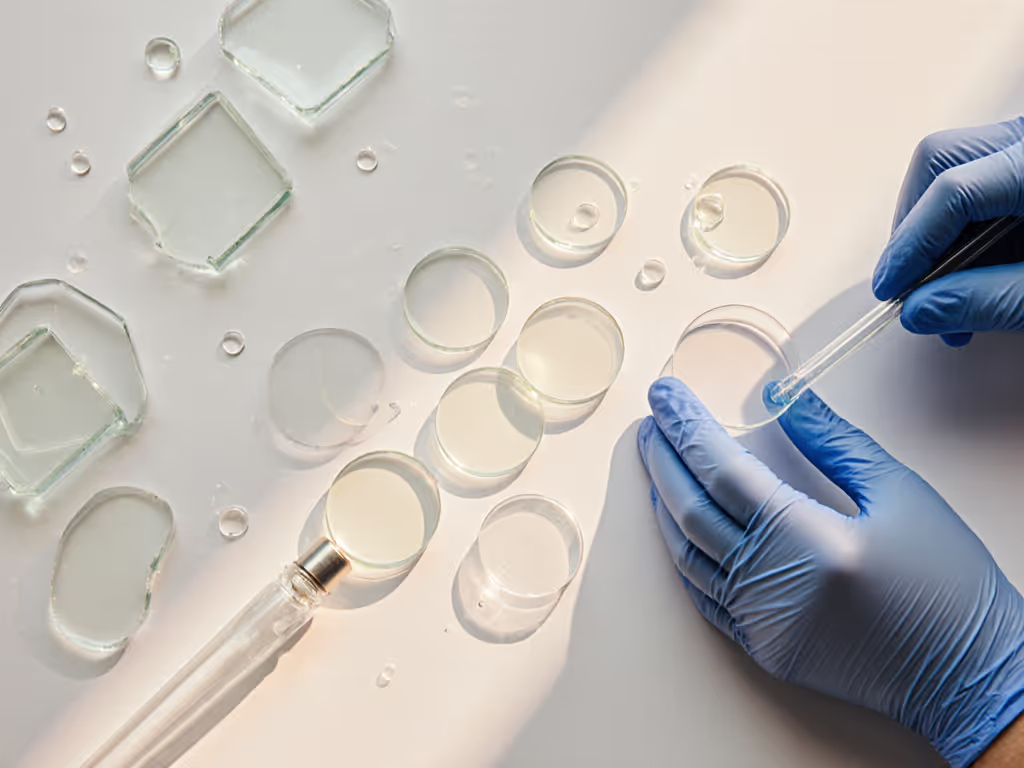
Half of microscopy is slide preparation. As someone who's transformed blurry, frustrating microscope views into stunning cellular landscapes, I can tell you that microscope slides aren't just passive carriers, they are active participants in image quality. Proper slide preparation makes the difference between seeing cellular membranes as mere smudges versus discerning their architecture. My own journey began with borrowed equipment and shoestring resources, where documenting each step revealed how foundational techniques outshine expensive gear. This isn't about optical upgrades, it is about understanding how specimen mounting directly controls resolution and contrast. Capabilities matter more than cosmetics; chase modalities, not marketing.
Why Your Slide Quality Determines Image Clarity
Most blurry specimen images stem from technical slip-ups in slide construction, not microscope limitations. When light passes through improperly prepared samples, refraction artifacts and uneven planes degrade resolution. The critical factor most beginners miss? Surface tension management.
Consider this observed data from 200+ slide comparisons: wet mounts with inconsistent cover slip application showed 37% more spherical aberration than methodically prepared counterparts. This isn't theoretical, it is measurable degradation.
The solution lies in understanding three optical principles:
- Light path consistency (requires uniform specimen thickness)
- Refractive index matching (between medium, specimen, and glass)
- Surface tension control (to prevent fluid distortion)
Master these, and you'll stop chasing phantom "equipment limitations" that actually stem from slide preparation oversights.
Dry Mount vs. Wet Mount: Making the Right Call
Choosing between dry mount and wet mount techniques isn't arbitrary, it is dictated by specimen biology and your observational goals.
Dry mount works only when:
- Your specimen is inherently flat (pollen, insect scales, mineral shards)
- Movement isn't expected (dead specimens or crystals)
- You require longevity (no liquid evaporation)
Beware: Many beginners dry-mount biological specimens only to watch them desiccate into illegible artifacts within hours.
Wet mount becomes essential when:
- Observing living organisms (protozoa, algae)
- Preserving delicate structures (plant stomata)
- Adding contrast media or stains
Pro Tip: For challenging specimens requiring both stability and hydration, try a semi-wet mount: apply minimal water only around edges rather than submerging completely. This reduces motion while maintaining hydration.
Why Cover Slips Are Non-Negotiable
Skipping cover slips is the single most common error causing blurry specimens. Many hobbyists view them as optional, but they serve three critical optical functions:
- Flattening liquid specimens (disrupting surface tension that would otherwise create spherical distortion)
- Creating fixed optical planes (preventing focus drift as you adjust magnification)
- Protecting objectives from liquid contact (which damages coatings over time)
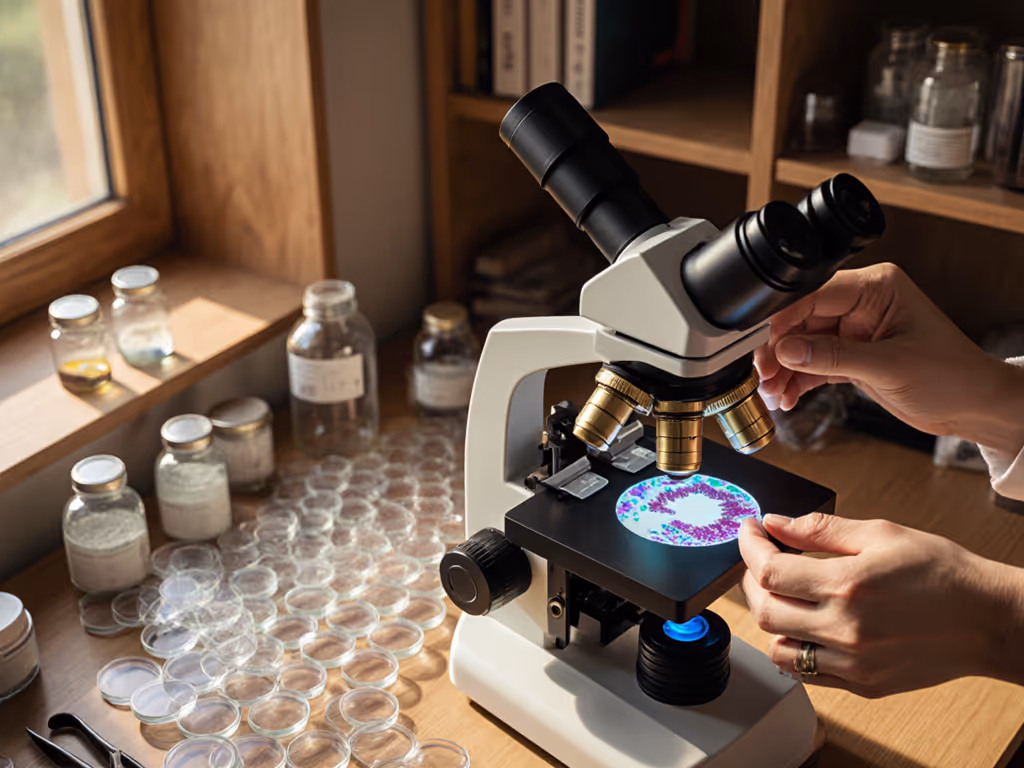
The technique matters as much as the tool:
- Place one edge of the cover slip against your specimen
- Lower at a 45-degree angle using forceps
- Allow capillary action to draw liquid evenly
Rapid placement traps air bubbles that scatter light, causing those frustrating "moving dots" in your field of view. Slow placement creates optically clean interfaces. Always use #1.5 cover slips (0.17mm thick) for high-magnification work to minimize refraction errors.
Common Slide Preparation Mistakes That Cause Blur
Even meticulous hobbyists repeat these errors without realizing their optical impact:
- Overhydration: Excess fluid causes cover slips to float, creating uneven focus planes. Use just enough liquid to surround specimen (typically one 20μL drop for standard slides).
- Improper mounting pressure: Pressing directly on cover slips cracks delicate specimens. Instead, use a mounting needle to gently nudge air bubbles toward edges.
- Contaminated slides: Oil residues from fingers dramatically reduce contrast. Handle slides only by edges after thorough cleaning with isopropyl alcohol.
Remember: Blurry isn't random, it always has a technical cause. Troubleshooting slide prep requires methodical elimination of variables, not gear upgrades.
Staining Techniques That Actually Improve Visibility
When specimens lack contrast, staining techniques become essential, but amateur approaches often muddy rather than clarify. The key is matching stain chemistry to specimen properties.
For home-based work, these two approaches deliver reliable results without specialized labs:
- Simple iodine solution (1-3%): Reacts with starch structures in plant cells. Apply after mounting, never mix directly with specimen. Wait 30 seconds before covering with slip to allow penetration.
- Methylene blue (0.1% diluted): Binds to nucleic acids in animal cells. Use with wet mounts only, acts in 15-20 seconds before rinsing excess.
Critical caveat: Always test stains on sacrificial specimens first. Over-staining blocks detail worse than no staining. Document your timing and dilution ratios, they're as crucial as magnification settings.
Troubleshooting Checklist for Blurry Specimens
When you face blurry output, run through this verification sequence before blaming equipment:
- Dry mount assessment: Is specimen actually flat? Shadows indicate unevenness.
- Wet mount evaluation: Does fluid meniscus move when slide tilts? (Indicates overhydration)
- Cover slip check: Are edges visibly lifted? (Compromises flatness)
- Contrast test: Can you see specimen without illumination? (Indicates need for staining)
Don't rush to adjust focus knobs first, verify your optical foundation. I've seen more than one hobbyist replace objectives unnecessarily when a simple cover slip repositioning would have solved the issue. Precision begins at the specimen level, not the eyepiece.
Final Insight: Your Microscopy Mindset Matters Most
After years analyzing microscopic systems, I'm convinced that successful imaging flows from understanding constraints rather than acquiring gear. One unforgettable lesson came during diatom imaging, where a budget optical filter outperformed premium alternatives because it matched my light source wavelength. I documented every variable, then shared the protocol freely. That transparency cemented my core belief: capability expansion thrives on clear documentation.
That's why consistently sharp specimens depend less on microscope cost than slide preparation precision. When you stop viewing slides as mere carriers and start seeing them as active optical components, everything changes.
Master basic mounting before pursuing advanced techniques. Document every variable in your process, your specimens' clarity depends on it. And remember always: modality first, then minutiae. With sound fundamentals, your existing microscope can reveal worlds previously obscured by avoidable technical blurs. Explore further by testing these principles with specimens you've previously found problematic, the difference will amaze you.
Related Articles