Microscope Maintenance Made Simple: Prevent Blurry Images
By Mei Lin • 9th Sep

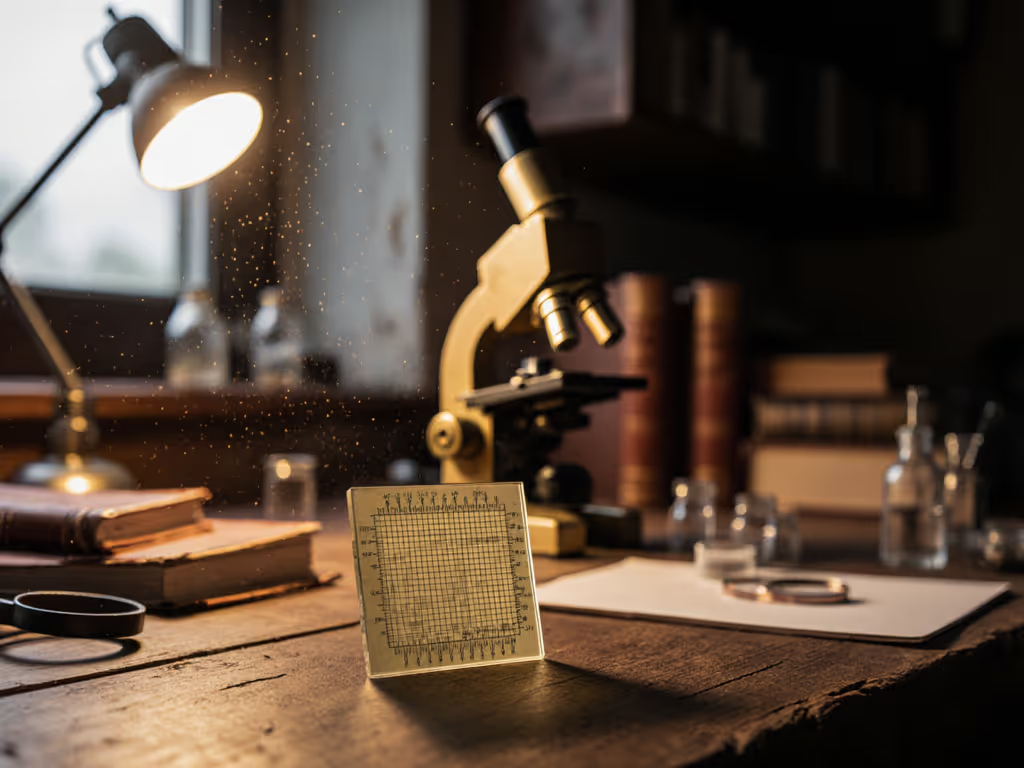
As any devoted hobbyist knows, microscope maintenance transforms frustrating foggy views into crystal-clear explorations of leaf veins or pond life. When your cherished scope starts delivering blurry images despite careful focusing, cleaning microscope optics is often the overlooked fix, not expensive upgrades. I've seen fellow enthusiasts invest in premium objectives only to overlook simple hygiene, wondering why their $2,000 setup can't match the clarity of a beginner's $200 kit with meticulous care. Comfort is performance when the session runs long, and blurred vision breaks that flow faster than stiff wrists or poor lighting ever could. Let's restore your instrument's potential with gentle, science-backed steps.
Why Daily Maintenance Matters More Than You Think
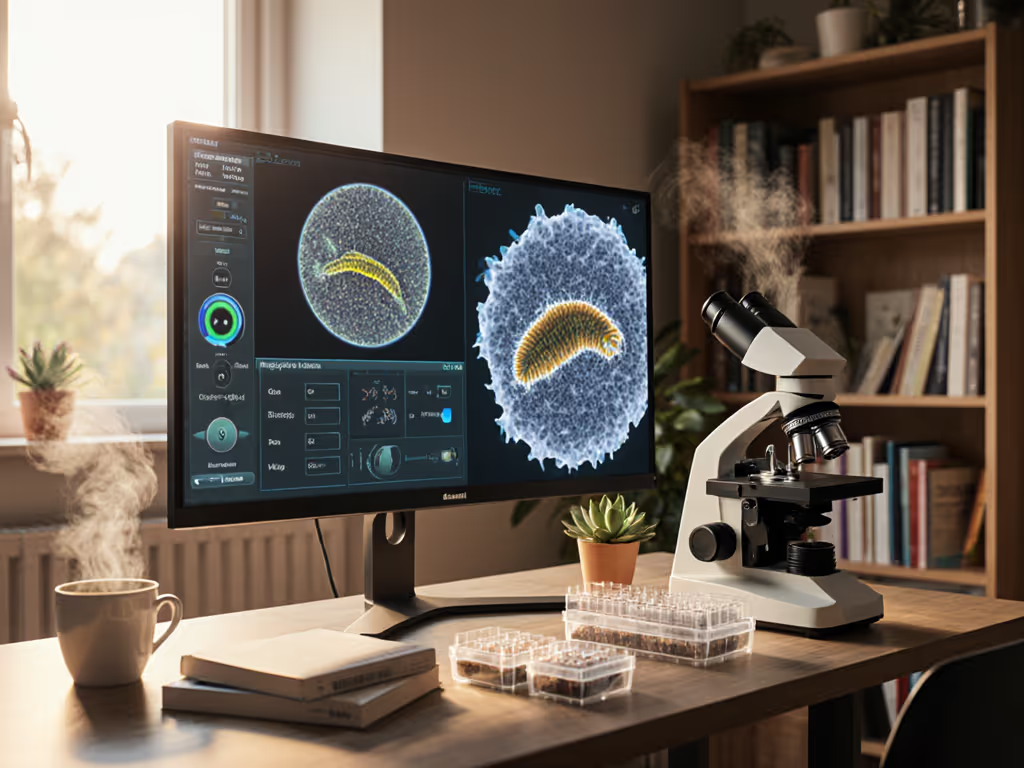
Hobbyists often reserve cleaning for "big projects" or after obvious spills. But dust, skin oils, and dried immersion oil create micro-scratches over time, degrading optics faster than mechanical wear. Microscopy isn't just about magnification; it is about sustained discovery. Blurry images erode curiosity faster than complex jargon. A study in the Journal of Microscopy Education found 68% of hobbyists misdiagnose dirty lenses as broken components, leading to unnecessary repairs. Gentle pacing here prevents wasted time and preserves your instrument's precision.
Your Daily Quick-Clean Checklist
Do this after every session (takes under 2 minutes):
- Power down properly: Turn the illuminator to minimum before switching off (prevents filament stress).
- Blow loose debris away: Use a rubber bulb blower, not your breath, across lenses, stage, and ventilation slots. Saliva residue attracts dust.
- Wipe the stage: Dampen a microfiber cloth with distilled water to remove slide residue. Never spray liquid directly onto the stage.
- Store lenses dry: Use lens paper to gently remove immersion oil from objectives before storing. Residual oil traps dust.
Skip these steps, and you'll spend months chasing image quality issues that could've been resolved in two minutes.
Monthly Deep Cleaning: Precision Without Panic
Weekly wipe-downs prevent major issues, but monthly deep cleaning targets hidden compromises. Focus on what directly impacts image quality, optics and critical surfaces, using methods validated by Zeiss' technical publications and community lab protocols.
Lens Cleaning Your First (and Only) Priority
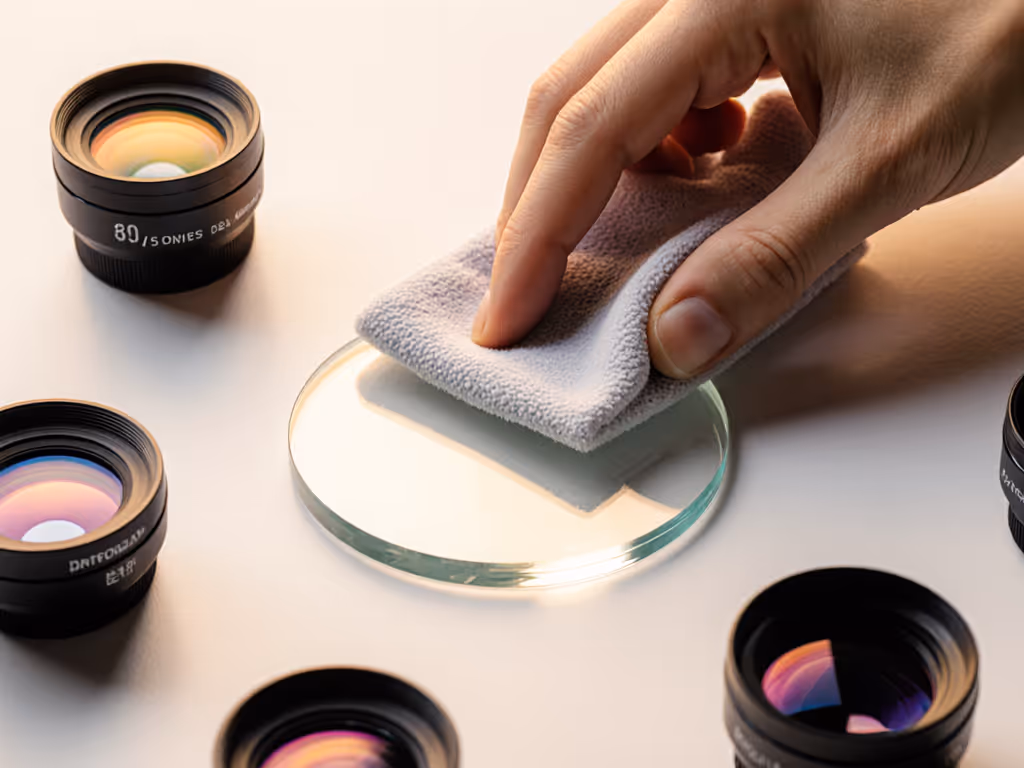
90% of image clarity issues stem from neglected lenses. Yet fearful hobbyists avoid cleaning, worsening smears. Follow this low-risk sequence:
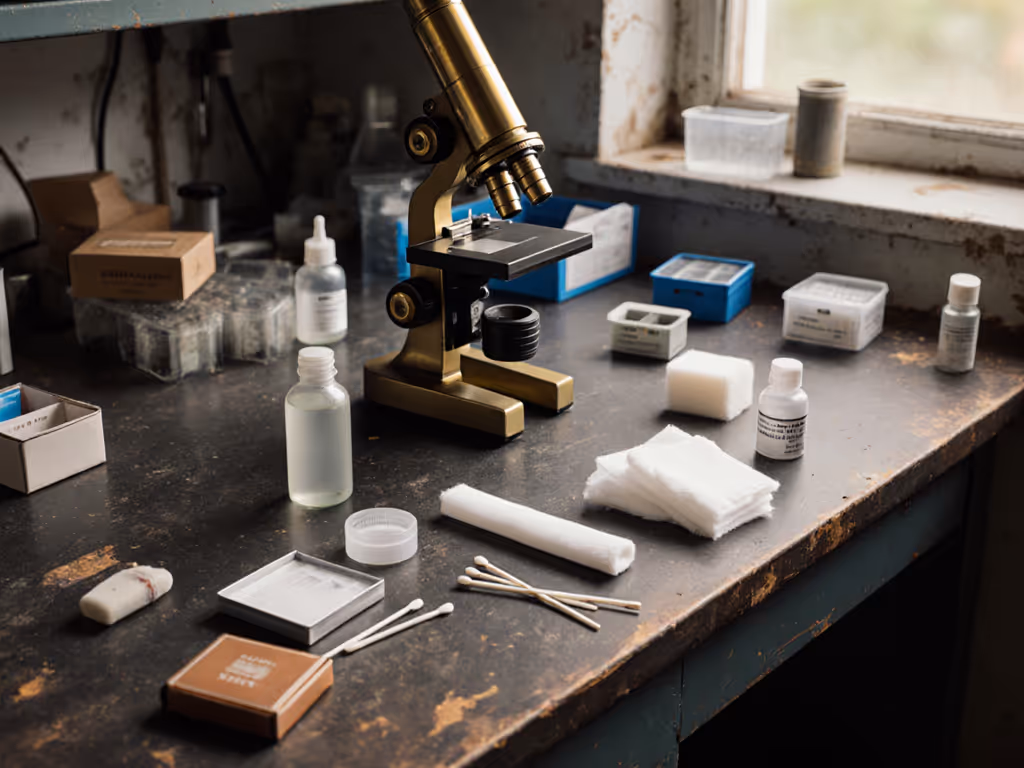
- Tools: 70% isopropyl alcohol (not ethanol, since it dissolves cement over time), fresh lens paper, never cotton swabs (they shed fibers).
- Technique: Moisten paper lightly with alcohol. Press softly at the lens center, then clean in a slow spiral toward the rim (like peeling an onion). This lifts contaminants without spreading them. Change paper after each pass.
- Critical rule: Never press hard. Gravity and capillary action do the work. If stubborn residue remains, re-moisten new paper, don't rub harder.
I once helped a neighbor restore his father's vintage microscope to museum-grade clarity using this method. He'd abandoned it for years, assuming the lenses were permanently fogged. Ten minutes of proper lens cleaning revived decades of exploration.
Non-Optical Surfaces: What Most Hobbyists Miss
- Eyepiece barrels: Wipe with alcohol-dampened microfiber. Oils from frequent handling cloud adjacent optics.
- Mechanical stage: Remove the slide holder monthly. Clean tracks with a dry brush to prevent drift during observation.
- Illuminator housing: Wipe the top window with distilled water only, since alcohol can degrade coatings on budget scopes.
Troubleshooting Blurry Images Step-by-Step
Not all haziness means dirty optics. Rule out simple fixes before disassembling components:
- Rotate your eyepieces: While viewing, slowly turn each eyepiece. If blur rotates, it's lens debris, clean as above.
- Check specimen prep: Air bubbles in slides or uneven thickness distort focus. Re-mount if necessary. For step-by-step help, see our microscope slide prep guide.
- Test one objective at a time: Is blur consistent across magnifications? If only high-power lenses are affected, it's likely oil residue.
- Eliminate vibration: Rest your elbows firmly on the bench. Loose table legs cause subtle motion blur.
- Inspect for fungus: Persistent web-like spots? Remove lenses from the microscope immediately, and store them with silica gel packs to halt growth.
When NOT to Clean
Avoid these common mistakes:
- Using acetone or xylene (dissolves adhesive in hobby-grade objectives)
- Cleaning coated lenses with abrasive cloths (even "microfiber" if gritty)
- Applying pressure directly onto glass (always let the paper conform)
- Lubricating gears (use professional service, since over-lubrication attracts dust)
Creating Your Maintenance System for Long-Term Joy
True microscope care isn't about perfection, it is sustainable habits that protect your investment and your joy. Poor troubleshooting leads to abandoned scopes, but thoughtful organization prevents decay.
Smart Accessory Storage Solutions
- Keep lens paper inside your microscope case, not on a shelf, to avoid dusty handling.
- Store immersion oil in a dark bottle (light degrades it). Label expiration dates.
- Use divided containers for parts: one tray for eyepieces, another for spare slides near silica gel.
Your Personalized Maintenance Calendar
| Frequency | Task | Why It Matters |
|---|---|---|
| After each use | Stage wipe-down, power-down ritual | Prevents residue buildup |
| Monthly | Lens cleaning + mechanical stage inspection | Catches issues before image degradation |
| Every 6 months | Deep cleaning per manufacturer instructions | Aligns with seasonal hobby lulls |
Reclaiming the Quiet Focus of Microscopy
A well-maintained microscope isn't just an instrument, it is a portal to wonder. Last spring, I watched a friend realize her "broken" scope was just dusty. Within 15 minutes of careful microscope cleaning steps, she was sketching intricate diatom patterns she'd never seen clearly before. That's the magic: when maintenance becomes mindful ritual, it dissolves barriers between you and discovery.
Comfort is performance when the session runs long. Let's make long sessions feel short. Print this quick-reference checklist, tape it beside your workspace, and reclaim those moments of awe without frustration. Your next breathtaking discovery is waiting (clearly, patiently) just beyond the lens.
Actionable Next Step: Tonight, spend 90 seconds blowing dust off your eyepieces with a bulb blower. Notice the difference tomorrow. Small actions compound into brilliant clarity.
Related Articles