Stop Struggling With Blurry Microscopy: AI Solutions Revealed
By Diego Silva • 10th Oct
Ever stare through your microscope at a specimen that should be fascinating, only to be met with frustrating blurriness or inconsistent lighting? You're not alone. Many hobbyists hit this wall, wondering why their images look nothing like the crisp examples they see online. The good news is that AI microscopy and automated image analysis are rapidly changing the game, even for those of us on a budget. These technologies aren't just for labs with six-figure equipment budgets anymore. Let me show you how to bring these capabilities to your home setup without breaking the bank.
The Frustration Every Microscopy Hobbyist Knows
Imagine this: you've carefully prepared a slide of pond water, excited to document the bustling micro-world within. But when you look through your eyepiece, the details are soft, the contrast is poor, and capturing a decent photo seems impossible. You've probably spent hours adjusting lighting, tweaking focus, or even considering expensive upgrades, all while feeling that nagging suspicion that your equipment just isn't "good enough."
This blurred reality affects more than just your enjoyment. It limits your ability to properly document specimens, share discoveries with online communities, or even identify what you're seeing. Without clear images, microscopy becomes more frustrating than fascinating. And let's be honest, most of us aren't willing to drop thousands on professional imaging systems. I've been there myself, years ago when I needed oblique lighting but had only twenty dollars to work with.
Why Traditional Solutions Fall Short
The path to clearer microscopy images often leads hobbyists down frustrating dead ends:
- Expensive proprietary systems that cost more than your entire microscope setup
- Generic accessories that promise much but deliver blurry, inconsistent results
- Overwhelming technical jargon that makes simple upgrades feel like rocket science
- Incompatible gear that sends you down rabbit holes of adapters and modifications
Many hobbyists fall into the trap of believing that better results require professional-grade equipment. But here's what most salespeople won't tell you: the bottleneck isn't always your microscope (it's often your image processing workflow). Those beautifully detailed microscopy images you see online? They're rarely raw captures. They've been enhanced through techniques that until recently required expensive software or expert knowledge.

ZEISS Screen Cleaning Combo Kit
Streak-free clarity for all your screens, safely and effectively.
$14.99
FormulationAlcohol-free & Ammonium-free
FormulationAlcohol-free & Ammonium-free
Pros
Streak-free cleaning for all electronics.
Gentle, effective, and non-abrasive formula.
Cons
May require multiple wipes for very large screens.
Customers find the screen cleaning kit effective, noting it cleans faster than Zeiss lens cleaner and works well on tablets. They appreciate that it leaves no smudges, with one customer mentioning it works without leaving scratches or streaks.
Customers find the screen cleaning kit effective, noting it cleans faster than Zeiss lens cleaner and works well on tablets. They appreciate that it leaves no smudges, with one customer mentioning it works without leaving scratches or streaks.
Affordable AI Microscopy Solutions Within Your Reach
The landscape has changed dramatically thanks to advances in machine learning microscopy and accessible computing power. You don't need a Ph.D. in computer science or a lab budget to leverage these tools. Here's how you can implement smart solutions that work with your existing equipment:
Start with What You Already Own
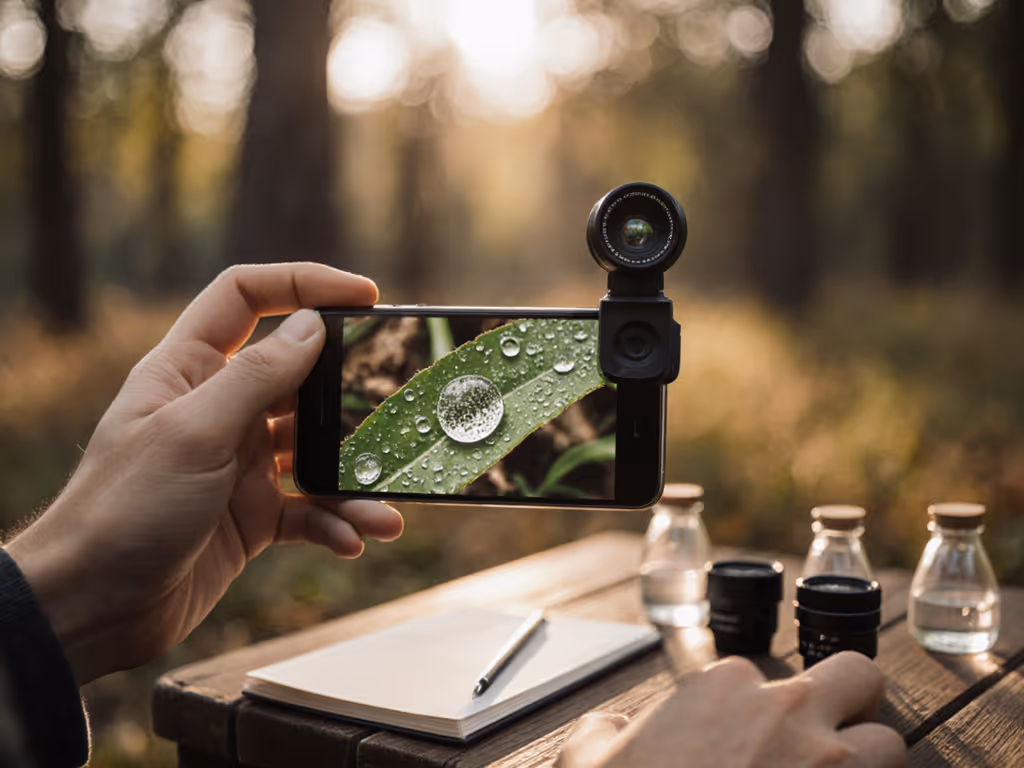
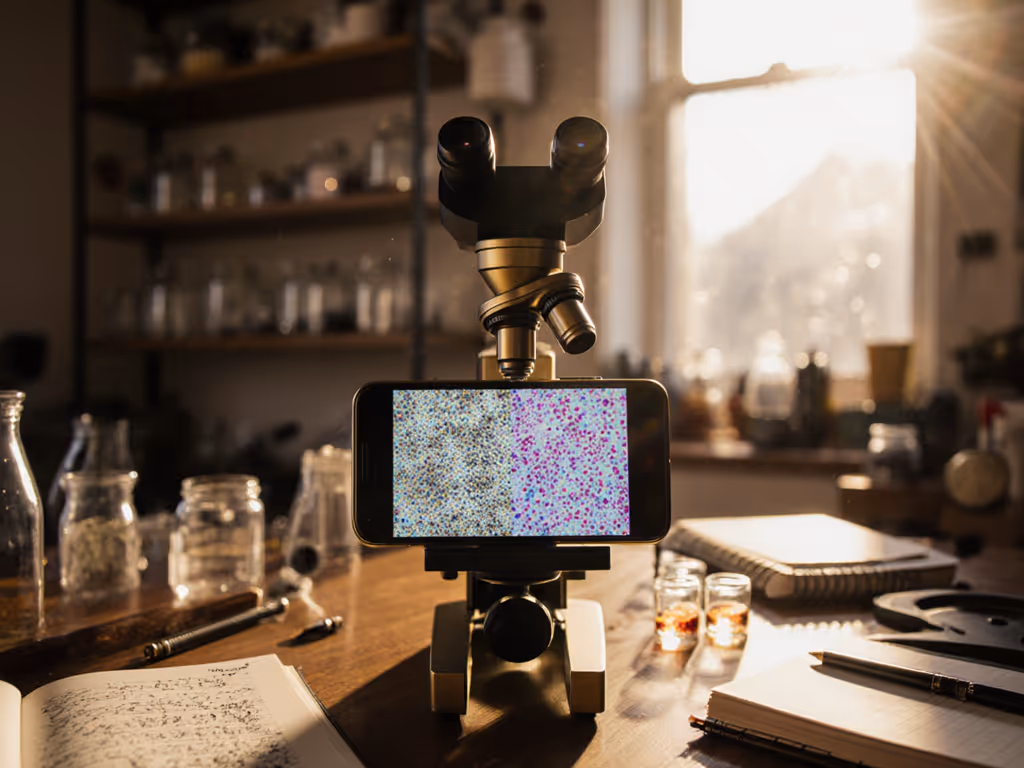
Your smartphone or entry-level digital camera is likely more powerful than you realize. Many modern devices include basic AI image processing capabilities that can significantly improve your microscopy photos when used correctly:
- Use burst mode to capture multiple frames and stack them for reduced noise
- Enable portrait mode on some phones to help with depth perception in layered specimens
- Try night mode for better low-light performance with transmitted illumination
Free and Low-Cost Software Options
Don't assume you need expensive proprietary software. Several open-source tools deliver professional-grade automated image analysis:
- ImageJ/Fiji: Free platform with AI-powered plugins for denoising and segmentation
- Cellpose: Open-source tool for cell segmentation that runs on modest hardware
- DeepLabCut: Originally for animal pose estimation, but adaptable for microscopy
Build, test, iterate: this is the maker's mantra that transforms frustrating limitations into satisfying breakthroughs.
Practical Implementation Guide
Here's a straightforward approach I've used successfully with my own setup:
Basic AI Microscopy Enhancement Setup
| Component | Budget Option | Cost | Safety Note |
|---|---|---|---|
| Camera | Smartphone or used webcam | $0-$25 | Ensure proper mounting to avoid falls |
| Software | ImageJ with Denoise Tutorial plugin | Free | Verify compatibility with your OS |
| Processing | Older laptop or Raspberry Pi 4 | $35-$100 | Use proper ventilation during long processes |
| Total | Under $135 |
Step-by-Step Implementation:
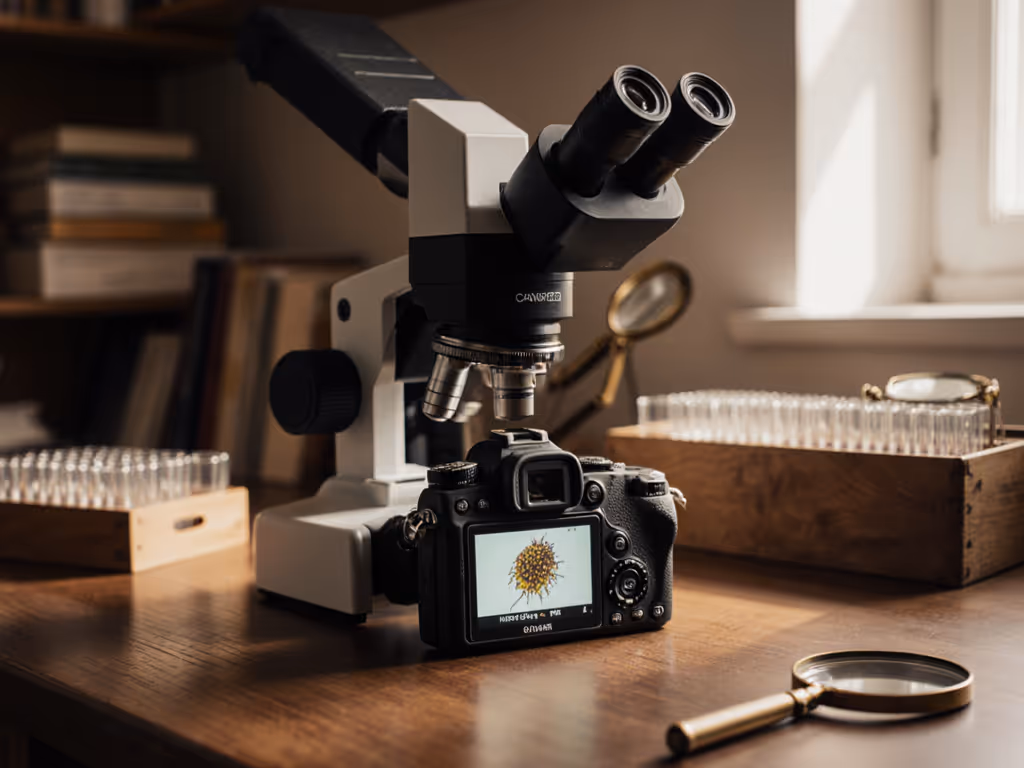
- Mount your camera securely to your microscope's eyepiece (I 3D-printed a simple adapter for $1.20 in filament)
- Capture multiple images of your specimen at consistent exposure
- Download and install ImageJ with the Denoise Tutorial plugin
- Process your images through the AI denoising workflow
- Compare results and adjust parameters as needed
This approach leverages computer vision microscopy techniques that used to cost thousands, now available for less than the price of a decent microscope slide box. The key is understanding that AI won't fix fundamentally poor optics, but it can dramatically improve what your existing setup is capable of capturing. If optics are the issue, start with our microscope maintenance guide to prevent blurry images.
Smart Microscopy on a Maker's Budget
Remember my $20 lighting solution from years ago? That same spirit of resourcefulness applies to AI microscopy. You don't need the most expensive gear, just thoughtful implementation of the right tools. Build what you need, spend where it counts most (in this case, your time learning image processing rather than chasing expensive hardware).
The most significant breakthrough came when I stopped thinking of AI as something separate from my microscope and started viewing it as just another tool in my maker's kit (like my 3D printer or soldering iron). These "smart microscopy" solutions aren't magic; they're accessible technologies that respond beautifully to careful tweaking and experimentation.
Your Path Forward
AI microscopy doesn't have to be intimidating or expensive. Start small with one technique that addresses your most frustrating limitation. Maybe it's image stacking to reduce noise, or basic segmentation to highlight structures in your specimens. Document your process with clear notes on what works and what doesn't. This is where those detailed parts lists and cost breakdowns pay off.
The community aspect matters too. Online forums are full of makers sharing their AI microscopy tweaks, from optimized parameter sets to custom 3D-printed mounts that improve image capture stability. Jump into these conversations, you'll find most enthusiasts are happy to share their hard-won knowledge.
Final Thought
As hobbyists, we have an advantage professional researchers sometimes lack: the freedom to experiment without pressure. While they're constrained by protocol and expensive equipment, we can try unconventional approaches that lead to genuine discovery. That's the beauty of modern AI microscopy: it puts capabilities in our hands that were unimaginable even a decade ago.
So next time you're faced with a blurry specimen, don't reach for your wallet immediately. Instead, try one of these accessible AI techniques. Build, test, iterate on your solution. In the end, it isn't about having the most expensive gear. It's about seeing the unseen, and that's possible with ingenuity at any budget level.
Ready to explore further? Check online communities like the DIY Microscopy subreddit or OpenHardwareMicroscopy for specific tutorials matching your equipment. Search for "AI microscopy starter workflows" along with your microscope model. You'll be surprised what fellow hobbyists have already documented.
Related Articles