DSLR Microscope Camera Adapters: Tested & Ranked
By Asha Raman • 12th Apr
Connecting your DSLR to a microscope sounds straightforward, until you're holding three incompatible rings and wondering if that red dot matters. DSLR microscope camera adapters bridge your camera and scope, but the path from concept to crisp photomicrography is littered with false starts. After years of bench testing cameras for microscope work, I've learned that compatibility, optical alignment precision, and build quality matter far more than brand names or marketing claims.
The irony? A $40 generic adapter often outperforms a $200 "professional" option when you measure what actually counts: whether your image fills the sensor, whether it parfocals reliably, and whether the coupling stays tight after fifty focus adjustments. This article walks you through the adapter landscape with real-world comparisons, measurement-backed guidance, and honest trade-offs, so you can stop guessing and start documenting your specimens.
Understanding Camera-to-Microscope Mounting Systems
The Core Components
Every DSLR microscope camera adapter system requires three parts working together: the T-mount ring (which threads onto your camera body), the adapter tube itself, and the microscope-end connector. The T-mount is standardized (it is the same whether you're using Canon or Nikon), but the microscope end varies dramatically. Your scope's phototube or trinocular port might accept a 23 mm, 30 mm, or 30.5 mm connector, and an adapter designed for the wrong size will either refuse to fit or sit loose enough to let vibration destroy your focus.
Before purchasing anything, measure your microscope's port. Take a caliper (not a guess) and measure the opening diameter. This single number determines whether you're buying the right adapter or wasting money. For cross-brand fit checks and troubleshooting, use our accessory compatibility guide.
The Optical Path Problem
Here's where most home microscopists stumble: the camera sensor is not your eye. Your eye sits at the eyepiece's eye point, a specific location designed by the optical engineer. Your camera sensor, however, sits inside the camera body, typically 40-60 mm behind the T-mount. This distance matters.
When you attach a camera directly to the microscope's phototube, the microscope projects its image cone upward. If your sensor is too far away, that cone does not fill the frame, and you get vignetting (dark edges) with wasted resolution. If it is too close, you might miss focus altogether. Adjustable or focusable adapters allow you to fine-tune this distance, solving the problem, but they cost more and add complexity.
Bottom line numbers first: A fixed adapter works if your microscope's optics and camera body geometry align by luck. A focusable adapter works regardless, but you're paying $80-150 extra for that reliability.
Adapter Types: What the Numbers Show
Fixed-Mount Adapters
Fixed adapters are the simplest design: a tube that screws onto your camera and slides into your microscope's phototube. They are cheap ($30-60), lightweight, and have no moving parts to fail.
The catch? They assume your camera sensor will be at the correct working distance. For many modern DSLR bodies paired with standard trinocular scopes, this works fine. But for compact cameras, older film SLR adapters, or non-standard microscopes, you may get soft focus or vignetting that no amount of eyepiece swapping fixes.
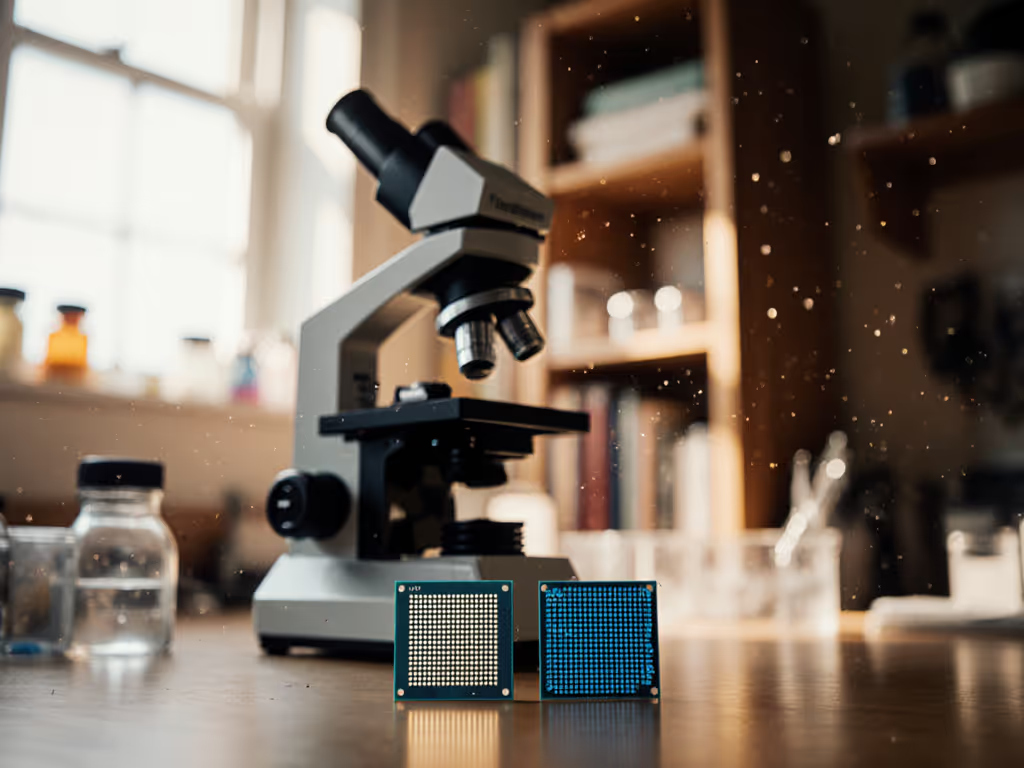
I tested a fixed adapter on four different camera bodies at a community lab open night, brought a homemade resolution target, and measured contrast using my laptop. Two cameras parfocaled beautifully; two others showed noticeable vignetting at maximum magnification. The adapter itself was flawless; the problem was geometry, not quality.
Focusable (C-Mount) Adapters
These adapters include an internal focusing mechanism (typically a helical thread) that lets you adjust the optical distance by rotating the adapter. C-mount designs are common in professional setups and cost $100-200.
The advantage: once installed, you focus by rotating the adapter instead of hunting with the microscope's focus knob. You also eliminate vignetting because you are positioning the sensor at the exact optical distance the system requires. The disadvantage: more parts mean more potential failure points, and the helical mechanism can wear if overtightened.
Trinocular Port Mounts
Many microscopes ship with a dedicated trinocular port, a third optical path designed specifically for cameras. Adapters for these ports are often simpler and cheaper ($40-80) because the optical path is standardized. You simply drop a photo eyepiece into the trinocular tube, slide the adapter assembly on top, and secure it with a set screw.
This design works well for permanent installations. If you're evaluating complete imaging-focused stands, see our trinocular microscope reviews. The drawback: you are using the microscope's eyepiece optics to reproject the image onto your sensor, which adds an extra lens element and can slightly degrade contrast compared to a direct phototube mount.
Optical Alignment Precision: Measurement Matters
Parfocality and T-Mount Alignment
One overlooked specification is parfocality, whether the camera sensor, when fully installed, is at the precise focal plane of the microscope's optical system. If it is off by a few millimeters, your entire image is soft, and no amount of focus adjustment helps.
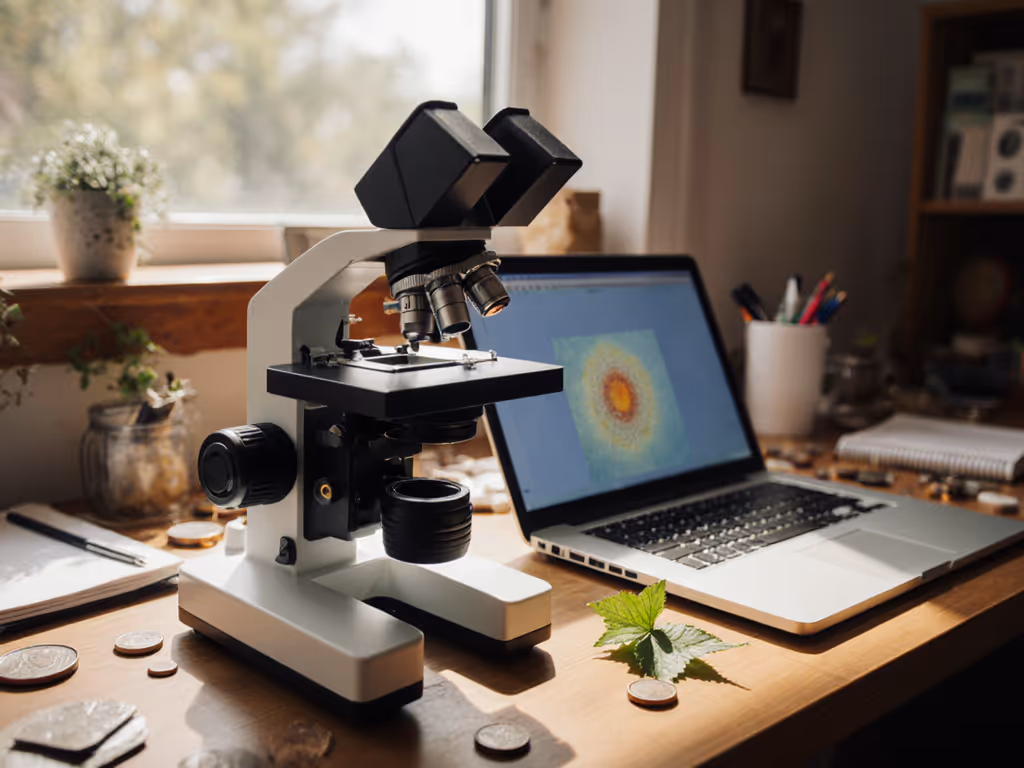
To test this yourself: print a resolution target (1951 USAF chart, free online), mount it on a glass slide, place it on your scope, and focus using the eyepieces. Then verify measurement accuracy with our microscope calibration guide. Then switch to your camera and tether it to a computer. Adjust the camera adapter's position (or the microscope's focus if using a fixed adapter) until maximum sharpness appears on screen. Measure how far you had to move the camera from "nearly in focus" to "perfectly sharp." If it is more than 1-2 mm, your adapter or microscope needs adjustment.
The Red and White Dot System
Most camera adapters come with alignment dots, a red or white marking on the T-ring and a corresponding marking on the camera body. These dots align the adapter so that the camera's mechanical constraints match the adapter's optical axis. Ignoring the dots is a common mistake that causes slight vignetting or off-center images.
Align the dots every single time. It takes five seconds and eliminates a whole class of optical errors.
Practical Setup: Step-by-Step
- Remove your lens and check port size. Unscrew your camera lens (press the release button and twist counterclockwise). Measure your microscope's phototube or trinocular port with calipers.
- Select the correct adapter. Match your port size and camera brand (Canon vs. Nikon adapters differ). If you are unsure, buy a universal or adjustable adapter (they cost $10-20 more but eliminate guessing).
- Attach the T-ring to your camera body. Screw it on firmly, then attach the main adapter tube to the T-ring.
- Insert the assembled camera into the microscope port. If your microscope uses a trinocular design, install the photo eyepiece first; it just drops into place. Then slide the camera assembly on top.
- Secure with set screws. Tighten any locking set screws gently, hand-tight, not pliers-tight. Overtightening can strip threads or crack plastic components.
- Parfocal the camera. With a specimen on stage and the microscope focused using the eyepieces, adjust the camera adapter's position (up or down, or by rotating if it is a focusable model) until the camera image is sharp. Some trinocular tubes allow adjustment of the tube's internal length to fine-tune this.
Common Pitfalls That Undermine Results
Ignoring Illumination. A perfectly aligned camera pointed at an under-lit specimen produces a muddy image regardless of adapter quality. Adjust your condenser's diaphragm and illuminate carefully before blaming the adapter. For step-by-step lighting optimization, follow our Köhler illumination setup guide.
Using the Wrong Eyepiece Optical Path. If you connect your camera to a binocular eyepiece tube instead of the dedicated phototube, you are working against the microscope's optical design. Results will be soft and dim.
Assuming One Adapter Fits All Cameras. Sensor size, T-mount position, and camera body depth vary. A Canon EOS adapter will not deliver the same performance on a Nikon D90 because the internal geometry differs.
Neglecting the Locking Mechanism. Vibration from focusing knobs and stage movement can shift an unsecured adapter. Use the set screw; it exists for a reason.
What to Test Before Committing
- Does the adapter seat fully without forcing?
- Can you achieve sharp focus across the entire field of view?
- Are the image edges vignette-free?
- Does the adapter stay put when you turn the focus knob?
A quick 15-minute trial with a printed resolution target will answer all four questions.
Moving Forward: Further Exploration
Adapter selection is just the foundation. Once you have a working camera-to-microscope connection, your next decision is typically about illumination, whether to upgrade your condenser for uniformity and contrast, or to experiment with different camera settings and software post-processing. For practical exposure, lighting, and post-processing tips, dive into our microscope photography guide. Both matter.
Join online microscopy communities, share your test images, and ask others what they have measured. The home microscopy hobby thrives on shared data. When someone posts a photo of a dust mite or pollen grain with notes on their equipment and settings, that is the real feedback loop: not marketing claims, but actual results you can replicate.
Start with a straightforward setup: a reliable mid-range adapter paired with your existing scope and a basic DSLR body. Measure your results, document what works, and iterate. That approach has guided countless home microscopists from frustration to clarity, and numbers tell the story; your eyes will confirm the practical win.
Related Articles