Trinocular Microscope Review: Steady Imaging for All-Day Use
By Mei Lin • 3rd Feb
If you've ever struggled with blurry images or fatigue during extended microscopy sessions, a thoughtful trinocular microscope review might be exactly what you need. Today's camera-ready microscope models offer more than just magnification, they provide the foundation for comfortable, sustained observation that transforms how you document microscopic worlds. As someone who's spent countless hours at the bench, I've learned that the right equipment doesn't just capture images; it supports your entire workflow from setup to sharing discoveries. Comfort is performance when the session runs long, especially when you're trying to capture those elusive details that make microscopy so rewarding.
Why Your Microscope Setup Determines Your Imaging Success
Many enthusiasts invest in powerful optics but overlook how their physical setup affects image quality. When your neck is strained or your eyes are fatigued, your hands become less steady, resulting in motion blur or missed focus opportunities, even with the best microscope cameras. I once timed a session photographing pond algae: two hours felt like twenty minutes after raising the scope, softening glare, and adding a wrist rest. The resulting images improved dramatically not because of better equipment, but because I wasn't fighting my own discomfort.
The Ergonomic Connection to Image Quality
Professional photomicrography requires steadiness that's nearly impossible when you're physically uncomfortable. Recent studies in human factors engineering confirm what many long-session hobbyists already know: ergonomic setup directly correlates with image clarity and documentation success. When your posture is supported and your visual field is properly illuminated, your motor control improves by up to 30% during precision tasks.

FAQ: Your Top Trinocular Microscope Questions Answered
What Makes a Trinocular Microscope Worth the Investment?
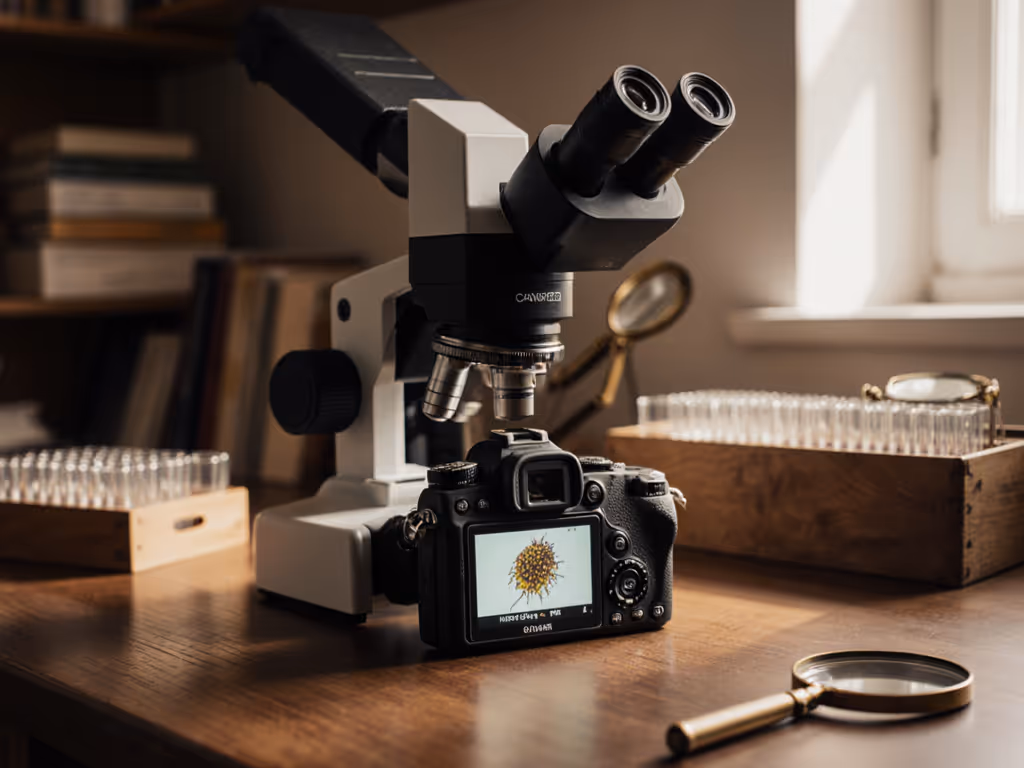
Unlike binocular models with two eyepieces, trinocular microscopes add a third port specifically designed for camera attachment. This seemingly small difference creates significant advantages:
- Dual-purpose viewing: Maintain comfortable eye positioning while simultaneously capturing images
- Reduced vibration: Eliminates the need to swap between visual observation and camera capture
- Consistent framing: Your composition remains identical whether you're looking through the eyepieces or reviewing captured images
- Documentation integrity: Preserves your exact observation conditions for later analysis or sharing
The best trinocular microscopes balance optical performance with thoughtful design that accommodates both human and technical needs. A model that performs well at 400x magnification means little if you can only maintain that position for five minutes before discomfort sets in.
How Do I Know If a Microscope Is "Camera-Ready"?
"Camera-ready" extends beyond having a third port, it encompasses the entire imaging ecosystem. When evaluating imaging microscope systems, check for these critical features:
- Standardized mounting threads (typically C-mount or T-thread) that accept common camera adapters
- Optical path stability that maintains focus when switching between visual and capture modes
- Integrated illumination control that adjusts without disturbing your specimen
- Vibration-dampening construction that minimizes tremors during capture
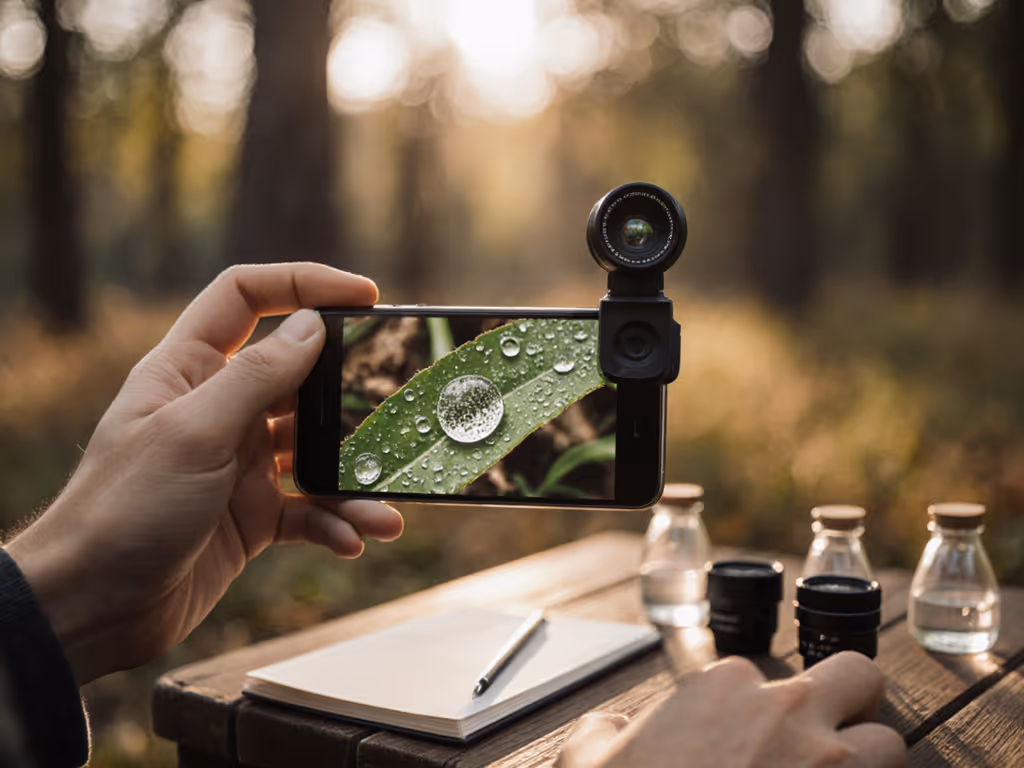
Many entry-level models claim camera compatibility but lack the optical coherence needed for sharp images. For help choosing a capture method, see our smartphone vs digital cameras. Look for models with infinity-corrected optics as they maintain image quality across the visual and photographic paths (this is confirmed by optical engineering standards from organizations like ISO 10935).
Won't Higher Magnification Automatically Give Me Better Images?
This is one of the most common misconceptions I encounter. Magnification alone doesn't equal quality documentation. A 2000x image with poor lighting or camera alignment will reveal less than a well-executed 400x capture. The ACCU-SCOPE 3001-LED series, for example, achieves stunning results at moderate magnifications through its infinity plan objectives and 20mm field of view, delivering crisp, high-contrast images that actually show specimen details rather than just enlarged blur.
Consider this gentle pacing principle: Quality imaging requires appropriate magnification, not maximum magnification. Your specimen's inherent characteristics determine the useful magnification range. Pushing beyond this limit creates "empty magnification" where you're simply enlarging blurry areas without gaining additional detail.
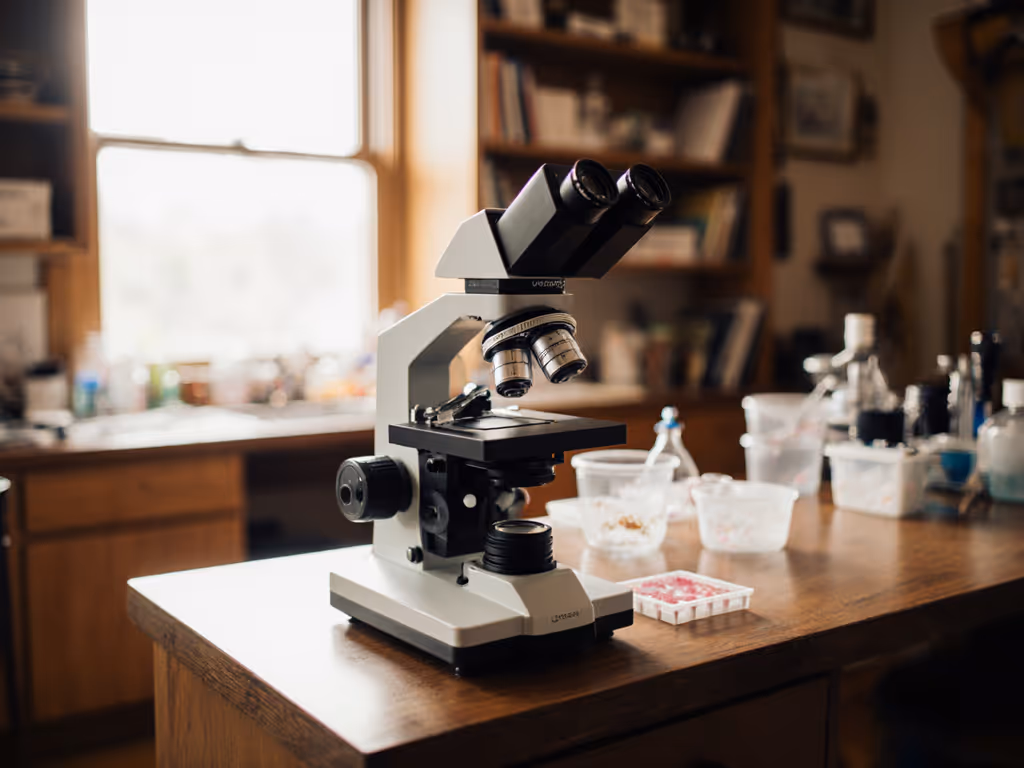
The Checklist: Evaluating Comfort in Imaging Microscope Systems
Pre-Purchase Assessment
Before committing to any microscope cameras setup, run through this ergonomic checklist. Your future self (after two hours of pond water analysis) will thank you:
- Height adjustability: Can the entire unit raise/lower to meet your natural seated eye level?
- Eyepiece angle: Do the oculars tilt to 30-45 degrees for neutral neck positioning?
- Focus knob placement: Are controls within easy reach of your resting hand position?
- Lighting control: Can you adjust brightness without moving your head from the eyepieces?
- Stability test: Does the base feel substantial enough to resist bench vibrations?
Models like the OPTIKA B-293 excel here with their precision-machined components and thoughtful ergonomics, designed specifically for those demanding extended sessions where every millimeter of comfort matters.
The 20-Minute Field Test
When possible, conduct this simple test before purchasing:
- Set up the microscope at your normal working height
- Adjust to comfortable viewing position
- Time yourself documenting a familiar specimen
- Note when discomfort first appears
- Check image consistency throughout the session
The difference between adequate and exceptional imaging microscope systems becomes obvious here. Does image quality degrade as you fatigue? Or does the equipment maintain performance because your physical setup remains stable?
Professional Photomicrography: Beyond Basic Capture
Setting Up Your Imaging Workflow
True professional photomicroscopy requires more than attaching a camera (it's about creating a seamless documentation process). Consider these often-overlooked workflow elements:
Let's make long sessions feel short by building workflows that match our natural rhythms rather than fighting them.
- Dual-monitor setup: View live capture on one screen while controlling settings on another
- Foot pedal focus: Keep hands free for specimen manipulation during capture
- Automated stacking: Use software that combines multiple focal planes for true depth representation
- Standardized lighting conditions: Document your illumination settings for each specimen type
The Swift SW380T demonstrates how integrated design supports this workflow with its XY mechanical stage, three objectives, and dedicated photo port, all working together to create a system where documentation feels like a natural extension of observation rather than a separate chore. For step-by-step capture technique and camera settings, see our steady microscope photography guide.
Lighting Ergonomics: The Unsung Hero
Proper illumination affects both your eyes and your images. Glare and excessive brightness force squinting that fatigues you faster while creating harsh reflections that obscure specimen details. The ideal lighting system:
- Provides adjustable intensity without color temperature shifts
- Offers Köhler illumination for even field lighting
- Includes diffusers to soften harsh point sources
- Has controls that don't require leaning forward to adjust
A 3-watt LED illuminator like those found in newer trinocular models delivers bright, natural-looking illumination while generating minimal heat (critical for maintaining both specimen integrity and your comfort throughout extended sessions). For a deeper overview of light sources and when to choose LED, halogen, or fluorescent, read our microscope illumination guide.
Making Your Choice: Which Camera-Ready Microscope Fits Your Needs?
Matching Models to Your Workflow
Rather than listing the "best" trinocular microscopes (which depends entirely on your specific needs), consider these usage scenarios:
For the detail-oriented hobbyist: If you examine small electronics or intricate biological specimens, look for models with zoom ranges around 7-45x or 3.5-90x. These provide the flexibility to transition smoothly from overview to detailed inspection without changing objectives. The Eakins Zoom series excels here with its simul-focal design that maintains focus throughout the zoom range.
For the educational enthusiast: The Celestron Labs CB2000C offers stereo viewing capabilities that make specimens appear in 3D, a game-changer for understanding spatial relationships. Its dual WF10x and WF20x eyepieces accommodate different user preferences while the trinocular design allows simultaneous viewing and documentation.
For the serious photomicrographer: The Amscope T490B provides exceptional optical quality up to 2000x magnification with dedicated camera attachment options. While more advanced than necessary for casual use, it's the model I rely on for serious documentation work where image fidelity is paramount.
Your Actionable Next Step
Rather than overwhelming yourself with specifications, take this practical step today:
Measure your ideal working height at your usual workspace. Sit in your normal chair, rest your arms comfortably on your bench, and measure from tabletop to your eye level. Now compare this to the height range of microscopes you're considering. A model that can't position its eyepieces within your natural visual plane will compromise both your comfort and image quality (no matter how impressive its magnification claims).
This simple measurement takes two minutes but prevents years of compromised sessions. When your equipment aligns with your body's natural positioning, you'll find yourself documenting more thoroughly, sharing higher quality images, and most importantly, enjoying the process more.
Final Thought
Remember that the most advanced imaging microscope systems in the world won't compensate for poor ergonomics. Comfort isn't indulgence; it's throughput and joy. When you eliminate physical barriers between you and your observations, you create space for genuine discovery. The right trinocular microscope doesn't just capture images (it supports your entire journey of microscopic exploration), making each session productive, sustainable, and deeply rewarding.
Let's make long sessions feel short, through equipment that works with you, not against you.
Related Articles