Fluorescence Microscopy Accessories: Cost-Effective Setup Guide
By Diego Silva • 23rd Oct
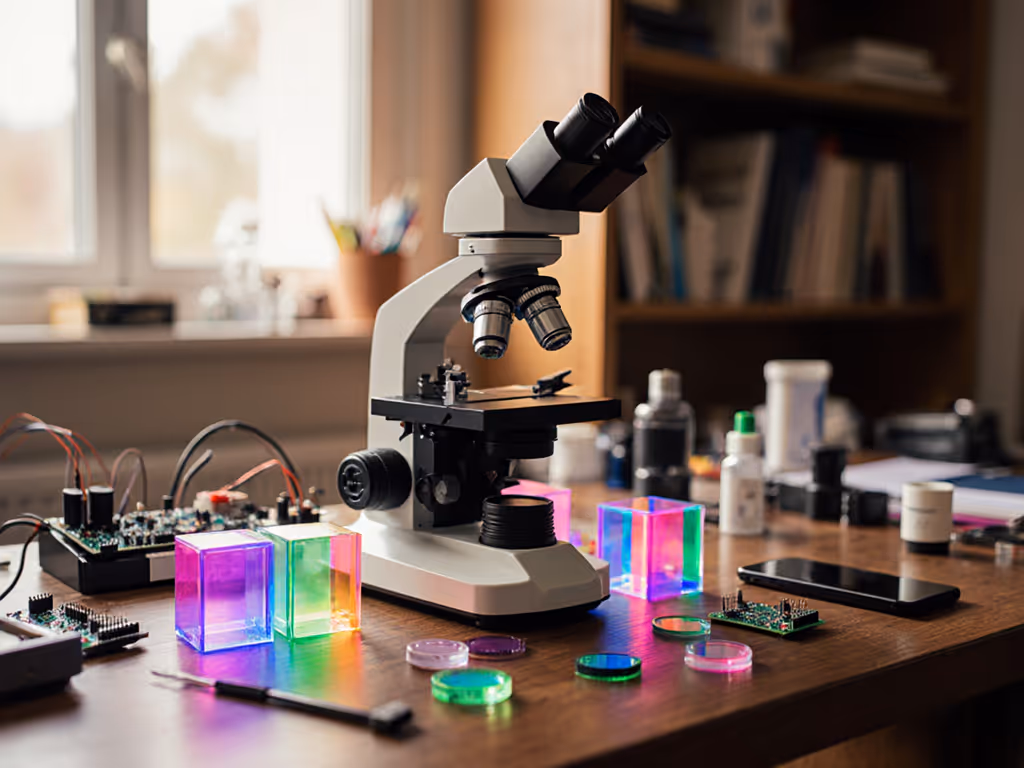
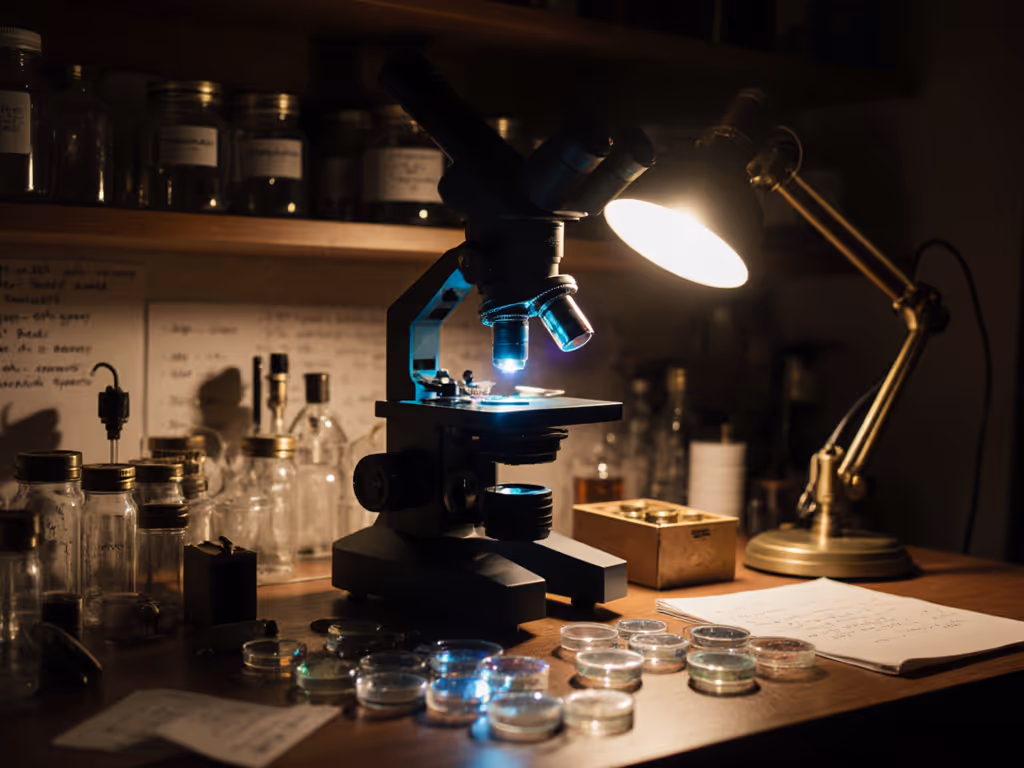
As a maker who's spent years helping hobbyists explore the microscopic world, I've seen countless enthusiasts discouraged by the steep price of professional fluorescence microscopy accessories. The truth is, you don't need expensive fluorescence imaging equipment to observe stunning cellular structures glowing against a dark background. Years ago, I needed oblique lighting but had twenty dollars. I raided a recycle bin, printed a clip-on diffuser, and soldered a buck driver to thrifted LEDs. The result wasn't pretty, but detail popped and heat dropped. That project convinced me: smart DIY unlocks serious microscopy without serious cash. Today, I'll show you how to build an effective fluorescence setup that prioritizes safety and delivers results without draining your wallet.
Understanding Fluorescence Microscopy: The Essential Components
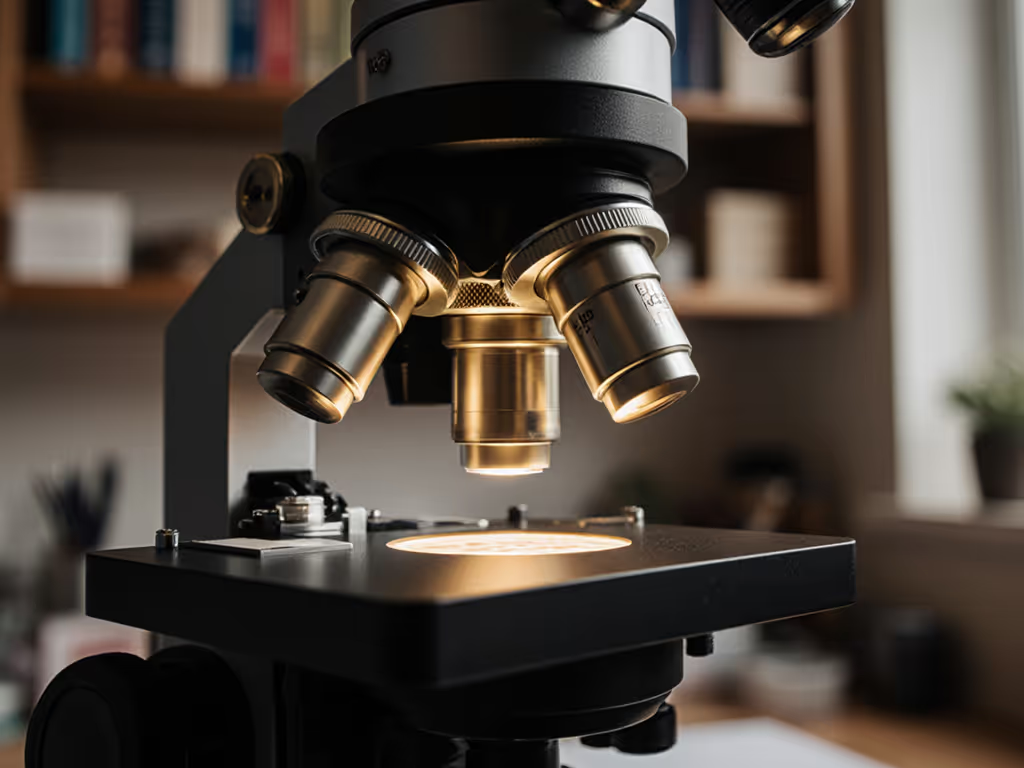
Before diving into setup, understand what makes fluorescence work. Unlike brightfield microscopy, fluorescence requires three critical components working in concert: an excitation light source, filter cubes containing dichroic mirrors, and an emission filter. When properly aligned, these elements illuminate your specimen with specific wavelengths while blocking unwanted light.
Clear Parts List & Cost Breakdown
- Basic Components: Filter cubes ($15-$40 each if DIY), dichroic mirrors ($8-$25), excitation/emission filters ($5-$15 each)
- Light Source: LED fluorescence modules ($25-$50) vs. mercury vapor lamps ($200+ with safety housing)
- Mounting: 3D-printed adapters ($0-$5 in filament) or repurposed camera mounts
Safety note: Always wear UV-blocking safety glasses when working with fluorescence components. Never look directly at unfiltered UV sources, even from LED fluorescence setups.
The key advantage of modern LED fluorescence sources over traditional mercury lamps is not just cost, but dramatically improved safety. Mercury lamps require fifteen minutes to warm up, emit dangerous UV radiation, and pose explosion risks if mishandled. A properly designed LED fluorescence system reaches full brightness instantly with minimal heat generation. To choose the right light for your scope, see our microscope illumination guide.
Step-by-Step: Building Your Filter Cube System
Professional filter cubes can cost $200-$500 each, but the underlying physics is straightforward. Here's how to build a functional equivalent:
Step 1: Acquire the components
- Source a basic cube housing (Many older microscopes came with empty cube slots)
- Purchase appropriate filters: excitation filter, emission filter, and dichroic mirror for your fluorochrome (verify accessory compatibility with your microscope model)
- Tools needed: Plastic spanner wrench ($5), screwdriver
Step 2: Assembly procedure
- Remove the two screws of the cube housing and separate the halves
- Install the dichroic mirror with the reflective surface facing the excitation source
- Position the excitation filter (facing the light source)
- Add the emission filter (facing the eyepiece/camera)
- Secure each component with retainer rings using the spanner wrench
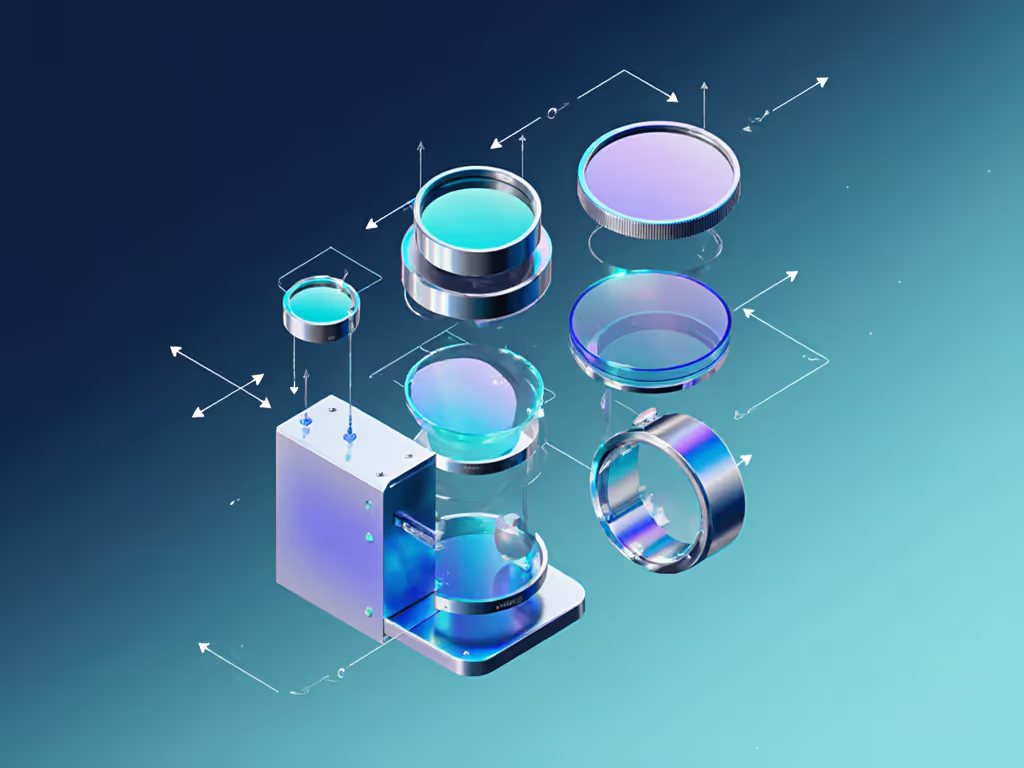
Critical alignment tip: The dichroic mirror must sit at a precise 45-degree angle. Test your alignment by shining a laser pointer through the cube. It should reflect at 90 degrees without scattering.
Cost savings: A complete DIY filter cube costs $30-$60 versus $300+ for commercial equivalents. Remember that retainer rings must be tightened carefully to avoid cross-threading. This is where 3D-printed torque limiters I have shared online can help prevent costly mistakes.
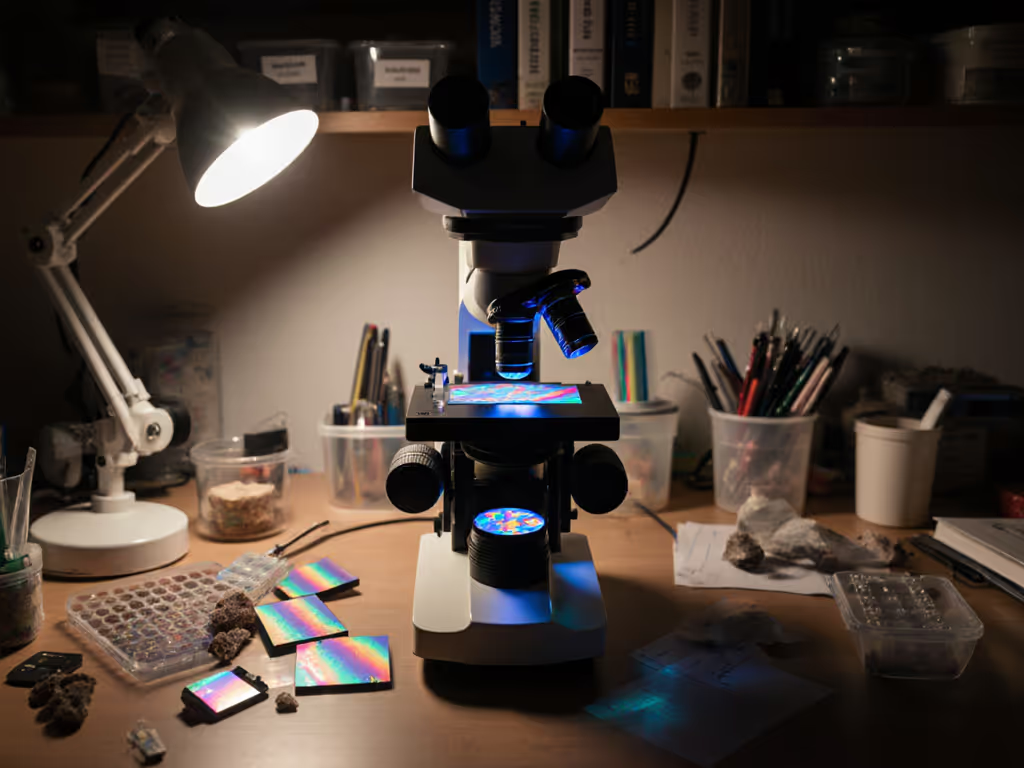
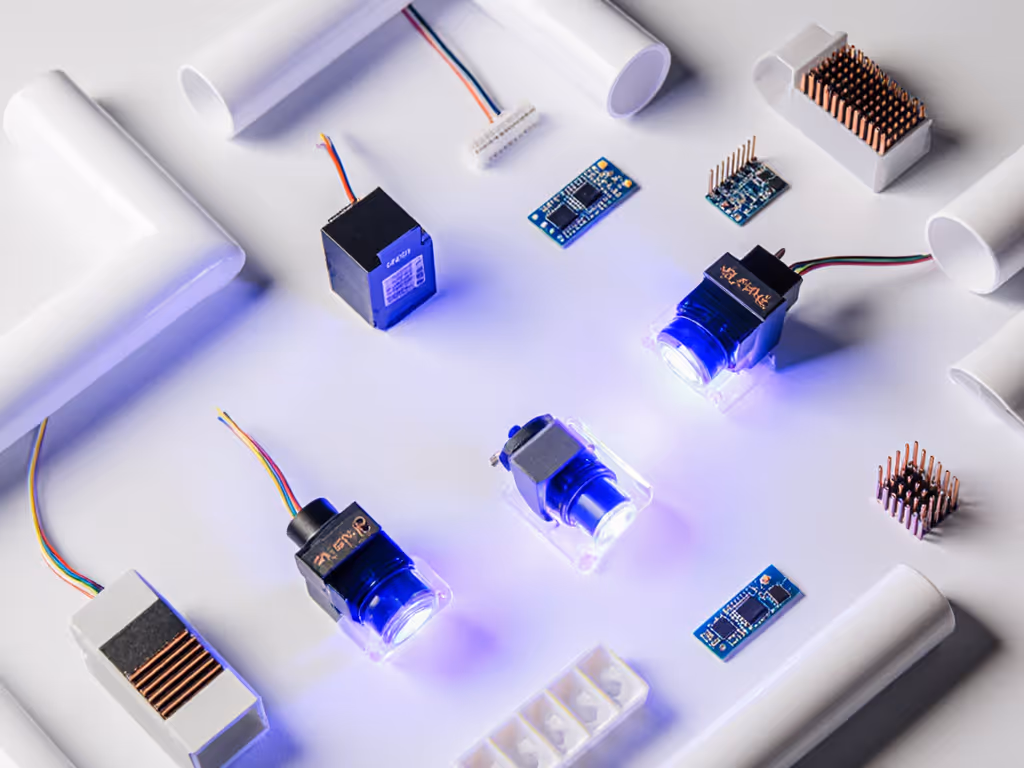
Step-by-Step: Implementing LED Fluorescence
LED fluorescence sources have revolutionized accessible microscopy. Unlike mercury lamps that require expensive safety housings and ballasts, modern high-power LEDs offer specific wavelengths with minimal heat.
Step 1: Select appropriate LEDs
- Choose wavelength-matched to your fluorochrome (e.g., 470 nm for GFP)
- Calculate required power: 1-3 W is sufficient for most hobbyist applications
- Verify thermal management requirements
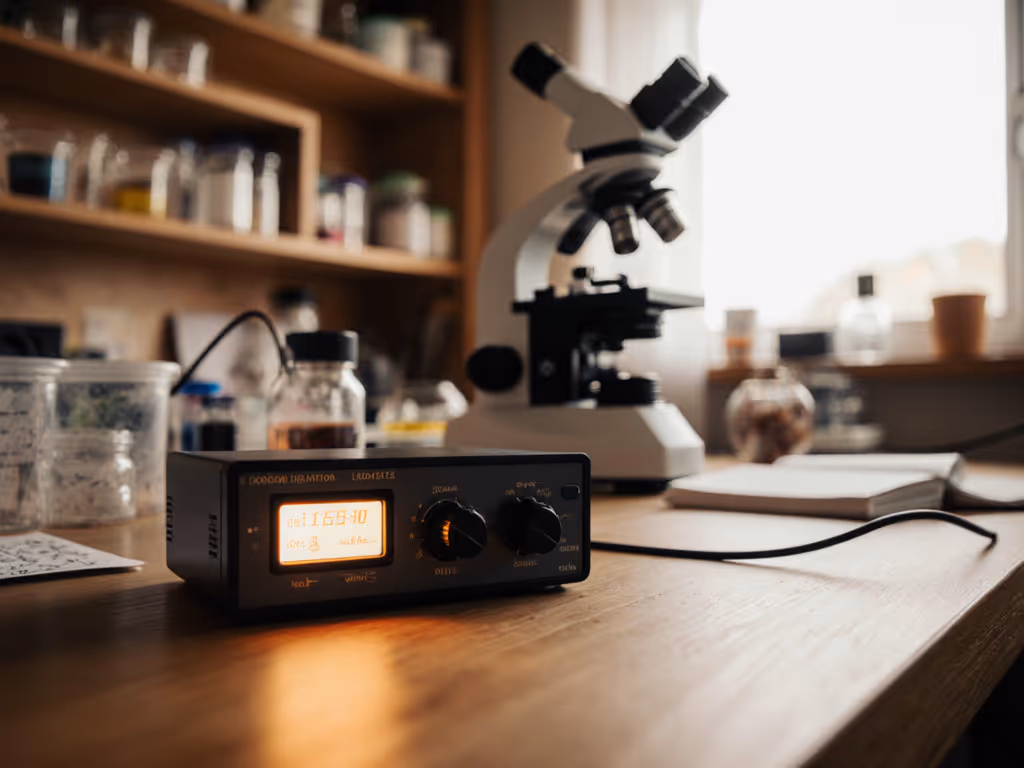
Step 2: Build the driver circuit
- Source a constant-current LED driver ($3-$8)
- Add appropriate heat sinking (old CPU heatsinks work well)
- Wire to a momentary switch for safety
- Mount in a PVC pipe housing (prevents stray light)
Safety note: Never power LEDs directly from a power source without current regulation. A properly designed buck converter circuit (total $10) prevents thermal runaway. I've seen too many hobbyists melt components by skipping this critical step.
Cost comparison:
- Complete LED fluorescence module: $25-$50
- Traditional mercury system: $250-$400+ with safety certifications
Step-by-Step: Adding Imaging Capabilities
Capturing your fluorescence observations doesn't require expensive fluorescence camera systems. Smartphone adapters ($10-$20) combined with manual exposure settings can yield remarkable results.
Step 1: Build a stable camera mount
- 3D-print or modify a universal smartphone holder
- Add rubber grips to prevent slippage
- Incorporate fine-focus adjustment for precise alignment
Step 2: Optimize capture settings
- Use manual mode with 3-5 second exposures
- Set ISO as low as possible (800-1600)
- Disable both flash and image stabilization
- Capture in RAW format if possible
For better results, consider a used astronomy camera (many have excellent fluorescence sensitivity). If you're deciding between a phone adapter and a dedicated camera, compare options in our smartphone vs digital cameras guide. I frequently find refurbished models on educational surplus sites for under $150 (far less than new fluorescence camera systems costing $1,000+).
Putting It All Together: Safety-First Integration
Now that you've built the components, integrate them safely:
- Attach your LED fluorescence module to the microscope's side port
- Insert your DIY filter cube into the light path
- Power on the LED source and verify no light leaks
- Place your specimen and begin with low magnification
- Gradually increase exposure while watching for photobleaching
Remember that photobleaching occurs when fluorophores lose their ability to glow after prolonged exposure. Work quickly and minimize exposure time. This is where your momentary switch becomes essential.
Build what you need, spend where it counts most. In fluorescence microscopy, that means investing in quality filters while getting creative with mounting solutions.
Final Thoughts: Build, Test, Iterate
Fluorescence microscopy seems intimidating until you understand its fundamental components. By approaching fluorescence microscopy accessories as modular systems rather than monolithic black boxes, you reclaim control over your setup. My first fluorescence rig wasn't pretty, but it worked, and that is what matters.
The most successful hobbyists I've worked with don't seek perfection in their first build. They embrace the maker ethos: Build, test, iterate. Start simple with one filter set, master its operation, then expand. Document your process, share your failures as learning opportunities, and remember that ingenuity beats price tags when the build is safe and testable.
For your next step, I recommend identifying one specimen of interest (like onion root tips or pond water organisms) and optimizing your setup specifically for that application. If that specimen involves water or fresh tissue, start with our wet mount slide prep guide. You'll learn more through focused experimentation than trying to build a 'perfect' universal system from the start. What microscopic world will you illuminate first?
Related Articles