Nanotechnology Microscopy Accessories: Performance and Value Compared
By Omar Haddad • 22nd Oct
When you first glimpse the hidden world of nanoparticles dancing under your lens, it's nothing short of magical. But that magic often fades when you realize your standard microscope setup can't quite capture what your curiosity demands. Finding the right nanotechnology microscopy accessories and nanoscale imaging equipment doesn't have to be overwhelming, especially when you focus on tools that grow with your skills rather than demand perfection from day one. Let's cut through the confusion and explore which accessories actually deliver value for your nanoscale adventures.
Curiosity scales with confidence.
As a community educator who's watched countless beginners transform from hesitant to passionate microscopists, I've learned that the right accessories aren't about maximum specs, they're about maximum success experiences. Remember that nine-year-old who found tardigrades with a $2 pipette? It wasn't the gear that mattered, it was how well-suited it was to her skill level. That's the philosophy we'll use to navigate the world of nanotechnology accessories.
FAQ Deep Dive: Your Nanoscale Accessory Questions Answered
Why Should I Care About Specialized Accessories for Nanoscale Work?
You might wonder why your standard microscope kit isn't enough for nanoscale exploration. The short answer: visibility. At the nanoscale, details that make or break your observation sit right at the edge of what your equipment can capture. Standard microscope accessories often lack the precision needed to resolve structures smaller than 200 nanometers consistently. To avoid chasing empty magnification, see our magnification guide.
The good news? You don't need a six-figure setup to start meaningful nanoscale exploration. Many beginners make the mistake of either sticking with inadequate tools or jumping straight to professional-grade equipment that sits unused because it's too complex. The sweet spot is accessories that provide just enough enhancement for your current skill level while leaving room to grow.
I choose gear with a forgiving setup because small wins today grow into tomorrow's confident discoveries. When you experience frequent success with your equipment, you're more likely to return to it, experiment further, and develop genuine expertise.
What Are the Most Valuable Entry-Level Nanotechnology Accessories?
Let's be practical: you don't need to break the bank. Based on helping hundreds of beginners, these are the accessories that consistently deliver "aha!" moments without frustration:
- Basic precision stage controllers: Manual stages with fine adjustments (micrometer screws) let you explore tiny specimens methodically without expensive motorization
- Standardized slide preparation kits: Pre-cleaned slides and cover glasses that eliminate the most common beginner frustration (dusty, fingerprinted slides)
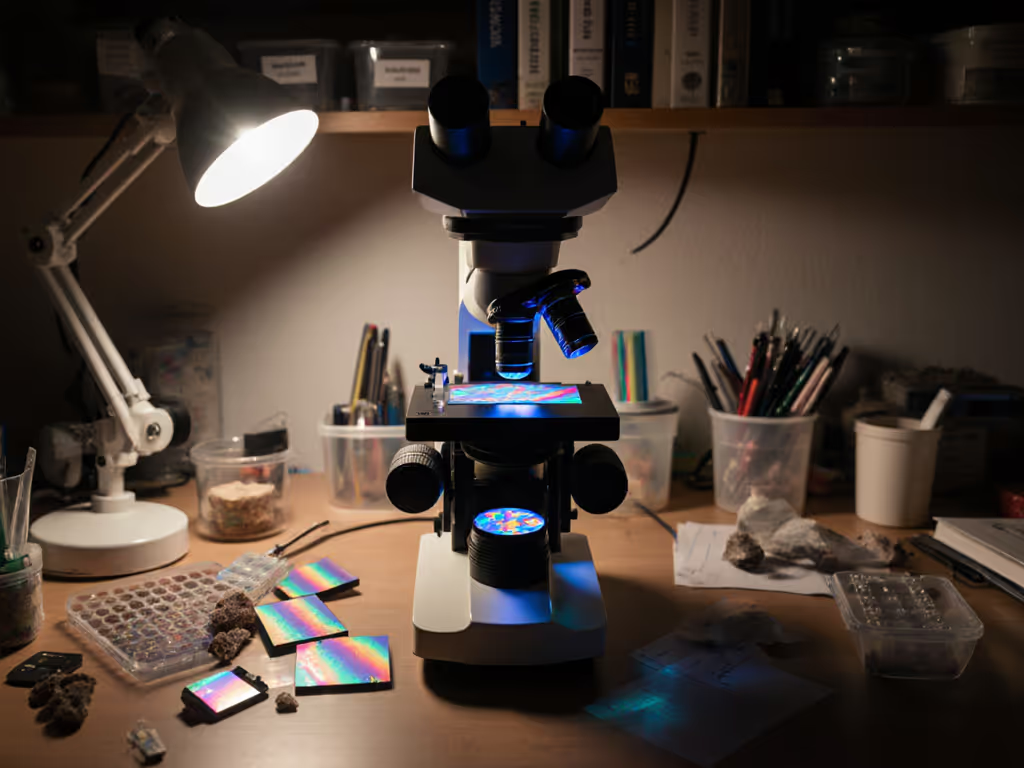
- Polarized lighting filters: Affordable add-ons that reveal structural details in crystalline materials
- Basic calibration slides: Inexpensive reference tools that teach you to measure what you're seeing
The most powerful nanotechnology microscopy accessories aren't always the most expensive, they're the ones that turn your "I can't see anything" moments into "There it is!" victories.
What matters isn't having the highest resolution possible, but having enough resolution to see something meaningful with your current skills. This principle guides every recommendation I make. It's why I suggest mastering basic slide preparation before investing in advanced imaging tools.
How Do I Know If an Accessory Is Compatible With My Microscope?
This is the #1 question I hear. Microscope compatibility feels like a maze of confusing specifications. Here's your practical compatibility checklist:
- Check the mounting standard: Most educational and hobbyist microscopes use standard 30mm or 45mm threading for eyepieces and objectives
- Measure your stage: Bring a ruler to your microscope and note the stage dimensions before searching for mechanical stage upgrades
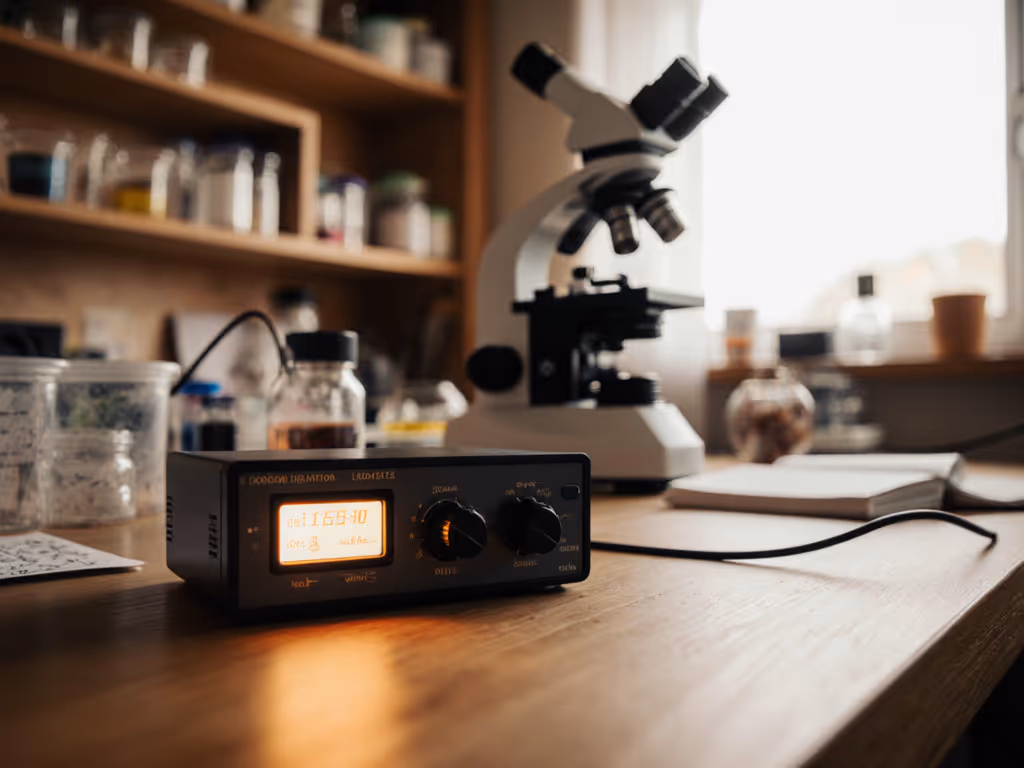
- Identify your illumination type: LED, halogen, or fluorescent (your light source determines which enhancement filters will work)
- Start with universal accessories: Items like slide boxes, basic tweezers, and micropipettes work across virtually all systems
I've seen too many beginners return expensive accessories because they assumed compatibility. Use our compatibility checklist to verify mounts, spacing, and fit before you buy. Instead, take five minutes to measure your microscope before purchasing anything. Your local maker space or community college might even have measurement tools you can borrow.
Can I Achieve Nanoscale Results Without Professional-Grade Equipment?
Absolutely, and this is where many beginners get discouraged unnecessarily. The term "nanotechnology" sounds like it requires million-dollar equipment, but you can explore the 100 to 500 nm range with thoughtful techniques and modest accessories.
For example, proper nanoscale sample preparation makes more difference than expensive optics for many applications. One technique I teach: using household dish soap to create monolayers on water that reveal nanoparticle organization. The key is pairing simple techniques with precision microscopy tools that highlight rather than overwhelm your subject.
A recent study confirmed that well-prepared samples with basic brightfield microscopy can reveal features down to 200 nm, perfect for observing many biological nanoparticles and some crystalline structures. You don't need atomic force microscopy accessories to start your journey, though they become valuable as you specialize.
What Sample Preparation Techniques Yield the Best Results for Beginners?
This is where most beginners waste time and money. Forget complex chemical treatments. Start with these scaffolded steps that work with household items:
Basic Nanoscale Sample Preparation Workflow
- Cleaning: Use distilled water (not tap water) and lint-free wipes for slides
- Mounting: Apply samples with a micropipette (even a $5 disposable one) for consistent droplet size
- Covering: Lower coverslips at a 45-degree angle to prevent air bubbles
- Drying: Place slides on a warm (not hot) surface to encourage even drying
What transformed my students' results wasn't expensive equipment, it was consistently applying these four steps. One adult learner recently captured clear images of pollen nanostructures using this method with her $200 educational microscope.
Remember that day I watched a nine-year-old discover tardigrades? She succeeded because we skipped fancy nanoscale sample preparation and focused on what worked: patience, clean slides, and controlled lighting.
Which Accessories Improve Documentation Without Complexity?
Sharing your discoveries is part of the joy! Many beginners struggle with documenting what they see, not realizing that smartphone adapters solve 80% of this problem. Here's what I recommend for straightforward documentation:
- Universal smartphone adapters: $20 to $40 tools that secure your phone over the eyepiece
- Basic image stacking apps: Free software that combines multiple blurry images into one clear one
- Simple calibration tools: Inexpensive stage micrometers that let you add scale bars to images
These high-resolution microscopy components work with almost any setup and deliver immediate value. They transform "I think I saw something" into "Here's exactly what I found and how big it is."
How Do I Decide Between Different Types of Nanoscale Imaging Equipment?
When considering more advanced options like atomic force microscopy accessories or specialized lighting systems, ask yourself these three questions:
- What specific observation am I missing right now? (Don't buy equipment to solve problems you don't have)
- How many hours will I realistically use this? (Be honest, many accessories gather dust after initial excitement)
- Does this have a clear learning path? (Can I start simple and grow with it, or is it all-or-nothing?)
I've watched beginners invest in expensive phase-contrast kits only to abandon them when they couldn't get immediate results. Instead, consider affordable polarizing filters that work with your current setup. For a deeper look at how LED versus halogen choices affect results, see our microscope illumination guide. They reveal structural details in many materials while teaching lighting principles you'll use with more advanced systems.
Your Next Small Step
You don't need every accessory to begin meaningful nanoscale exploration. Start with one improvement that solves your most immediate frustration, whether that's cleaner slides, better documentation, or slightly more precise focusing. Master that, celebrate the small victory, and then consider your next step.
The most powerful precision microscopy tools aren't found in catalogs, they're built through consistent practice and the confidence that comes from repeated success. What seemed impossibly small last month becomes familiar territory this month, opening doors to even finer details.
Further Exploration: Try this simple challenge this week: prepare three identical slides of the same sample using different drying methods (air dry, warm surface, cool surface). Compare the results and note which method preserves the most detail. This single exercise will teach you more about nanoscale sample preparation than any expensive accessory.
Curiosity scales with confidence.
When you focus on tools that make success repeatable rather than maximum performance, you're not just buying accessories, you're building a sustainable practice of discovery. Every clear image you capture strengthens your resolve to explore further, and that's how casual curiosity transforms into genuine expertise.
Related Articles