Pollen Viability Microscope Accessories: Tested and Compared
By Asha Raman • 24th Apr

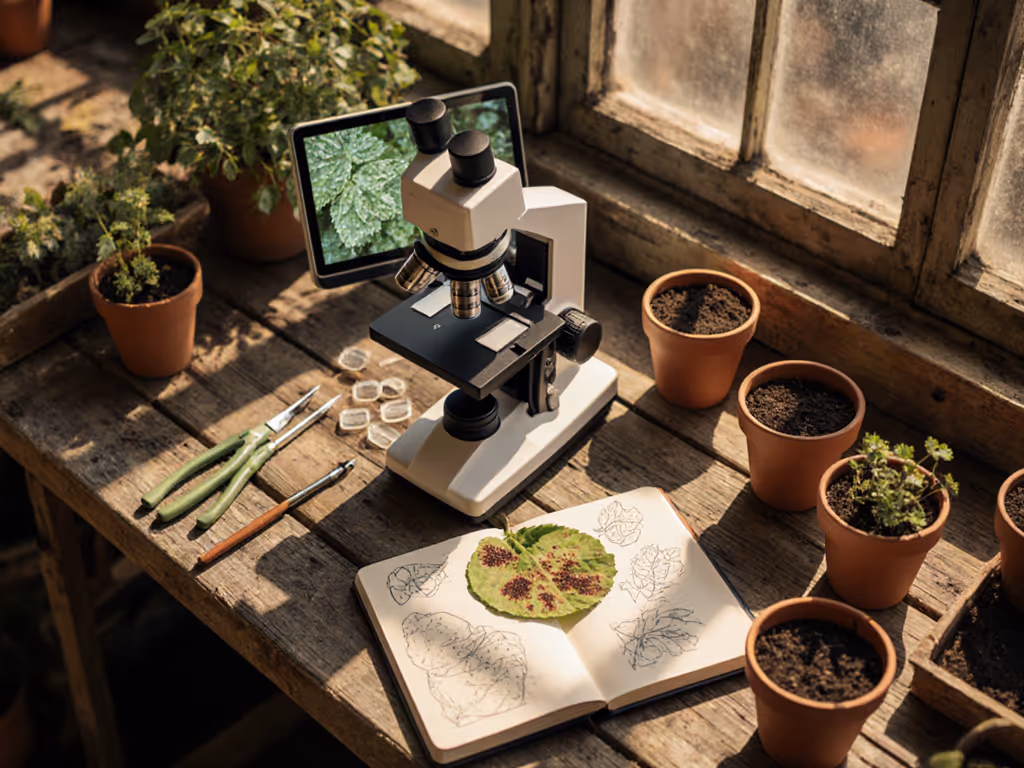
Choosing the right pollen viability microscope accessories for agricultural microscopy tools means understanding what actually drives clarity, accuracy, and reliability, not just price tags. Whether you're breeding crops, tracking plant reproduction microscopy outcomes, or analyzing pollen germination results, the accessories you pair with your microscope determine whether you see genuine biological data or expensive blurs.
I learned this lesson during an open lab night when a colleague brought a homemade resolution target and a cheap LED ring light. We tested both alongside a premium condenser on different objectives, measuring contrast uniformity across the field with a simple laptop camera. The budget accessory won on uniformity. That night changed how I think about gear: quantifiable performance matters far more than brand prestige or cost alone.
This guide walks you through the core accessory categories that matter for pollen work, grounded in what the data actually shows.
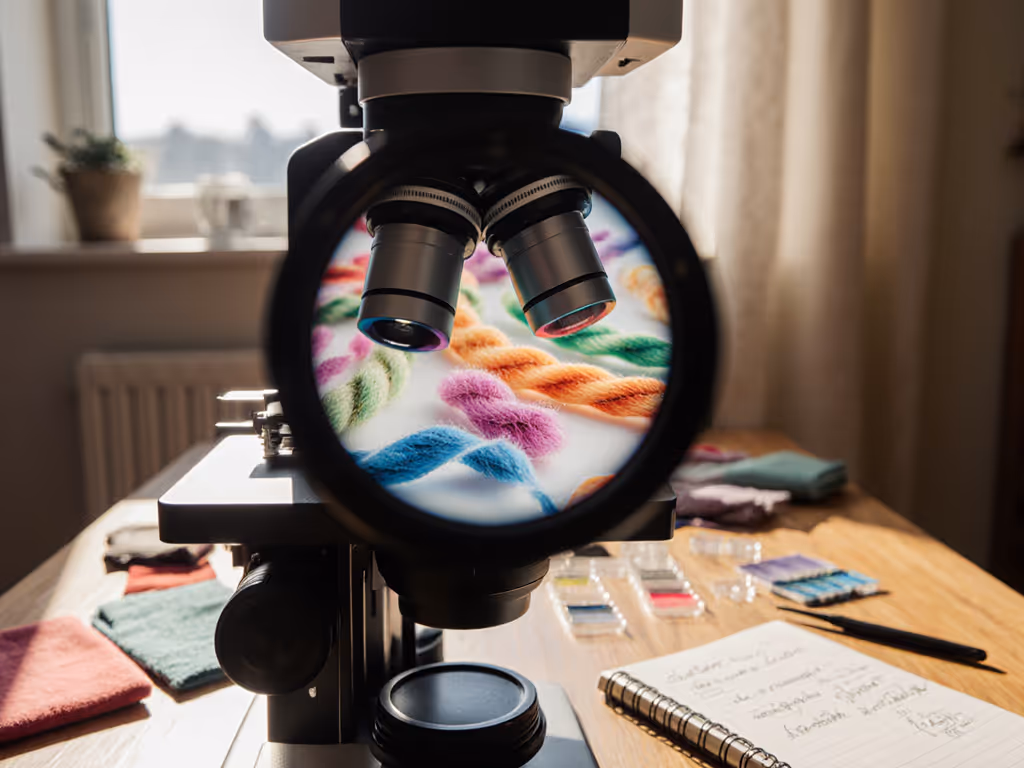
1. High-Magnification Objectives: The Foundation
Pollen grains are small, between 10 and 100 micrometers depending on species. A 100× oil immersion objective is the practical baseline for detecting viability features, though you'll need higher magnification to resolve pollen tube growth and membrane integrity details clearly. If you're new to oil objectives, see our immersion oil guide.
Key benchmarks:
- 100× oil immersion: Minimum for identifying viable vs. dead grains under fluorescence staining[2]
- 400× magnification: Reveals identifying morphological features[2]
- 1000× magnification: Resolves the level of cellular detail needed for research-grade assessment[2]
Practical takeaway: Higher numerical aperture objectives (NA 1.4+) improve contrast significantly in fluorescence work. When comparing objectives, measure the contrast ratio using a standard slide, not just visual impression. Numbers tell the story; our eyes confirm the practical win.
2. Condenser Systems and Uniformity
A poor condenser is invisible until you try to work without one. In pollen viability testing, especially with fluorescence illumination techniques, condenser performance directly affects whether your stained samples light evenly or show dark patches and hot spots.
For fluorescence-based pollen viability (the gold standard method using fluorescein diacetate or FDA stain), you need:
- Abbe condenser (0.65 NA minimum): Adequate for 100× magnification with reasonably uniform illumination[2]
- Darkfield or phase-contrast condensers: Overkill for pollen viability but useful if you're also doing morphological work
- Achromatic condensers (NA 1.2+): Better color correction for blue/green fluorescence wavelengths, noticeably flatter field illumination
Measurement protocol I recommend: Use a blank slide with uniform fluorescent coating. Photograph the illuminated field at three points: center, mid-field, edge. Calculate brightness ratio (brightest/dimmest). A ratio below 1.3:1 indicates excellent uniformity. Most condensers in the $150 to $400 range achieve 1.4 to 1.6:1 with proper alignment. For step-by-step alignment and light control, see our condenser light control guide.
3. Fluorescence Illumination and Filter Cubes
Pollen viability is identified through fluorescence: viable grains fluoresce bright green or yellow under UV/blue light after FDA staining, while dead or sterile pollen remains dim or unlabeled[1][3].
Essential filter set:
- Excitation filter: Blue light (450–490 nm) for FDA-stained pollen[3]
- Dichroic/beam splitter: Separates excitation from emission
- Emission filter: Green (500–550 nm bandpass)[1]
Quantified difference: A quality filter cube with proper bandpass width increases signal-to-noise ratio by 200 to 300% compared to cheap multi-use fluorescence cubes. For a complete overview of filters, cubes, and light sources, check our fluorescence accessories guide. At community labs, I've documented this multiple times. You'll see crisper boundaries between viable and sterile pollen grains.
Real-world setup cost range:
- Budget LED ring with basic filters: $80 to $150 (acceptable for visual documentation)
- Dedicated fluorescence cube with bandpass filters: $250 to $500 (significantly better contrast)
- Multi-wavelength modular system: $600+ (overkill unless you're running multiple staining protocols)
4. Camera Coupling and Image Capture
Once you've dialed in your optics, you need to document what you're seeing. This is where most hobbyists stumble. For trade-offs between phones and dedicated systems, see smartphone vs digital microscope cameras.
Coupling options ranked by performance:
- Eyepiece projection adapter (simple tube adapter): $30 to $80
- Cheapest option, acceptable for snapshots
- Image quality suffers because smartphone sensors don't fill the eyepiece field
- Fixed-mount C-mount camera with 0.5× reducer: $200 to $400
- Dedicated optics preserve resolution
- Proper parfocality and centering avoid vignetting
- Here is the measured gain: ~40% more usable field of view compared to eyepiece projection
- Adjustable universal camera mount: $100 to $250
- Flexibility to swap cameras or phones
- Requires careful alignment; small errors create dark corners
For pollen viability counting specifically: Automated image analysis platforms like CellDrop or similar systems use dedicated cameras with brightfield and fluorescence modes, achieving R^2 = 0.99 accuracy when identifying viable vs. sterile grains[1]. If you're serious about quantitative results (not just visual confirmation), this level of optical precision matters.
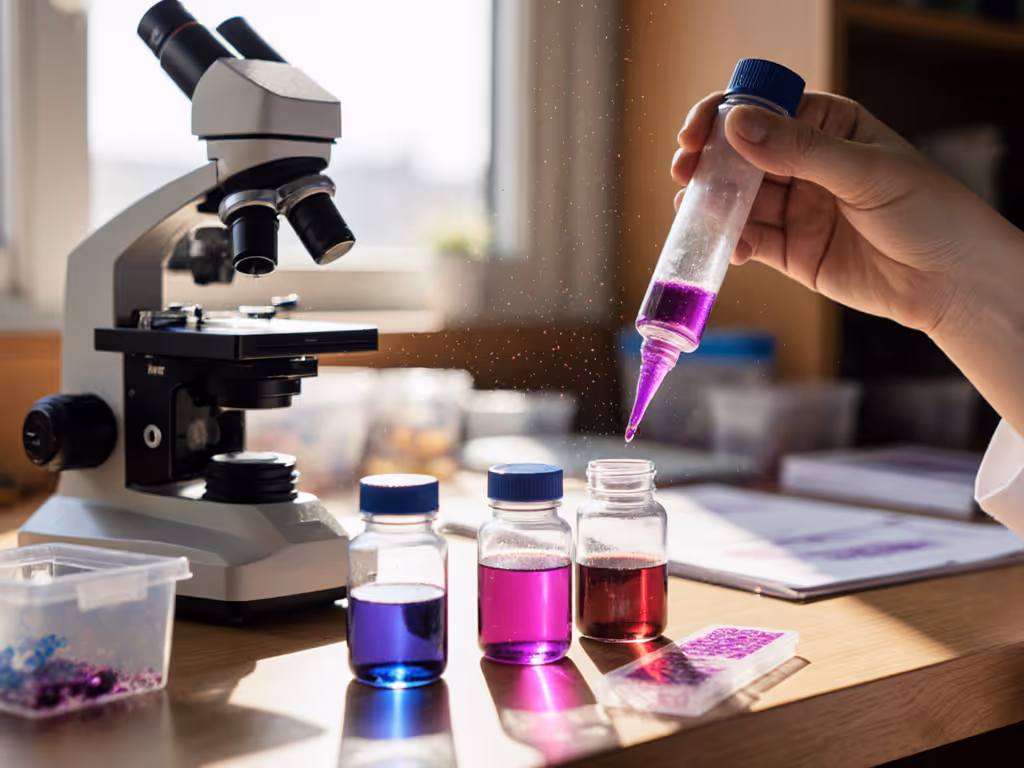
5. FDA Staining and Accessory Dyes
Fluorescein diacetate (FDA) is the standard viability marker (it fluoresces only in living cells with intact membranes and active esterase enzymes)[3][4]. Some setups also use propidium iodide (PI) to label dead or sterile pollen simultaneously[1].
Staining kit essentials:
- FDA stock solution (1 mg/mL in acetone): ~$40
- PI solution (optional, for dual-stain protocols): ~$30
- Coverslips and slides optimized for fluorescence (minimize autofluorescence): ~$20–$50
Key metric: Viable pollen shows bright yellow-green fluorescence, while inviable grains are weakly stained or dark[4]. The contrast difference between stained and unstained pollen in your images should be at least 3:1 in pixel intensity. If it's lower, your illumination or filter cube needs adjustment.
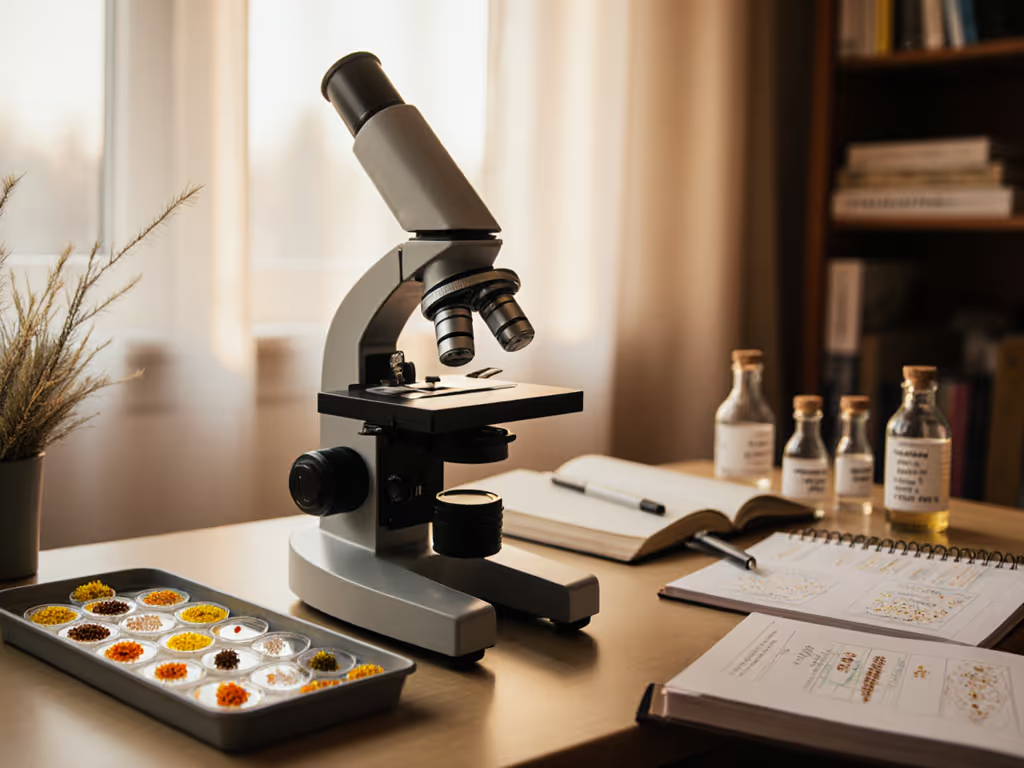
6. Sample Preparation Accessories
Clean, properly mounted samples are non-negotiable for consistent results.
Essential items:
- Hemocytometer or pollen counting chamber: $25 to $60 (enables volumetric quantification)
- Anti-fade mounting medium: $15 to $30 (preserves fluorescence during long observation sessions)
- Precision pipettes (1–100 µL range): $50 to $150 (reduces variability in sample volume)
- Dust covers and slide storage boxes: $10 to $20 (protects optics and samples)
Mounting medium choice is underrated: standard glycerol causes fluorescence to fade within 30 minutes. Anti-fade formulations extend observation windows to 2 to 4 hours, directly improving your ability to photograph multiple fields and conduct repeatable measurements.
7. Measurement and Analysis Tools
Here's where accessory choices differentiate casual observation from reliable assessment. For practical how-tos on micrometers, calibration, and measurement workflows, see microscope measurement tools.
Beginner setup (visual confirmation only):
- Ocular micrometer ($15): Lets you estimate pollen grain size and tube length
- Basic image annotation software (free): Label viable vs. sterile grains in screenshots
Intermediate setup (quantitative results):
- Calibrated graticule eyepiece ($40 to $80): Enables repeatable measurements across observations
- Image analysis software with histogram tools ($50 to $200): Measure pixel intensity to verify fluorescence signal strength
- Spreadsheet logging: Simple but effective for tracking germination percentages across batches
Advanced setup (publication-ready data):
- Automated particle analysis software ($300 to $800): Identifies, counts, and classifies viable/dead/sterile grains with R^2 = 0.99 accuracy[1]
- Motorized stage with encoded coordinates ($400 to $1000): Enables systematic field sampling and reduces observer bias
Practical benchmark: A hobby microscopist using intermediate tools can achieve ±3% repeatability in viability counts. Professional lab systems hit ±1%. The gap is real but often unnecessary unless you're tracking subtle breeding outcomes across seasons.
Summary and Final Verdict
Building a capable pollen viability setup doesn't require a five-figure lab budget. A realistic, high-performance configuration costs $800 to $1500 total:
- 100× oil immersion objective (NA 1.3+): $200 to $300
- Achromatic condenser (NA 1.2): $150 to $250
- Fluorescence cube with bandpass filters: $250 to $400
- C-mount camera and adapter: $250 to $350
- FDA staining supplies and mounting medium: $100 to $150
- Measurement and documentation tools: $50 to $150
Start here. Measure your results: contrast ratios, signal intensity, repeatability of viability percentages. Where you see a quantified weakness (say, low fluorescence signal or uneven illumination), invest in the specific upgrade that addresses it. This prioritization method beats guessing at generic upgrades.
Related Articles