
Textile Fiber Microscopy: Fashion Fiber ID Guide
By Omar Haddad • 28th Apr
Unlocking what your clothes are actually made of starts with a single moment of curiosity, and a simple microscope. Textile fiber microscopy lets you peer into fabric composition, understand quality, and discover why one shirt feels different from another. Whether you're a fashion enthusiast, a conscious consumer, or simply someone who loves uncovering hidden details, learning to identify fibers with a microscope transforms a closet into a laboratory of discovery.
Why Textile Fiber Microscopy Matters
Fashion industry microscopy analysis isn't just for lab technicians anymore. It's a gateway to understanding textiles in ways that marketing labels never will. When you examine fabric through a microscope, you're not just seeing threads, you're seeing the fingerprint of a fiber, its unique structure that reveals whether it's cotton, polyester, wool, or something else entirely.
This skill builds on itself. The first time you spot the characteristic scale pattern of a cotton fiber or the hollow core of acrylic, something clicks. That's when curiosity scales with confidence. You begin asking better questions: Is this blend what the label claims? Why does this fabric pill? What makes premium linen look different under magnification? Each small win (identifying a single fiber correctly) grows into tomorrow's confident discoveries.
I still remember watching someone discover the true composition of a "silk-like" blouse by simply mounting a single thread and observing it at modest magnification. The realization on their face wasn't just about fiber identification; it was about reclaiming agency as a consumer. That's the real power here.
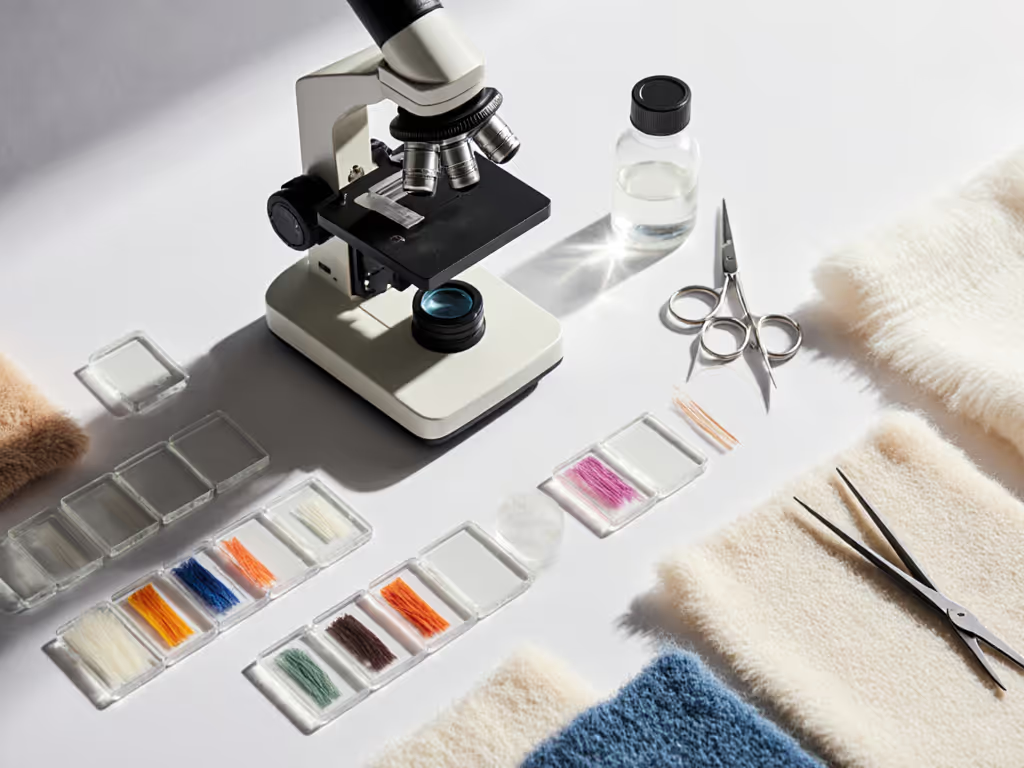
What You'll Need: Keeping It Simple and Accessible
The beautiful part? Textile quality control through microscopy doesn't demand expensive equipment. Start with what counts: If slides and cover slips are new to you, see our slides and cover slips guide for bubble-free mounts and sharper views.
- A basic light microscope with 10x, 20x, and 40x objectives (10-40x magnification is typically sufficient for proper identification of fiber characteristics)
- Microscope slides and cover slips
- A simple mounting medium such as glycerin or mineral oil
- Fine-tipped tweezers and a dissecting needle or pin
- Small scissors
- Your fabric samples
That's it. No exotic chemicals, no fluorescence protocols, no confusion. This setup works because it focuses on what matters: seeing your fiber clearly and safely. For student use and hobbyist exploration, this magnification range reveals everything you need to distinguish natural vs. synthetic fiber differentiation and understand fabric composition analysis.
Step-by-Step: Your First Fiber Identification
Step 1: Prepare Your Sample
Take a small sample of fabric (roughly a quarter inch) and use your tweezers and dissecting needle to tease apart individual fibers from the yarn. This is where patience pays off. Work slowly, separating the bundle into distinct, single fibers. If you're examining a blend, make sure you're looking at fibers from throughout the sample, not just the surface.
Place your separated fibers directly on a clean microscope slide. If you prefer, tease them apart on a separate surface first, then transfer them with tweezers.
Step 2: Mount Your Fibers
Place a small drop of your mounting medium (glycerin or mineral oil) directly onto your fibers. This isn't just convenience; the medium prevents your fibers from drying out and helps light pass through them consistently. Carefully place a cover slip over the drop, letting it settle gently. You should see the medium spread evenly beneath the cover slip with no air bubbles.
Step 3: Start with Low Magnification
Begin by viewing your mounted fiber under the 10x objective. With standard 10x eyepieces, this gives you 100x magnification, enough to survey the entire sample and confirm you're not looking at multiple fiber types accidentally mixed together.
Scan the full length of at least one fiber. This is your baseline observation. Notice the overall shape, color, and any obvious surface features. Even at this magnification, you're gathering critical clues.
Step 4: Move to Medium and High Magnification
Now increase to the 20x or 40x objective for detailed viewing of individual fiber characteristics. Stop down the aperture iris (close it partially). For consistently even lighting and contrast, set up Köhler illumination before fine observations. This sharpens the edge definition and brings out surface structures that differentiate fibers.
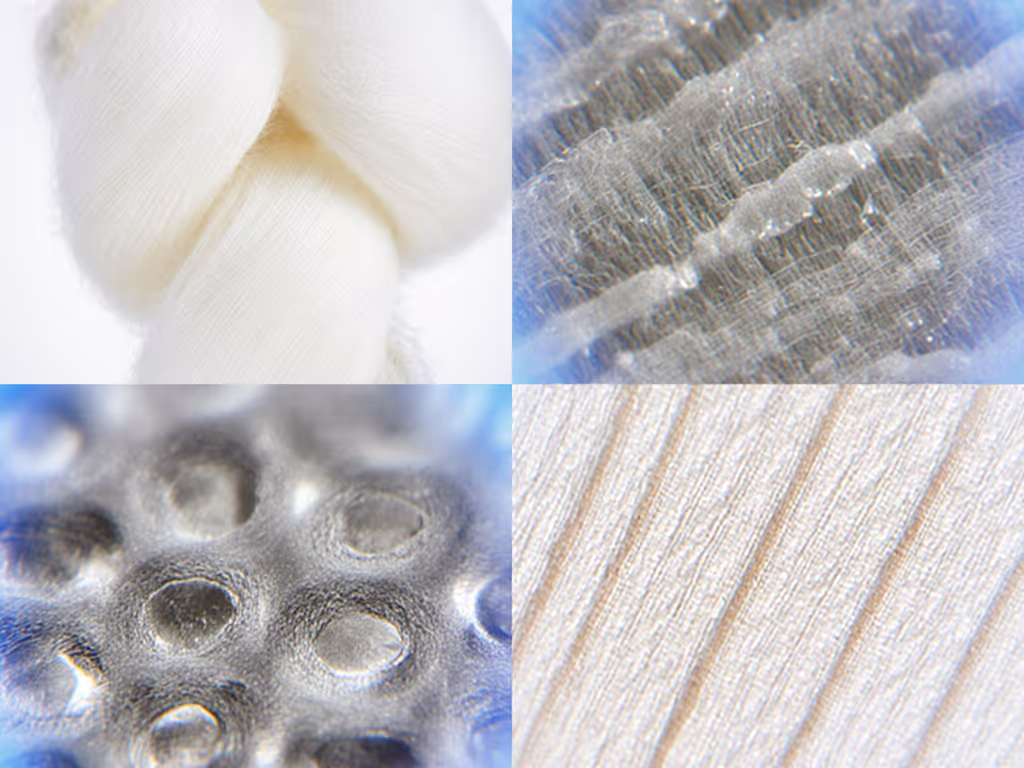
Look for these identifying features:
- Surface appearance: Smooth or striated? Scaly or uniform?
- Cross-sectional shape: Fibers appear different depending on angle and internal structure
- Color and transparency: Some fibers are naturally colored; others absorb dye differently
- Length and diameter: These vary predictably by fiber type
This is where fiber identification techniques become intuitive. Cotton fibers show characteristic twists and a flattened shape. Polyester appears smooth and cylindrical. Wool displays overlapping scales. Linen has nodes and a distinct longitudinal structure. These aren't random; they're consistent enough that once you've seen them, recognition becomes automatic.
Step 5: Use a Reference Guide
Keep a reference book or chart nearby with images of known fiber types. Compare what you're seeing to documented examples. Note which fiber your sample most closely resembles. Don't rush this step; sometimes a fiber requires comparison across multiple characteristics before identification becomes clear.
A tool called the Michel-Lévy Chart can help when you're ready to go deeper. If polarized light is new to you, start with our polarized light microscopy guide to read interference colors with confidence. This chart plots fiber diameter, interference colors, and birefringence numbers: once you measure your fiber and observe its color under plane-polarized light, you can narrow possibilities to just a few candidates.
Step 6: Record Your Findings
Write down what you observed: fiber type, surface characteristics, diameter if you measured it, and any uncertainties. For accurate diameter measurements, use the right microscope measurement tools like stage and ocular micrometers. This record becomes your learning log. Over time, you'll notice patterns in your identifications and develop confidence in your method.
Building Consistent Habits for Success
The key to reliable fabric composition analysis is systematic observation. Always follow the same steps: begin with plane-polarized light and lower magnification for general observations, then move to higher magnifications and filters for additional critical details. When gathering information, select the best candidates on your slide: fibers that are well-defined and undamaged will yield clear information far more readily than crumpled or unclear specimens.
Small wins compound. Your first successful identification might be cotton from your own T-shirt. Your next could be distinguishing pure linen from a linen blend. Each success builds the confidence to attempt more complex samples and more precise observations. This is how curiosity transforms from a passing interest into a repeatable skill.
Further Exploration: Where to Go From Here
Once you've mastered basic identification, the hobby deepens naturally. You might explore:
- Examining fabric blends to understand how different fibers coexist in a single textile
- Comparing fibers from garments of different price points to understand quality differences
- Investigating how fiber damage (pilling, fraying, fading) appears under magnification
- Exploring cross-sections of fibers using advanced mounting techniques
- Joining online microscopy communities to share your discoveries and learn from others
The world of textile fiber microscopy opens when you move from wondering "What is this made of?" to confidently observing and answering that question yourself. Your next textile discovery is just a slide away, and you already have everything you need to begin.
Related Articles