AR Microscopy Integrates With Any Scope: Low-Cost Guide
By Diego Silva • 16th Oct
What if you could transform your existing microscope into a cutting-edge visualization tool without breaking the bank? Augmented reality microscopy is no longer reserved for well-funded labs. It's within reach of hobbyists who want to enhance their specimen viewing experience. With AR microscope visualization, you can overlay digital information directly onto your specimen view, creating a powerful hybrid experience that reveals details you'd otherwise miss. The best part? You don't need a six-figure budget to make it happen. Build what you need, spend where it counts most.
The Frustration of Limited Microscopy Capabilities
Let's face it, most hobbyists feel stuck between two options: keep staring at blurry specimens with limited contextual information, or shell out thousands for professional imaging systems that often sit unused. I've seen countless forum posts from frustrated microscopists who've invested in quality scopes only to hit a wall when they want to document, analyze, or simply see more. For help choosing a capture path, read our smartphone vs digital microscope cameras comparison.
This isn't just about higher magnification. Without proper visualization tools, you're missing critical context that could transform your observations. Imagine trying to identify microscopic organisms without reference markers, or attempting precision measurements while constantly looking away from your eyepiece. The current workflow creates unnecessary friction between discovery and understanding.
Years ago, I faced a similar challenge when I needed specific lighting angles for detailed observation but couldn't afford commercial solutions. That's when I learned an important lesson: ingenuity beats price tags when the build is safe and testable.
Why Professional AR Microscopy Systems Aren't the Answer for Hobbyists
Commercial augmented reality microscopy solutions like those from major manufacturers offer impressive capabilities, but they come with significant drawbacks for the typical hobbyist:
- Cost prohibitive: Complete systems often exceed $10,000
- Scope compatibility issues: Designed for specific microscope models
- Over-engineered for simple needs: Packed with features you'll never use
- Proprietary limitations: Locked into single-vendor ecosystems
What most hobbyists really need is enhanced visualization without the enterprise price tag, a way to integrate digital specimen overlay that works with their existing equipment. To avoid compatibility pitfalls as you add components, follow our accessory compatibility guide. The professional world has proven the value of microscopy AR applications, from pathology to manufacturing quality control, but these benefits shouldn't be locked behind expensive hardware.
The DIY AR Microscopy Solution: Your Scope, Enhanced

How It Works: The Core Principles
All AR microscopy systems operate on three fundamental components:
- Image capture: A camera that sees exactly what you see through the eyepiece
- Processing: A system that analyzes or enhances the image
- Overlay: A display that superimposes information onto your view
The magic happens when these elements work together seamlessly to create enhanced visualization techniques that become part of your natural AR microscopy workflow.
Your Affordable Implementation Path
Here's where maker ingenuity shines. Instead of buying a complete system, we'll build a solution using readily available components:
Essential Components
| Component | Budget Option | Cost | Notes |
|---|---|---|---|
| Camera Module | Raspberry Pi Camera V2 | $25 | 8MP quality sufficient for most hobby applications |
| Microcomputer | Raspberry Pi Zero 2 W | $15 | Low-power processor for basic image processing |
| Mounting Solution | 3D-Printed Adapter | $0.50 | PLA filament cost for custom fit to your scope |
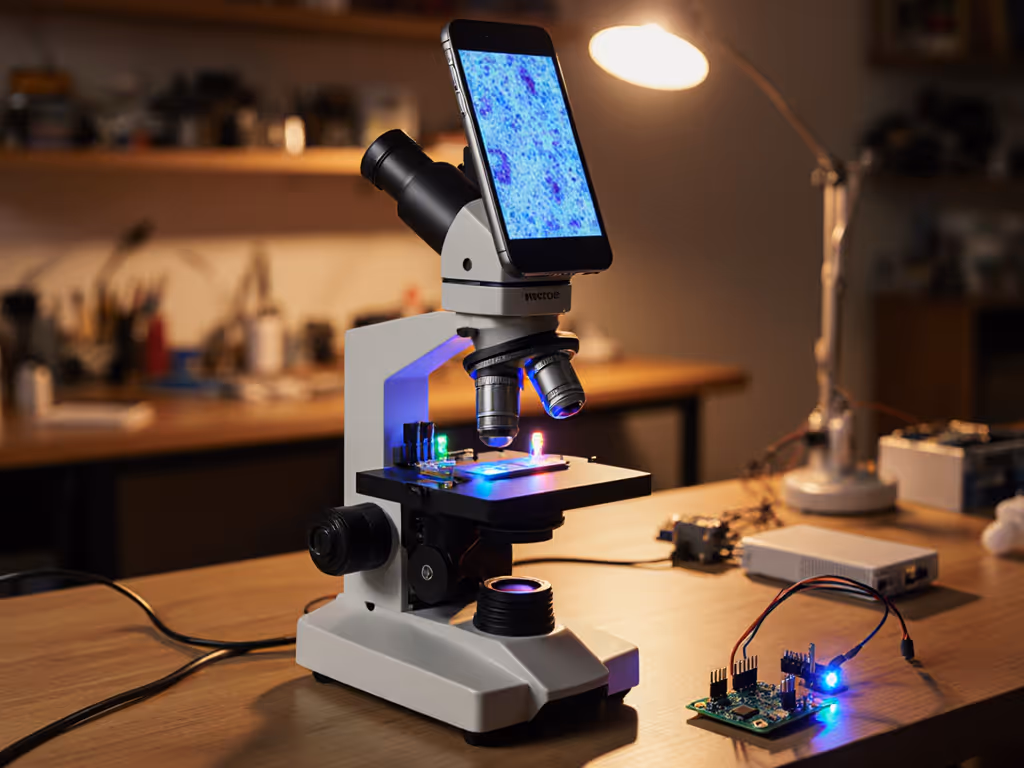
| Display | Smartphone Screen | (Existing) | Use your phone as the AR display surface |
| Power | USB Power Bank | $10 | 5000mAh unit provides 8+ hours of operation |
Total Cost: Under $50 (excluding smartphone)
Safety First: Critical Considerations
Before you begin, please note these safety essentials:
Always use battery-powered devices with optics. Never connect mains-powered equipment directly to your microscope without proper certified enclosures. A single electrical fault could damage both your equipment and your eyesight.
- Never modify your microscope's illumination system to accept mains voltage
- Keep all electronic components physically separated from optical paths
- Use only low-voltage (<12V) components near your microscope
- When working with cameras mounted to eyepieces, ensure nothing obstructs ventilation
Step-by-Step Implementation
-
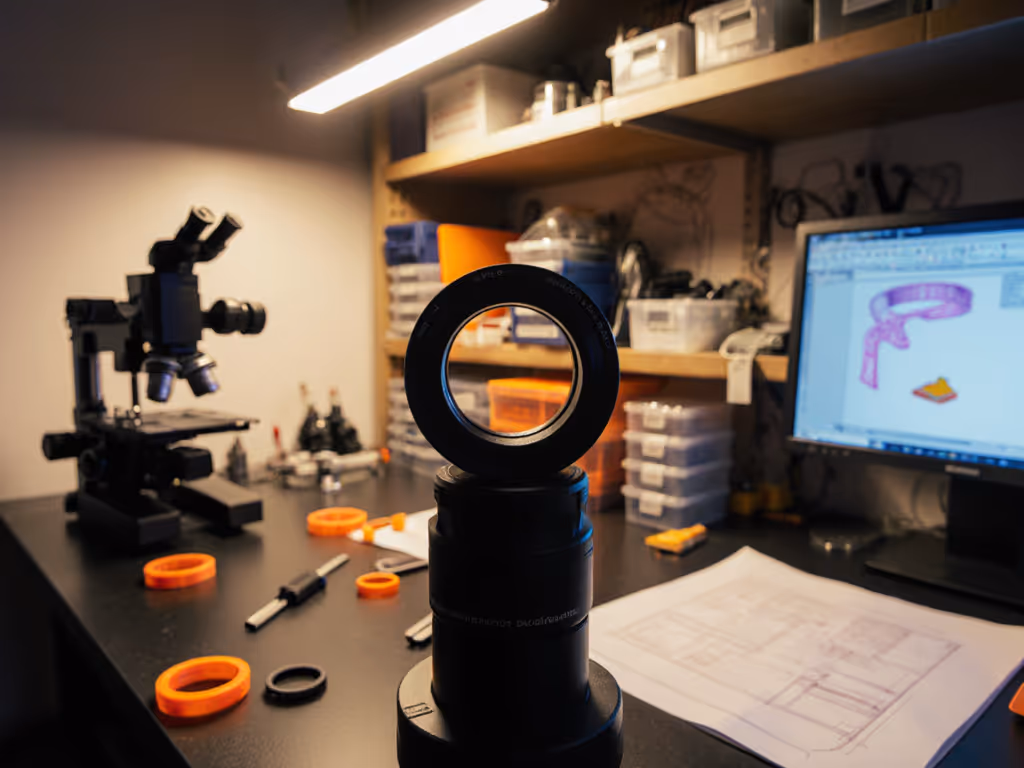
Design your mounting solution - Measure your microscope's eyepiece diameter and print a custom adapter. Many open-source designs exist on platforms like Thingiverse for common microscope models.
-
Set up your camera system - Attach the camera module to your Raspberry Pi and install lightweight image processing software like OpenCV for basic overlays. To move beyond simple overlays, explore AI-powered microscopy workflows.
-
Create your AR layer - Start simple with grid lines or measurement scales, then progress to more complex overlays as you gain confidence.
-
Connect to your display - Position your smartphone to view the camera feed while simultaneously looking through your microscope eyepiece (a simple cardboard divider helps). Need a stable mount? Check our best phone microscope adapters roundup for secure options.
-
Calibrate your system - Ensure the digital overlay aligns with your physical specimen by adjusting camera position and software parameters.
The key to success with any maker project is simple: build what you need, spend where it counts most. That $20 project I mentioned earlier? It taught me that thoughtful component selection matters more than expensive gear.
Practical Applications for Hobbyists
This DIY approach opens doors to previously inaccessible microscopy AR applications:
- Geology enthusiasts: Overlay mineral identification charts directly on rock samples
- Biological observers: Add reference markers to track cell movement or growth
- Entomology hobbyists: Superimpose scale measurements on insect specimens
- Educators: Create interactive teaching materials with annotated specimen views
For my butterfly wing observation project last spring, I implemented a simple grid overlay that helped me precisely document scale patterns. The entire setup cost less than a fancy microscope slide box, yet delivered professional-grade documentation capabilities.
Overcoming Common Challenges
Don't be discouraged if your first attempt isn't perfect. Every successful maker journey involves iteration. Here's how to troubleshoot common issues:
- Misaligned overlays: Check camera positioning and eyepiece focus, and small adjustments make big differences
- Poor lighting: Add simple LED ring lights (3D-printed mounts available online) for better contrast Get the basics right with our microscope illumination guide.
- Latency issues: Simplify your processing requirements, and start with basic overlays before adding complex features
Remember: build, test, iterate. This isn't just a phrase. It is the core philosophy that turns frustrating failures into learning opportunities.
Your Next Steps Toward Enhanced Visualization
You now have everything you need to transform your microscope into an augmented reality platform without draining your hobby budget. The true power of this approach isn't just in the technology, it's in reclaiming control over your observational experience.
Before you dive in, visit your local maker space or community lab. Many have 3D printers and components you can use for your first prototype. Search online for "[your microscope model] AR adapter", and you'll likely find existing designs to build upon rather than starting from scratch.
Imagine what you could discover when your microscope shows you not just what's there, but what matters most. The microscopic world awaits your enhanced perspective (no expensive equipment required). Build what you need, spend where it counts most, and most importantly: build, test, iterate.
Related Articles