Microscope Slide Labeling Systems Compared For Specimen ID
By Mei Lin • 6th Jun
Microscope slide labeling systems are the quiet backbone of reliable specimen slide identification, they decide whether tonight's beautiful field of diatoms is findable next month. This FAQ deep dive compares the main microscope slide labeling systems, so you can pick one that fits your collection size, budget, and comfort at the bench.
I'll walk through options from simple pencil-on-glass to barcodes and laser-marked slides, always with an eye on workflow: you want a system that keeps up with your curiosity, not one that slows you down.
What problems is a slide labeling system supposed to solve?
Before comparing systems, it helps to name what you're actually trying to fix.
For a home or small lab microscopist, good slide labeling and slide cataloging methods usually need to:
- Tell you what the specimen is (sample type, source, date)
- Link the slide to more details (preparation method, stain, magnification notes)
- Survive handling and storage without smearing, peeling, or fading[3][12]
- Work at the scale you care about (10 favorite slides or 1,000 archived preparations)
- Integrate with your imaging workflow, so you can match photos and videos to specific slides[10]—our smartphone vs digital microscope cameras comparison can help you choose capture gear
Professional labs stress that labels must resist chemicals, fixatives, and temperature swings to avoid misidentification, especially when staining or processing slides[3][10][12]. For hobby work, the stakes are different, but the frustration of a mystery slide is the same.
A comfortable, predictable labeling routine turns a pile of glass into a collection you can actually revisit.
What are the main microscope slide labeling systems?
In practice, most people end up with one of these slide organization systems (often in combination):
- Handwriting directly on the slide (pencil or solvent-resistant marker, usually on a frosted end)[4][12]
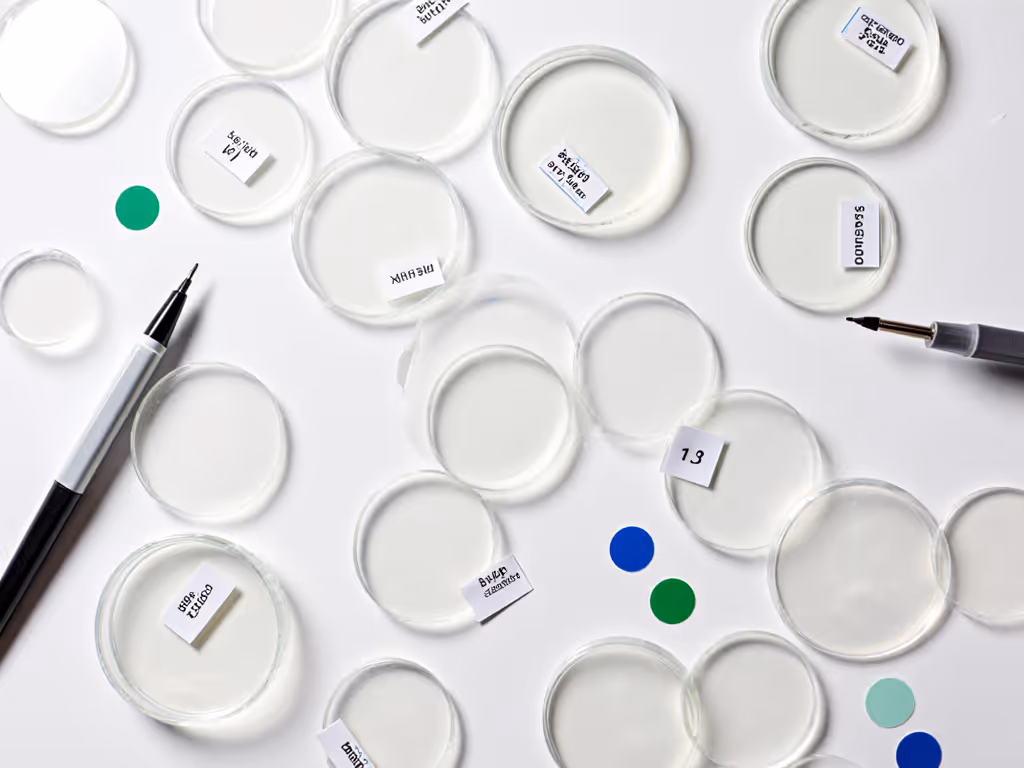
- Office-style adhesive labels, handwritten or printed[2]
- Lab-grade printed labels (thermal transfer or other chemical-resistant labels)[3][15]
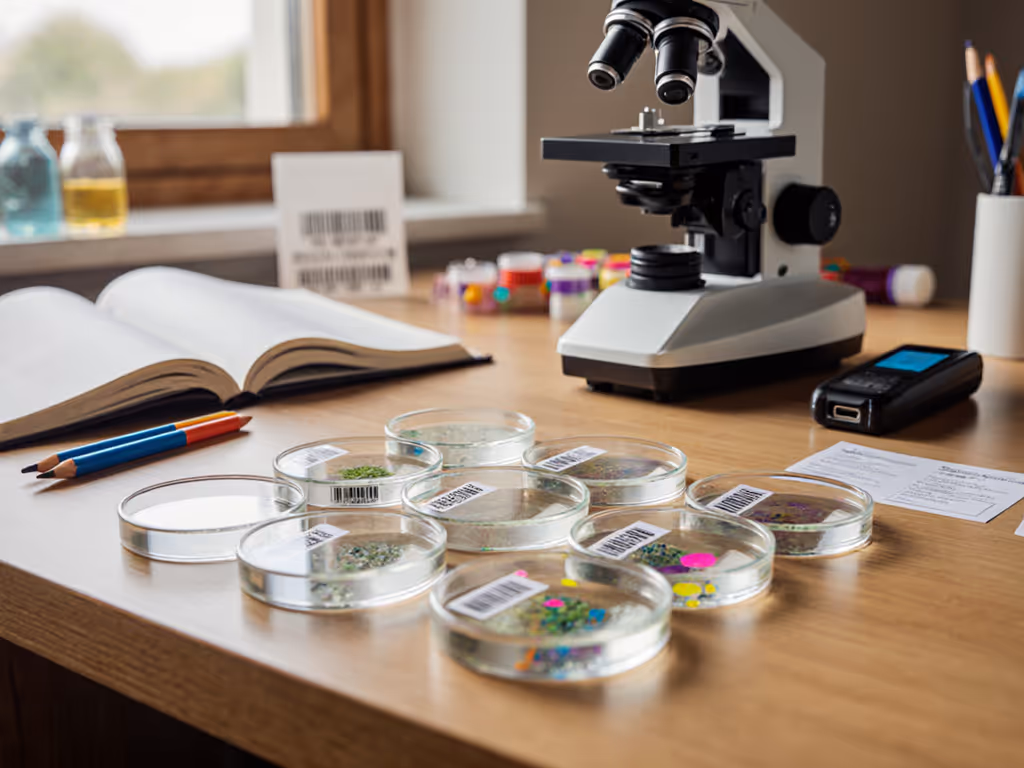
- Barcoded or QR-coded labels tied to a database or spreadsheet[3][10][15]
- Laser-marked or pre-printed slides with permanent IDs[14]
Here is a high-level comparison.
| System | Upfront Cost | Durability | Speed | Best For |
|---|---|---|---|---|
| Handwriting on slide | Very low | Moderate (can fade or smear) | Fast once practiced | Small collections, wet mounts |
| Office adhesive labels | Low | Moderate (limited chemical/heat resistance) | Fast | Hobbyists, light staining[2] |
| Lab-grade printed labels | Moderate | High (chemical & temperature resistant)[3] | Fast after setup | Long-term archives, staining work |
| Barcoded/QR labels + software | Moderate to high | High (depends on label type)[3][15] | Fast for large batches | Large collections, sharing & specimen tracking solutions |
| Laser-marked slides | High | Very high, permanent marking[14] | Slow to set up, then streamlined | Institutional archives, critical long-term records |
The rest of this FAQ looks at each in more detail, with practical pros and cons for home and small-lab use.
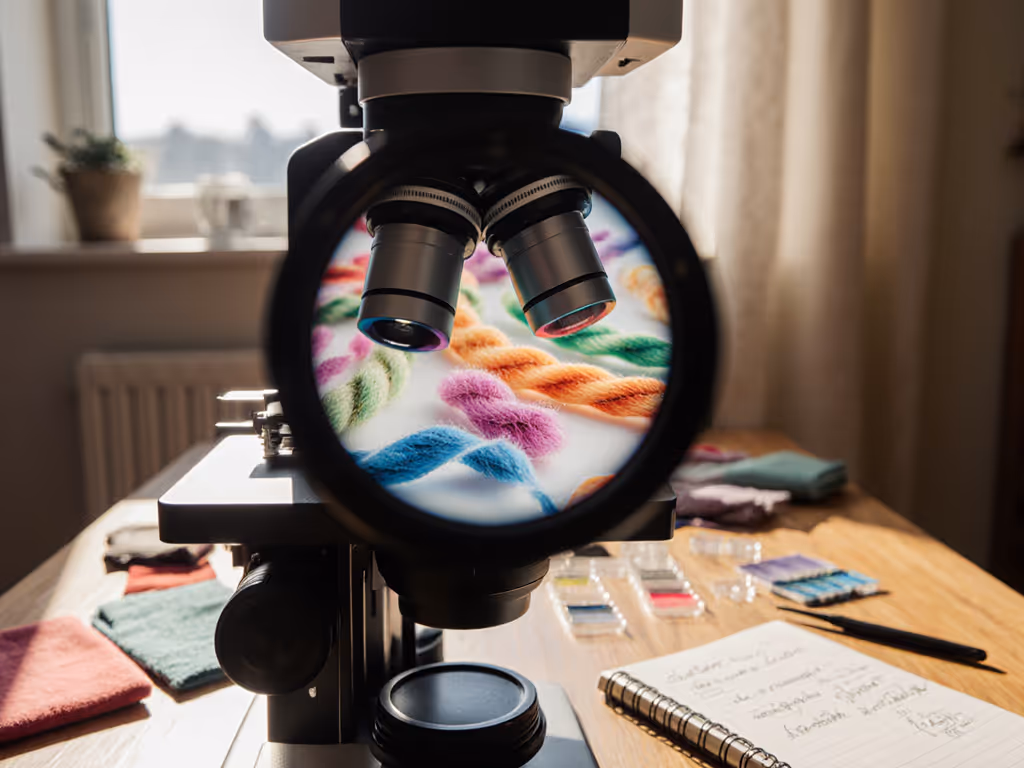
How does handwriting on the slide compare to other methods?
What it is: You write directly on the slide's frosted end (or edge) with a pencil or special marker.[4][12] If you're choosing between materials, our glass vs plastic slides comparison explains durability, writeability, and handling trade-offs.
Many teaching and clinical guides still recommend writing directly on the frosted area with a pencil or solvent-resistant pen because it is low-cost, fast, and does not add thickness to the slide[4][12].
Pros
- Cheapest option: no labels, no printer
- Always available; you can label in the field or at the kitchen table
- No extra thickness to catch on slide racks or covers
- Works well for temporary or wet mounts, where long-term slide preservation is less critical
Cons
- Limited information space: you're fitting an ID into a few millimeters
- Handwriting can smudge, fade, or become illegible, especially with some solvents or repeated handling[3]
- Dark pencils or pens can still be hard to read under dim bench lighting
- Re-labeling a miswritten slide is messy
Best-use pattern
- Small batches (a few slides per session)
- Trials and practice slides
- When you log more detail in a notebook or spreadsheet and only need a short ID on the glass
Comfort and workflow tip:
Keep your slides in a shallow tray, sit with forearms supported, and label with the frosted end pointing in the same direction each time. This small ergonomic habit reduces hand strain and makes orientation automatic when you pick up the slide later.
Are simple adhesive labels good enough for hobby microscopy?
Office-style return address labels are a popular step up for hobbyists because they're cheap, easy to print in batches, and sized well for slide ends[2]. One university protocol explicitly uses Avery return-address labels with a prepared Word template to produce microscope slide labels efficiently[2]. When cleaning around labels and optics, see our microscope cleaning kits comparison for safe, smear-resistant options.
Pros
- Inexpensive and easy to source
- You can print legible text and even color-code labels by sample type or project[2]
- More space than handwriting directly on glass
- Good for low-intensity chemical exposure or dry, preserved specimens[15]
Cons
- Standard office labels are not designed for solvents, xylene, or some stains; they can peel or ink can run under harsh processing[3][10][15]
- Adhesive may creep or bubble over time, especially in warm or humid conditions[10]
- Some labels are too tall and intrude into the coverslip area if not trimmed
When they make sense
- You do little or no aggressive staining
- Slides live mainly in dry storage boxes
- You want a slide organization system that looks tidy and is easy to read without specialized gear
Practical setup checklist
- Choose small, white, matte labels (e.g., return address size)
- Create a simple template with fields like:
Project - Slide # - Date - Print with a laser printer if possible; laser toner is generally more smear-resistant than many inkjets[3]
- Place labels only on the frosted end or edge, keeping clear of the coverslip area
This system hits a sweet spot for many home users: low cost, good readability, and quick to implement.
What's special about lab-grade printed labels?
Lab-focused brands sell chemical-resistant microscope slide labels designed to survive xylene, alcohols, and high-temperature protocols such as staining or autoclaving[3][12][15]. These are usually printed with thermal-transfer printers or similarly robust methods.
According to labeling specialists, these labels combine specially formulated adhesives with face materials and printing methods that resist harsh lab chemicals and extreme temperatures[3][10][15].
Pros
- High durability: labels stay attached during fixation, staining, and cleaning[3]
- Text and barcodes remain legible despite solvents and heat[3][15]
- Compatible with high-throughput workflows, print dozens of identical or serialized labels at once[3]
- Excellent for long-term slide preservation and archiving
Cons
- Labels and printers are more expensive than office-grade supplies[3]
- Slightly steeper learning curve (printer setup, templates)
- Overkill for very small collections or purely casual use
Ideal scenarios
- You routinely stain or process slides with stronger chemicals
- You maintain a long-term reference collection (e.g., mineral thin sections, botanical mounts)
- You share data in collaborations and want consistent, professional labeling
If your experiments are getting more sophisticated and you've lost slides to peeling labels or smeared marker, this is often the first "serious" upgrade that pays off in peace of mind.
When do barcodes or QR codes become worth it?
Barcoded labels tie your slides to a specimen tracking solution such as a LIMS (Laboratory Information Management System) or a custom spreadsheet/database. Label vendors emphasize that barcodes simplify tracking and tracing microscope specimens from preparation through analysis[3][10][15].
Some labs use cloud-based LIMS as the most robust way to track and trace microscopy specimens from collection through imaging[3]. To plan databases and image management that tie into labeling, explore our microscopy workflow software guide. You don't need a full commercial LIMS at home, but the same principle applies.
Pros
- High information density: the tiny code links to rich digital records
- Fast, error-resistant scanning when you have many slides
- Easy to share records with collaborators or online communities
- Encourages a consistent, database-style approach to slide cataloging methods
Cons
- Requires barcode-capable labels (ideally lab-grade)[3][15]
- Need at least a basic scanner (or smartphone app) and a database or spreadsheet
- Overhead is significant for a small, casual collection
Home-scale compromise
- Use simple numeric IDs on your labels (handwritten or printed)
- Maintain details in a spreadsheet:
Slide ID, Sample, Location, Date, Prep, Stain, Image File Names - If you like gadgets, you can print QR codes that link to a local or cloud note, but the key is the database discipline, not the code itself
Whether you scan barcodes or just type slide numbers, the power comes from a consistent specimen tracking solution that you trust.
What about laser-marked or pre-printed slides?
Industrial marking companies offer laser marking of microscope slides, engraving permanent IDs, grids, or logos directly onto the glass[14]. Laser marking creates durable, high-contrast marks that are resistant to chemicals and abrasion[14]. There are also older mechanical devices designed specifically for marking slides permanently, highlighting how important permanent IDs are in some settings[13].
Pros
- Truly permanent: marks do not peel, fade, or dissolve[14]
- No adhesive layer to interfere with storage or instruments
- Professional appearance and consistent layout
Cons
- Requires specialized equipment or outsourced services[14]
- Limited flexibility once slides are pre-marked
- Generally only cost-effective for large batches or institutional labs
For most home or small-lab users, laser-marked slides are a curiosity rather than a necessity. But they are worth knowing about if you plan to build a long-term teaching collection or collaborate with a local institution.
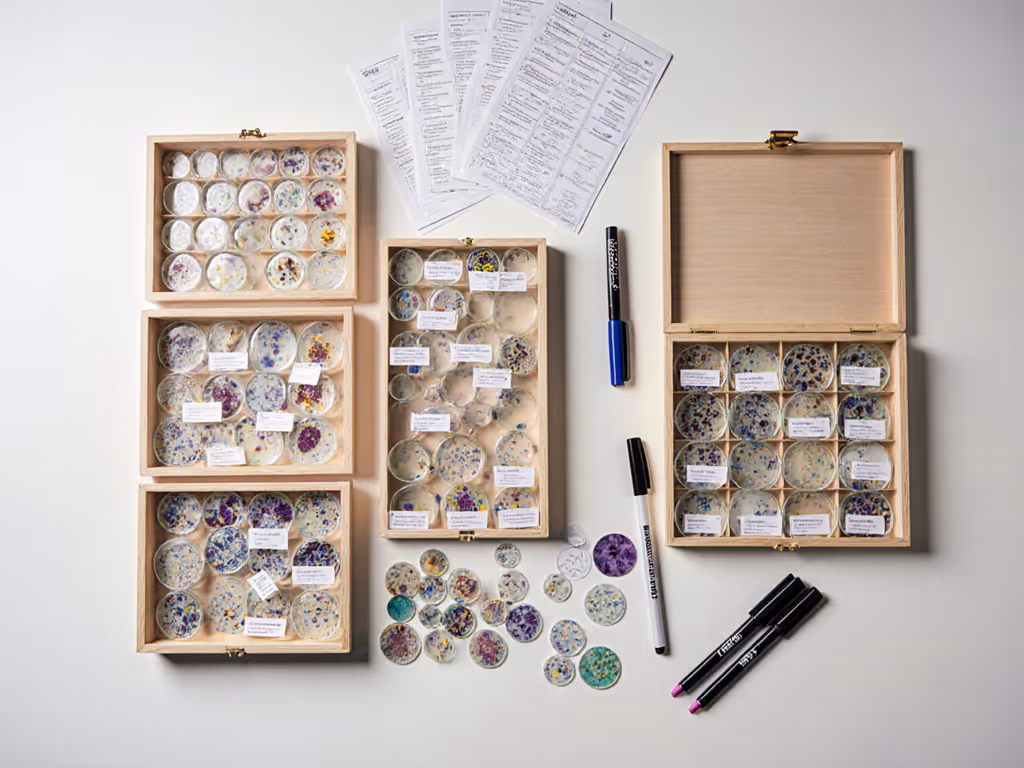
Which slide cataloging methods work well at home scale?
Even the best label is only half the story; the other half is how you organize records.
Here are three increasingly structured cataloging options that pair well with any physical labeling system:
1. Notebook + simple IDs
- Write a short ID on the slide (e.g.,
MOSS-12) - In a bound notebook, keep a running index:
MOSS-12 - roadside ditch moss, 10x/40x, glycerin mount, 2026-03-18 - Use sticky tabs or colors in the notebook to separate projects
2. Spreadsheet-based catalog
- Create columns for:
ID, Specimen, Source Location, Date, Prep, Stain, Notes, Image Files - Give each slide a unique ID that also appears on the label
- Add one more column for storage location (e.g.,
Box A, Row 3)
This mirrors what many formal labs do in simplified form and works well with barcode-ready systems[3][10].
3. Photo-first catalog
- Photograph each slide label with your phone or camera
- Store the image alongside micrographs of that specimen in a folder named with the slide ID
- Optionally mirror the key details in a spreadsheet or note app
All three methods support long-term slide preservation not just of the specimen, but of context: what you saw, how you prepared it, and how to find it again.
How do ergonomics fit into slide labeling?
Labeling sounds trivial until you do it for an hour with cramped fingers and harsh overhead glare. If labeling sessions cause neck or wrist strain, consider purpose-built microscope ergonomic accessories to support posture and reduce fatigue. The comfort side is rarely discussed in labeling guides, yet it matters to whether you stick with the system.
A few ergonomic tweaks:
- Dedicated labeling zone: keep an area of the bench clear for slides, labels, and pen or printer output, so you are not twisting around your microscope each time.
- Neutral posture: sit or stand so your forearms are supported, wrists neutral, and labels within easy reach. Avoid hunching over tiny text.
- Gentle lighting: a diffuse desk lamp over the labeling area makes small fonts and frosted ends easier to read without eye strain.
- Batch your work: label in small batches (5-10 slides), then switch back to observing. That rhythm keeps the "admin" side from feeling like a chore.
I learned the hard way that a few small changes in height and glare can make hours feel like minutes at the scope. The same applies here: your comfort is a performance spec.
Comfort is performance when the session runs long.
How do I choose the right microscope slide labeling system for me?
Use this quick decision checklist.
1. How many slides will you keep?
- Under 50 active slides: handwriting on slides or simple adhesive labels is usually plenty.
- 50-500 slides: printed office labels plus a spreadsheet catalog save time and reduce errors.
- 500+ slides or ongoing projects: consider lab-grade labels and more formal tracking.
2. What chemistry are you using?
- Mostly water-based mounts and gentle stains: office labels and permanent marker usually survive.
- Frequent use of xylene, alcohols, or strong solvents: lab-grade labels or direct-writing methods are safer[3][10][15].
3. How long should the slides last?
- Weeks to months: choose what is fastest and cheapest.
- Years or decades: prioritize chemical resistance, fade-proof printing, and a durable catalog.
4. How much setup overhead are you willing to accept?
- Minimal: pencil on frosted slides + notebook.
- Moderate: Word template for labels + occasional print sessions[2].
- Higher: thermal-transfer printer, lab-grade labels, and spreadsheet or database to match.
5. Are you excited by data management, or do you want to forget about it?
- If you like structure, spreadsheets and barcodes can be satisfying.
- If you don't, keep your system as simple as possible while still letting you find what you love later.
A practical weekend plan: set up a robust slide labeling kit
Here is an actionable path you can complete in one or two evenings.
Step 1 - Pick your base system
Choose one:
- Quick-start: frosted slides, sharp pencil or solvent-resistant pen, and a small notebook.
- Balanced: office return-address labels, a simple Word or spreadsheet template, and a laser printer[2].
- Advanced: durable labels (ideally lab-grade) and a spreadsheet with unique numeric slide IDs[3][15].
Step 2 - Define a simple ID format
Decide on a scheme you can remember:
PROJECT-SLIDENUM(e.g.,POND-07)- Or
YEAR-MONTH-SLIDENUM(e.g.,26-06-14)
Keep it short enough to fit comfortably on your label or frosted area.
Step 3 - Create a minimal catalog template
In a notebook or spreadsheet, create columns or headings for:
IDSpecimen & SourceDatePrep / StainNotesStorage location
Fill this out as you prepare each new slide.
Step 4 - Set up a tiny ritual
Tie labeling into your existing workflow:
- Prep specimen
- Label slide and log the ID before placing the coverslip
- After imaging, add key observations or image filenames to your log
If you keep the steps gentle and repeatable, they become part of how you enjoy microscopy, not extra paperwork.
Your next step: make labeling part of the fun
Tonight, choose one change: maybe it's printing a sheet of labels, setting up a quick spreadsheet, or simply standardizing a pencil ID scheme. Lay out a small, comfortable labeling zone near your scope, with good light and everything within easy reach.
The goal is not perfection; it is a system that feels light enough that you'll actually use it. When your slides are clearly labeled and easy to find, you will notice something subtle: you rush less, you explore more angles, and you come back to specimens weeks later with confidence. Comfort is performance when the session runs long, and your labeling system is a quiet but powerful part of that comfort.
Related Articles