Plant Pathology Microscopy: Essential Tools for Clear Diagnosis
By Omar Haddad • 2nd Jun
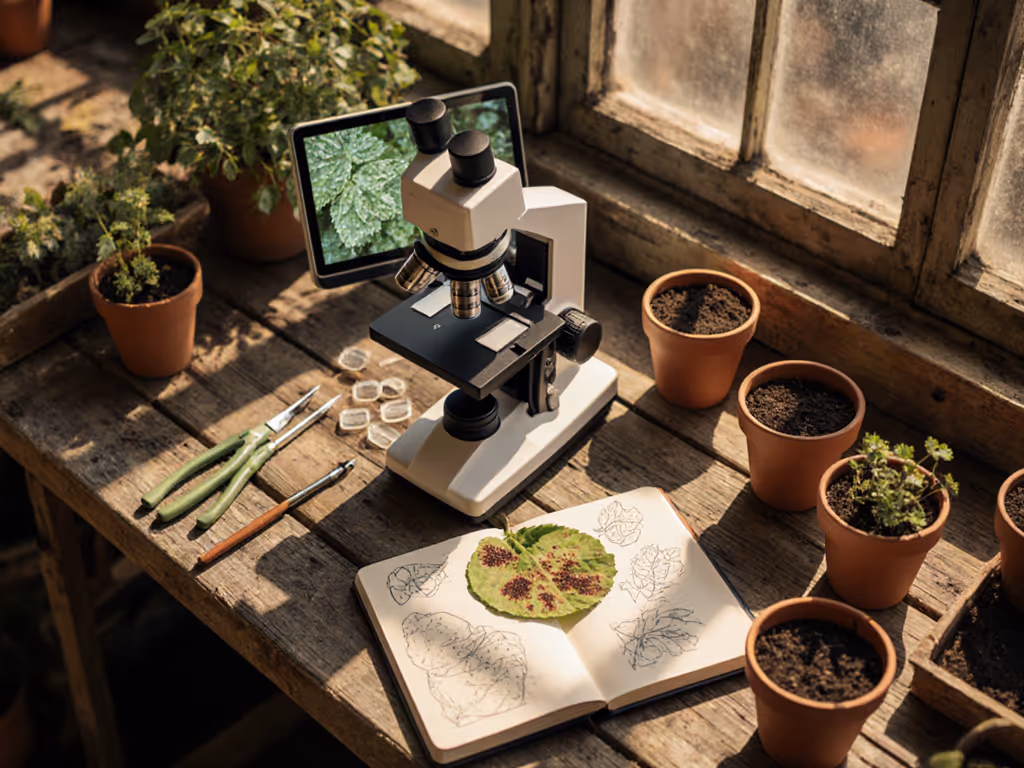
Plant pathology microscopy can turn confusing leaf spots and wilting stems into understandable patterns instead of nagging mysteries. If you've ever wished your plant disease diagnosis tools could move beyond guesswork and online symptom photos, a simple, well-chosen microscopy setup can give you much clearer answers.
This FAQ-style guide is for home gardeners, small-scale growers, and curious hobbyists who want reliable, repeatable results without lab-only gear or confusing jargon.
FAQ: Foundations of Plant Pathology Microscopy
1. What is plant pathology microscopy, in plain language?
Plant pathology microscopy is the practice of using a microscope to look directly at the organisms and damage involved in plant diseases.
Instead of stopping at "my tomato has spots," you:
- Inspect the plant cells and tissues where damage is happening
- Look for fungal spores, bacterial streaming, or tiny worms (nematodes)
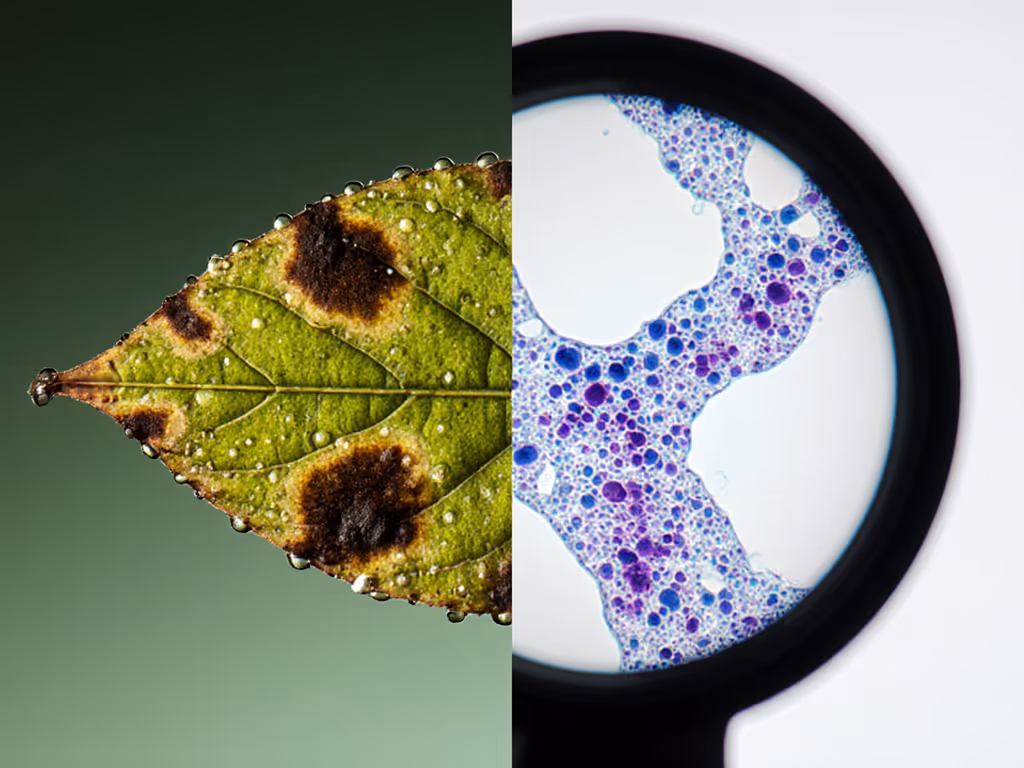
- Compare healthy and diseased tissue side by side
It doesn't replace a full diagnostic lab, but it lets you:
- Separate disease from insect or nutrient problems
- Make more informed decisions about treatment or removal
- Decide when it's worth sending a sample to a clinic for advanced tests
That direct view of infection is the heart of plant cell infection analysis (you are literally watching where the problem lives).
Small wins today grow into tomorrow's confident discoveries.
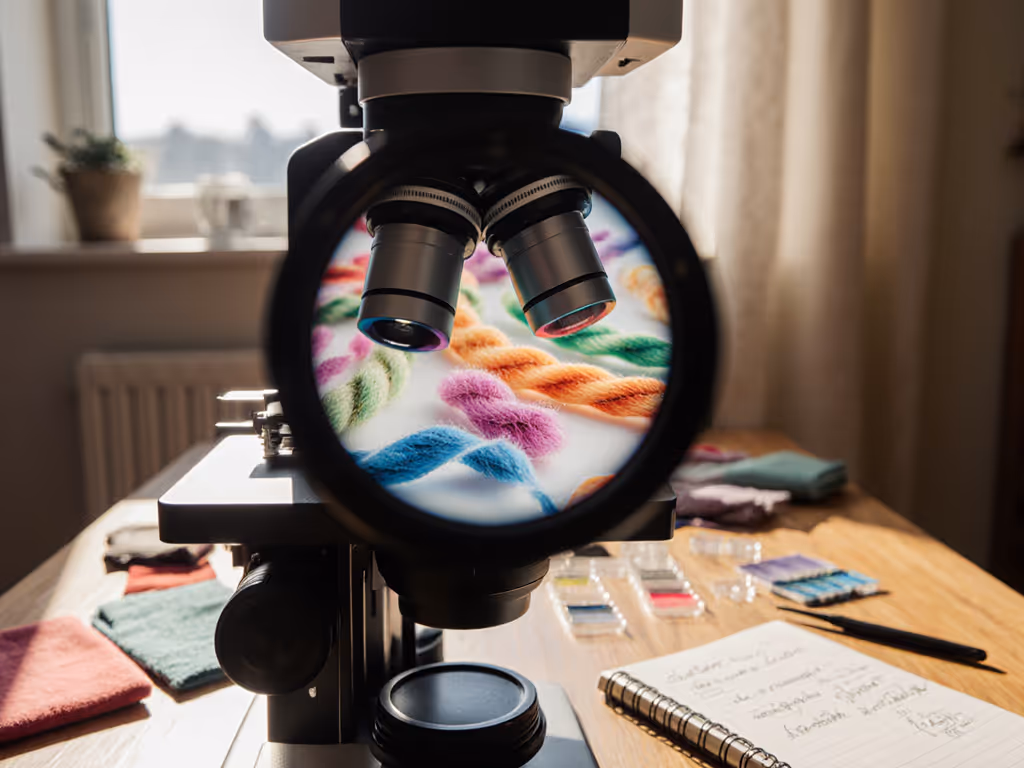
2. What kind of microscope makes sense for plant disease work at home?
For most hobbyists, two broad types of microscopes are useful:
- Stereo (dissecting) microscope (low magnification)
- Magnification: about 10× to 40×
- Best for: moldy surfaces, rust pustules, insect damage, mites, and overall lesion structure
- Feels very 3D and forgiving to use
- Compound microscope (higher magnification)
- Magnification: about 40× to 400× (occasionally up to 1000× with more practice)
- Best for: individual fungal spores, bacterial streaming, cell-level damage, thin sections of roots and stems
If you only start with one, a basic compound microscope with decent optics and a sturdy stand will go a long way for fungal identification microscopy and basic garden pathogen microscopy. For 1000× work, learn proper immersion oil technique to avoid blur and protect your objectives.
A few sanity checks before buying or upgrading:
- Prioritize clear, sharp image over very high magnification claims
- Look for coarse + fine focus knobs (fine focus helps with precise focusing at 400×)
- Choose LED illumination with brightness control if possible
- Make sure it accepts standard 1×3 inch microscope slides
Curiosity scales with confidence, so pick gear that feels stable and forgiving, not fragile and fussy.
FAQ: Essential Tools for Clear Diagnosis
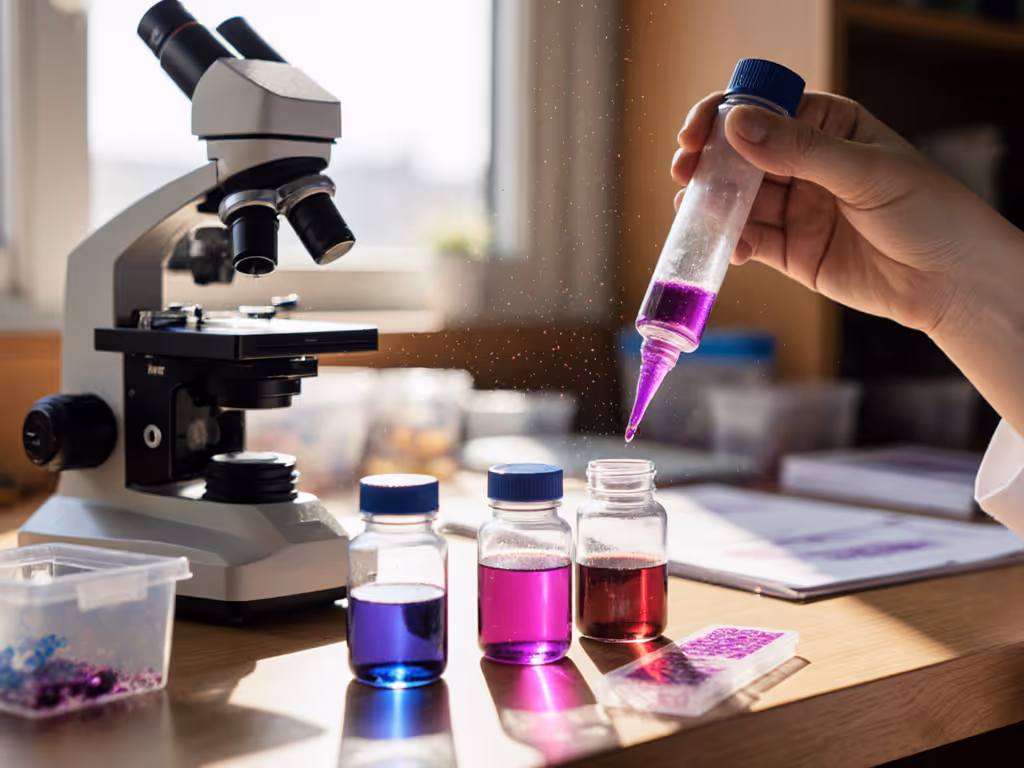
3. Beyond the microscope, what basic plant disease diagnosis tools do I need?
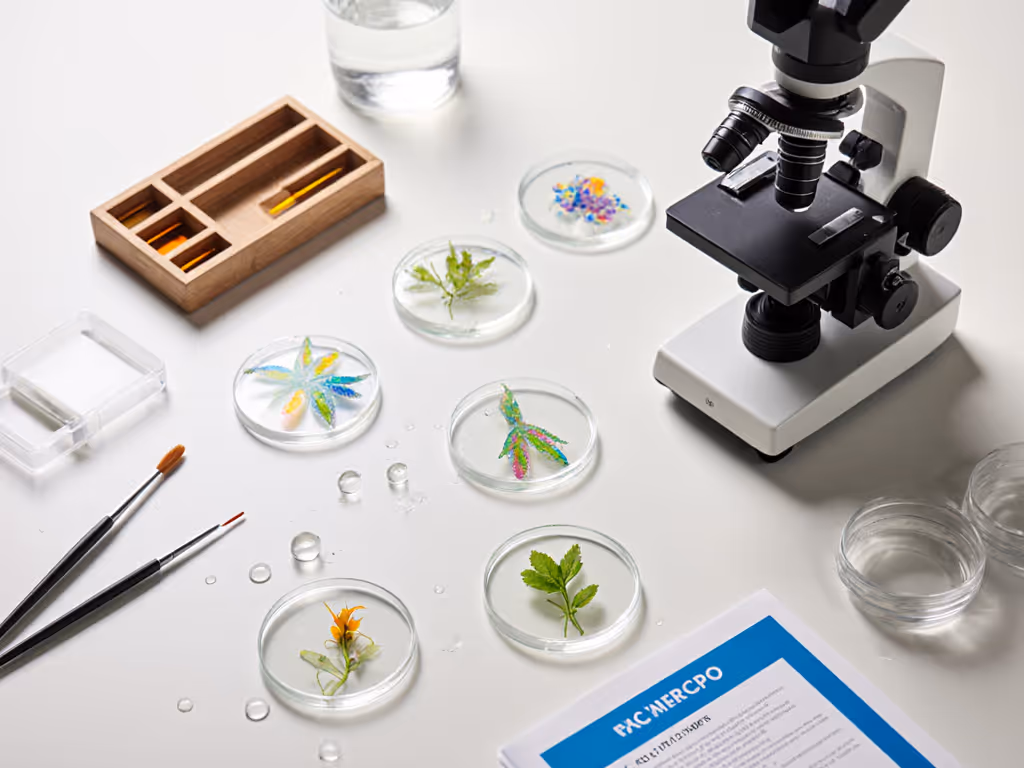
You don't need a lab cart. A small tray or toolbox with these basics will transform what you can see: New to slide handling? See our slides and cover slips guide.
- Slides and cover slips (lots of them)
- Plastic pipettes or droppers for moving water and washings
- Fine-tipped tweezers for handling tiny leaf pieces
- Razor blade or craft knife for thin sections (used carefully, always cutting away from your body)
- Soft paintbrush or cotton swab for lifting spores or dislodging debris
- Small containers (pill bottles, snap-cap vials) for collecting field samples
- Labeling supplies: tape, pencil or waterproof pen, and a small notebook
- Lens cleaning tools: lens paper and a blower or soft brush
- Smartphone-to-eyepiece adapter if you want easy photos without a dedicated camera
These simple plant disease diagnosis tools are enough to practice real agricultural disease detection skills at home.
I once watched a child use nothing more than a cheap pipette, a plastic slide, and patience to find microscopic life; the joy came not from fancy gear, but from accessible tools and clear steps. The same principle applies here.
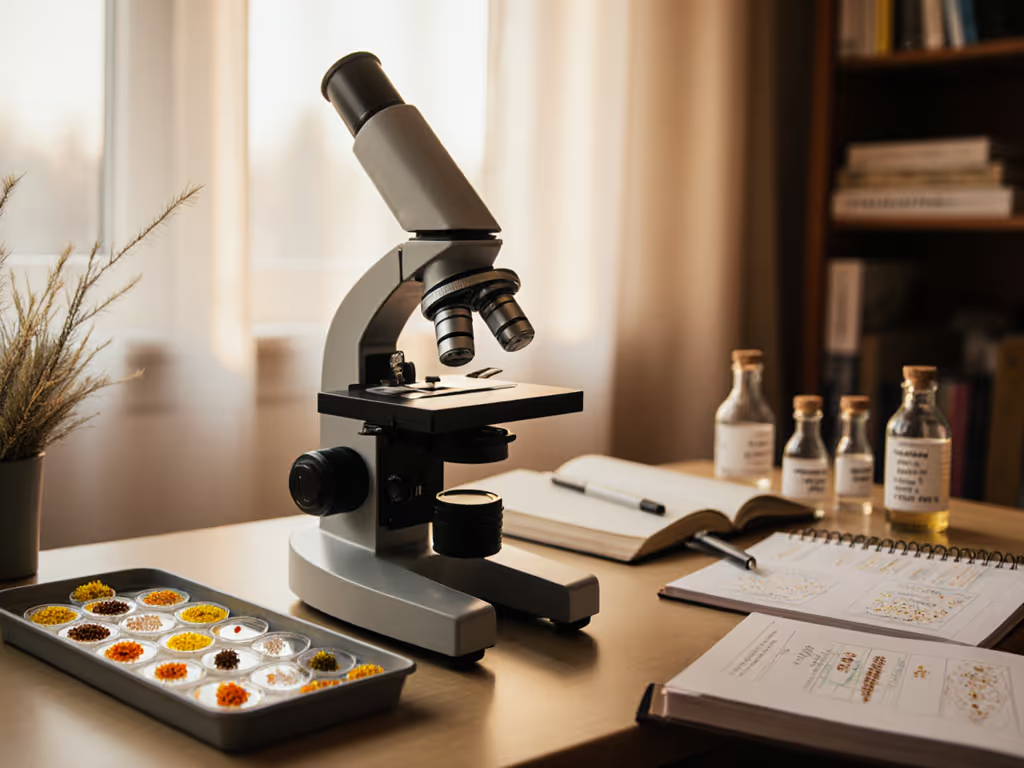
4. How do I prepare plant samples so infections are clear and not just a blur?
Good sample prep matters more than fancy optics. Here are three starter techniques that cover most situations.
A. Surface inspection for leaf spots and molds
Great for: powdery mildew, sooty molds, rust pustules, and many leaf spots.
- Cut a small piece of the lesion including a bit of healthy tissue.
- Place it on a slide with a drop of clean water.
- Gently press on top with a cover slip.
- Start at low power (4× or 10× objective), then move up to 40×.
Look for:
- Thread-like hyphae (fungal filaments)
- Chains or clusters of spores on the surface or emerging from tissue
This is a backbone method for fungal identification microscopy.
B. Thin sections of stems, petioles, and roots
Great for: wilts, internal rots, and vascular diseases.
- Cut a short piece of affected stem/root.
- With a sharp blade, shave very thin slices, aiming for near transparency.
- Mount a slice in a drop of water, cover with a slip.
- Observe at 40×, then 100×.
Look for:
- Discolored or blocked vessels compared to healthy tissue
- Fungal structures in the vascular ring
- Collapsed or distorted cells
C. Squash prep for spores and surface growth
Great for: heavy mildew, mold on fruit, and dense clusters of spores.
- Lift a little surface growth with a brush or tweezers.
- Place in a drop of water on a slide.
- Add a cover slip and gently press with a folded tissue.
- Observe at 100× to 400×.
You'll see individual spores clearly enough to compare shapes and sizes, a first step toward more systematic plant cell infection analysis.
FAQ: Recognizing What You See
5. What kinds of plant problems can I realistically detect at home?
With a basic setup and practice, you can often:
- Spot powdery mildew and downy mildew structures on leaves
- See rust and smut spores as distinct, often brightly colored grains
- Recognize surface molds on fruit and stems
- Notice whether leaf spots are linked to fungal growth or look more like nutrient or sun damage
You may also see hints of:
- Bacterial issues, sometimes visible as streaming from cut veins under high power
- Nematodes (tiny worms) in root washings or soil water samples
What you usually cannot do alone:
- Confirm exact species of fungi and bacteria
- Detect viruses directly (you see their effects on cells, not the virus particles themselves)
So think in terms of categories: fungal vs. bacterial vs. abiotic (non-living causes like nutrient issues or physical damage). Even that separation greatly improves your treatment decisions in both home gardens and small-scale agricultural disease detection.
6. How do my microscope results connect to real-world decisions in the garden or field?
Use a simple three-step habit:
- Match the micro to the macro
- Does the pattern of spores or hyphae align with what you see on the whole plant?
- Are symptoms worse in particular weather or watering patterns?
- Group the diagnosis
- Clear fungal growth? Consider cultural controls (airflow, spacing), sanitation, and (if appropriate) fungicide options.
- No obvious pathogen and scattered yellowing? Investigate water, light, and nutrients instead.
- Know when to call for backup
- When stakes are high (orchards, valuable ornamentals, or a crop you rely on) and you are unsure, send samples and photos to a plant disease clinic or extension service. Many university clinics specifically ask for clear images of symptoms plus well-packaged samples for accurate diagnosis.
Microscopy won't solve everything, but it makes your conversations with professionals more precise and productive.
FAQ: Getting Clear, Shareable Images
7. How do I avoid blurry, frustrating microscope views?
A few small habits fix most issues: For cleaning and care basics, see our microscope maintenance guide.
-
Start low, finish high Always focus first at the lowest objective, center the area of interest, then move up in magnification.
-
Use both focus knobs Use coarse focus to get close, then switch to fine focus to sharpen the image, especially at 400×.
-
Adjust light, don't fight it Too bright washes out detail; too dim hides it. Slowly adjust brightness and diaphragm until contrast feels comfortable.
-
Keep everything clean and flat Wipe slides and cover slips before use. Make sure cover slips lie flat; bubbles and tilt cause soft images.
-
Take your time Move the slide slowly. Many beginners "overshoot" because they rush the stage controls.
If eyestrain kicks in or everything looks washed out, pause, breathe, and reset at low power with gentle light. For consistent brightness and contrast, follow our Köhler illumination setup steps. You're learning a skill, not failing a test.
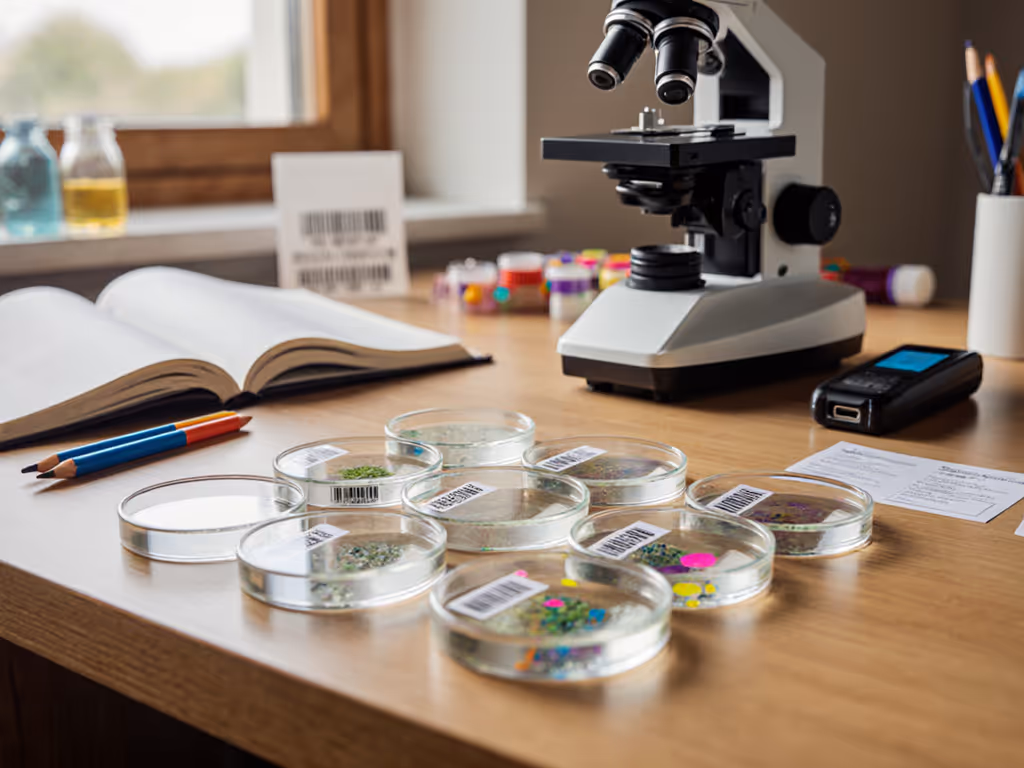
8. How can I easily document and share what I see?
To build a useful record of your garden pathogen microscopy work:
-
Label everything immediately Write plant, location, date, and suspected issue in a notebook or on the slide box.
-
Use your phone for photos
-
Hold the camera lens directly over the eyepiece, or use a simple adapter.
-
Dim the microscope light slightly; phones handle moderate light better than harsh glare.
-
Capture context Take one photo of the whole plant or bed, one of the affected area, and one or more through the microscope. For stable captures, compare our best phone microscope adapters. Plant disease clinics often request this combination for better interpretation.
-
Add simple notes Record magnification, a quick sketch, and any smells or textures you noticed when cutting the sample.
Over time, you'll build a personal atlas of problems and patterns you can share on forums, with friends, or with extension agents.
FAQ: Next Steps and Further Exploration
9. How can I keep learning without turning my home into a full lab?
You can deepen your skills with structured, bite-sized projects instead of expensive upgrades.
Try these simple explorations:
-
Healthy vs. sick comparison Mount a healthy leaf section next to a diseased one. Note differences in color, structure, and presence of spores.
-
Weather diaries On damp weeks, regularly inspect the same plants. Track when spores first appear and how quickly they spread.
-
Root checks After potting up or pulling spent plants, examine roots for rot, discoloration, or fungal growth.
-
Fungal "shape library" Collect images of different spore types you encounter. You don't need exact names yet, just note shapes (round, oval, chain, spiky) and where you found them.
As your comfort grows, you can gradually learn more formal fungal identification microscopy techniques and terminology, always building on what you already know.
Curiosity scales with confidence.
Start with the questions your plants are already asking (Why this spot? Why this wilt?) and let your microscope guide you toward clearer, calmer answers. Each sharp image and small insight makes the next one easier, and before long, you're not just reacting to plant problems; you're actively reading and understanding them.
Related Articles